Building a Home Grown Aluminum Foundry with Wingnut
Author’s Note! This article has been imported from my previous website. I wanted to preserve all of the old content as many people have found some value in it. There may be some broken links and or formatting issues. If something isn’t right, please let me know and I’ll do my best to make an update.
Let’s get one thing straight; right off the bat, this project was a great collaboration between myself, and the mastermind behind it, my college chum Eric “Wingnut” Sheen. I was up at his place in Pittsburgh working on some machining for my G0704 CNC conversion, when he said “let’s build a foundry and cast aluminum”.
And I said, “ok.”
It was a really fun, and surprisingly easy project that we used as a nice alternative to wrangling with a temperamental CNC machine. This article should serve as both a testament to our mettle (get it?) and a guide to allow you to do the same.
Parts List
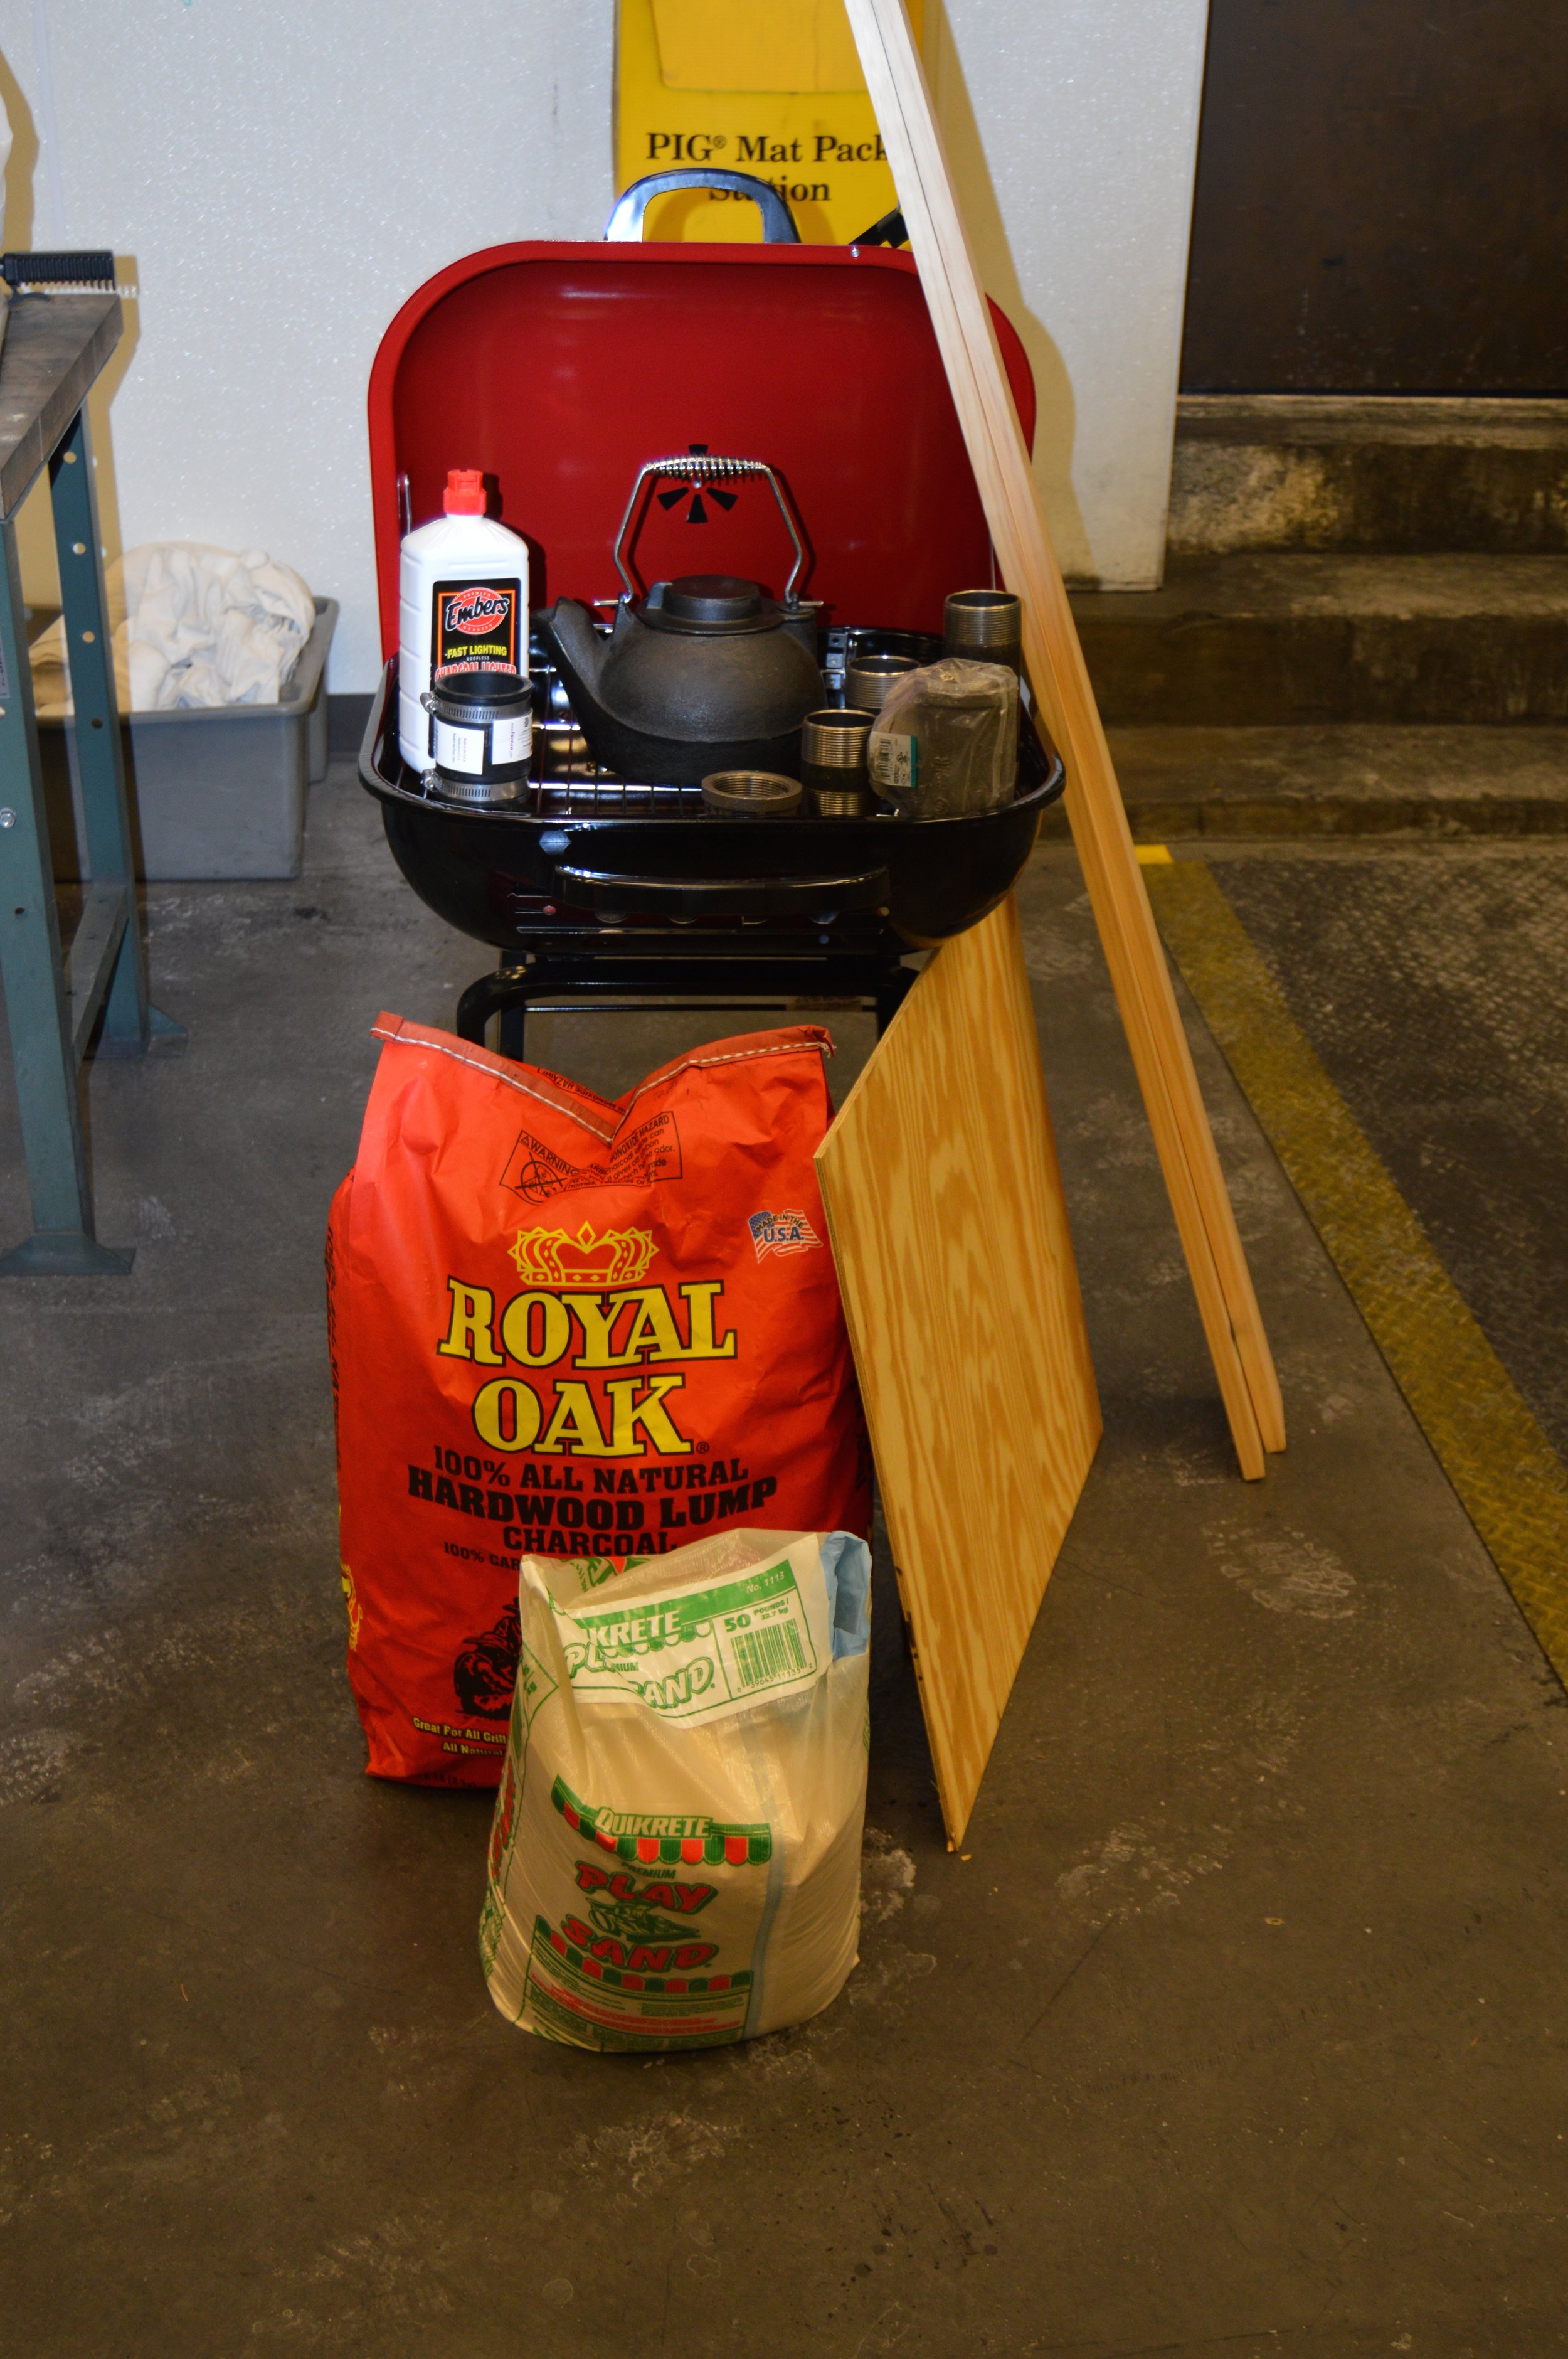
For this project, our goal was to “cast something,” and so we needed not only the components for the forge/foundry itself, but also mold making materials. This is what we used:
Forge
One “Walkabout” charcoal grill with flat bottom.
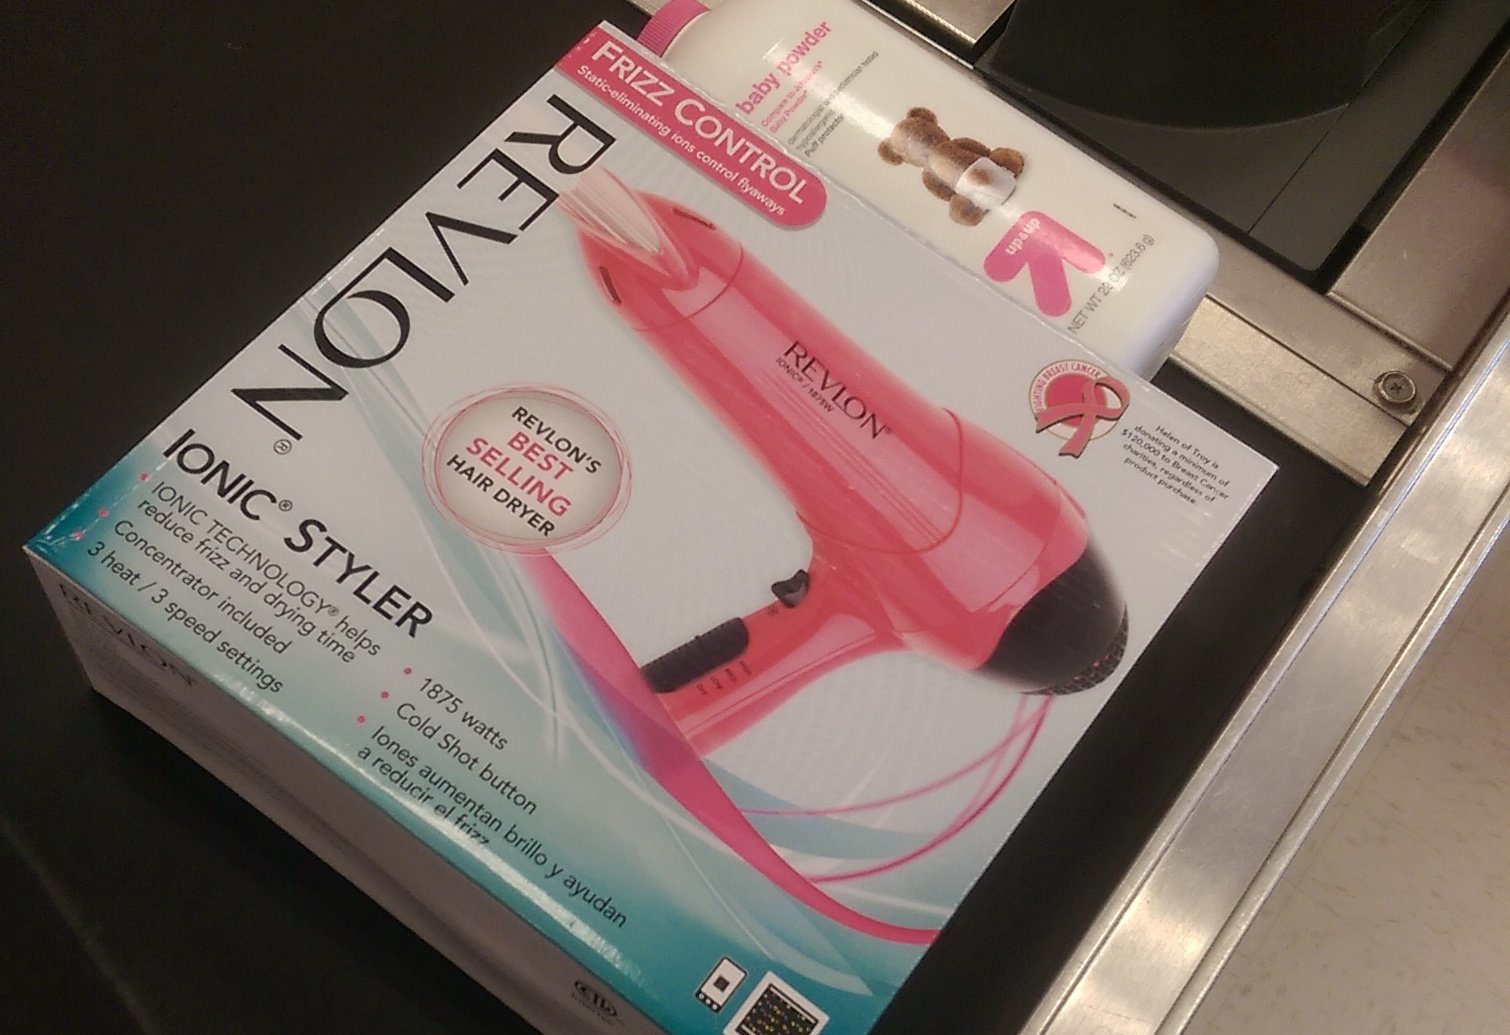
One pink hair dryer.
One 2" Rubber pipe coupling.
One 2" Steel pipe cap.
Three 2" pipe nipples (we used a 3" 4" and 6").
One 2" Steel pipe tee.
8" Square by ¼" thick steel plate (you could also just use a 2" pipe flange to connect the air pipe to the bottom of the grill, more on that in the assembly section).
One bad-ass cast iron kettle.
Fire
Hardwood Lump Charcoal (although regular coal would have been better).
Lighter fluid.
Mold Making
Two pounds bentonite clay (can be found at hippie stores as some Aztec face mask stuff).
Bag of play sand, or ideally cigarette ash tray sand.
Two 6’ sections of 4x1" pine board.
2’ square section of ¼" plywood.
Wood screws.
Talc.
Tools and Supplies
You really could get by and build this whole thing with a hand drill, Sawzall, and basic hand tools; but just for the record, to build this stuff we used:
Engine lathe with tooling.
Bridgeport mill with mills and countersink.
TIG welder.
Sheet metal hole punch.
Screw gun with drill bit.
Some clamps.
A blow torch.
A sieve.
A steel rod (for raking coals and lifting pot).
And, of course, you will need some aluminum scrap, and something from which to make your mold.


Assembly
Let’s start with some theory. We want to melt aluminum, which melts at 660 C or 1220 F, so we need a bunch of heat. A grill fire is hot, but not enough, so we need to add oxygen to the fire to increase the temperature. A simple way to do that, is to use a hair dryer as a blower and blow some air into our coal fire.
Building this is a simple matter of: making an air inlet and attaching it to the grill.
Assembling the Air Pipe
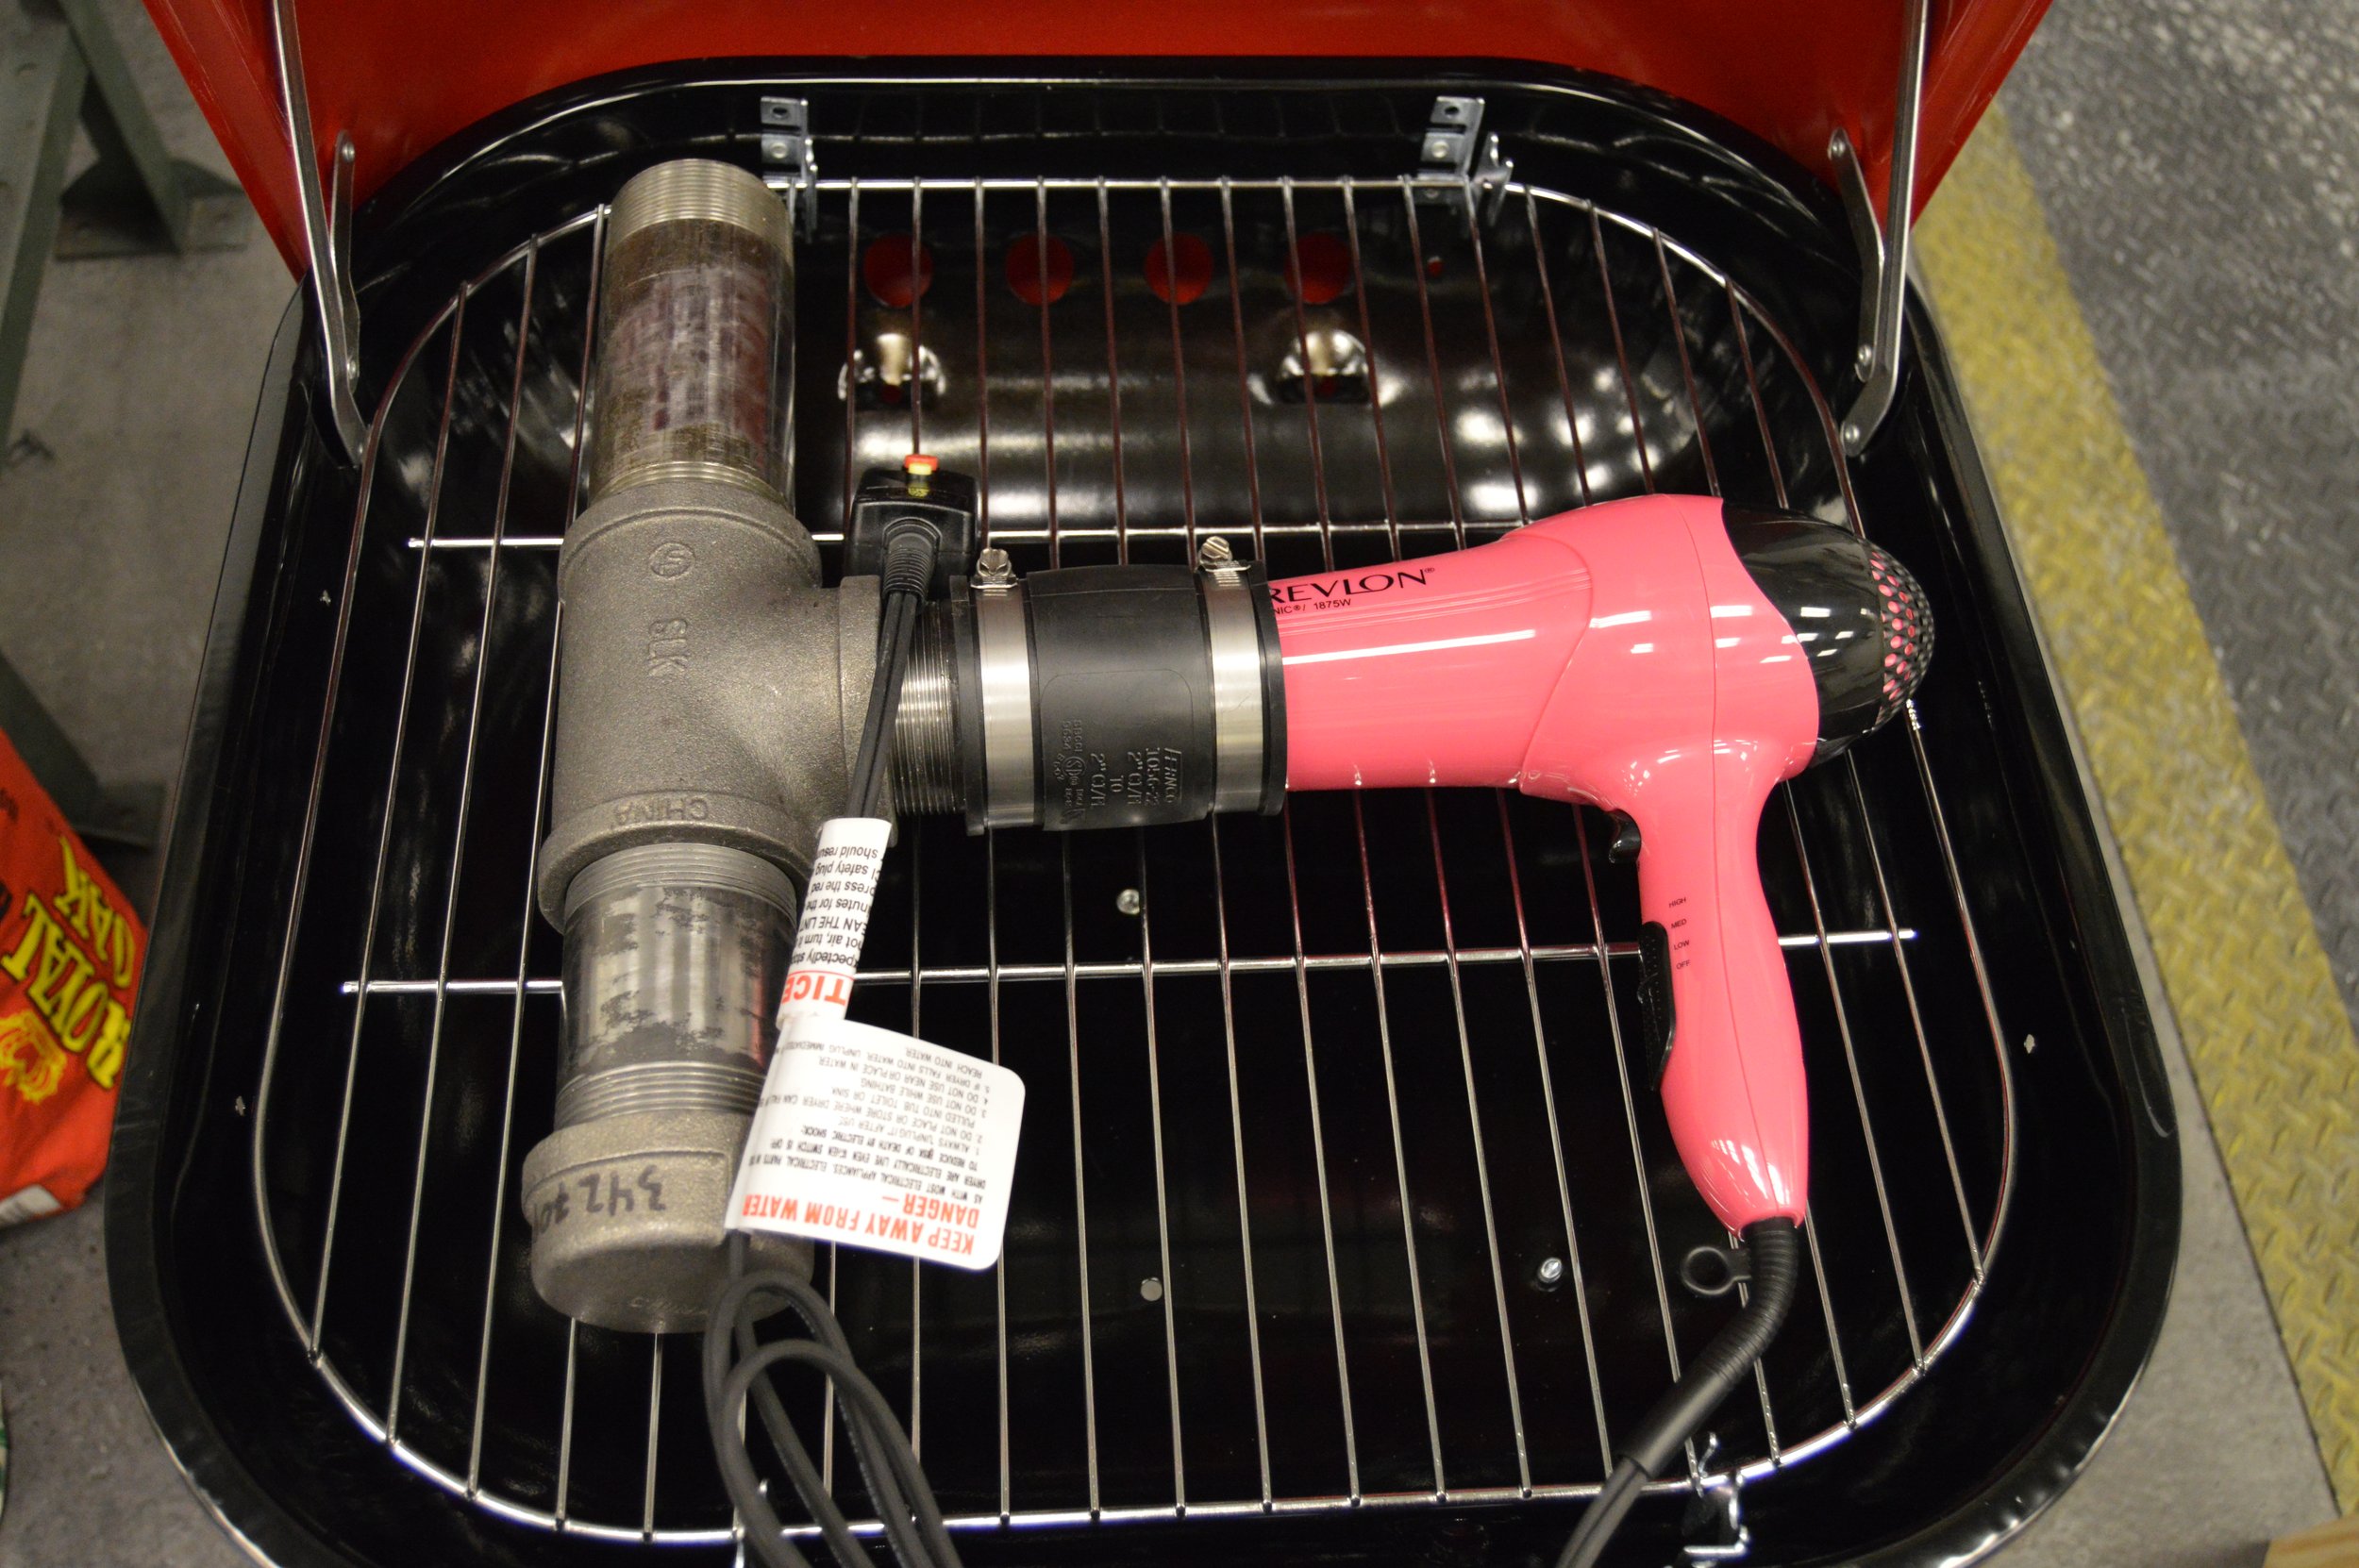
The air pipe fits together, as seen in the picture below. We used a tee so that there is a place for the hot ash to fall down and collect; sometimes this is a metal flange, but a cap was fine for our needs.

We use the rubber coupling to join the hair dryer to the air pipe. Ultimately, we zip-tied the “cool blast” button; no need to heat up the air, the motor is faster without, and the charge is cooler (more dense, more oxygen).
Attaching Air Pipe to Grill
This is where Wingnut comes to the pro route. I’ve often seen this part done with flanges, basically, you need to attach the air inlet to the bottom of the grill, and have some sort of “grill” to prevent huge coals from falling down the 2 inch pipe.
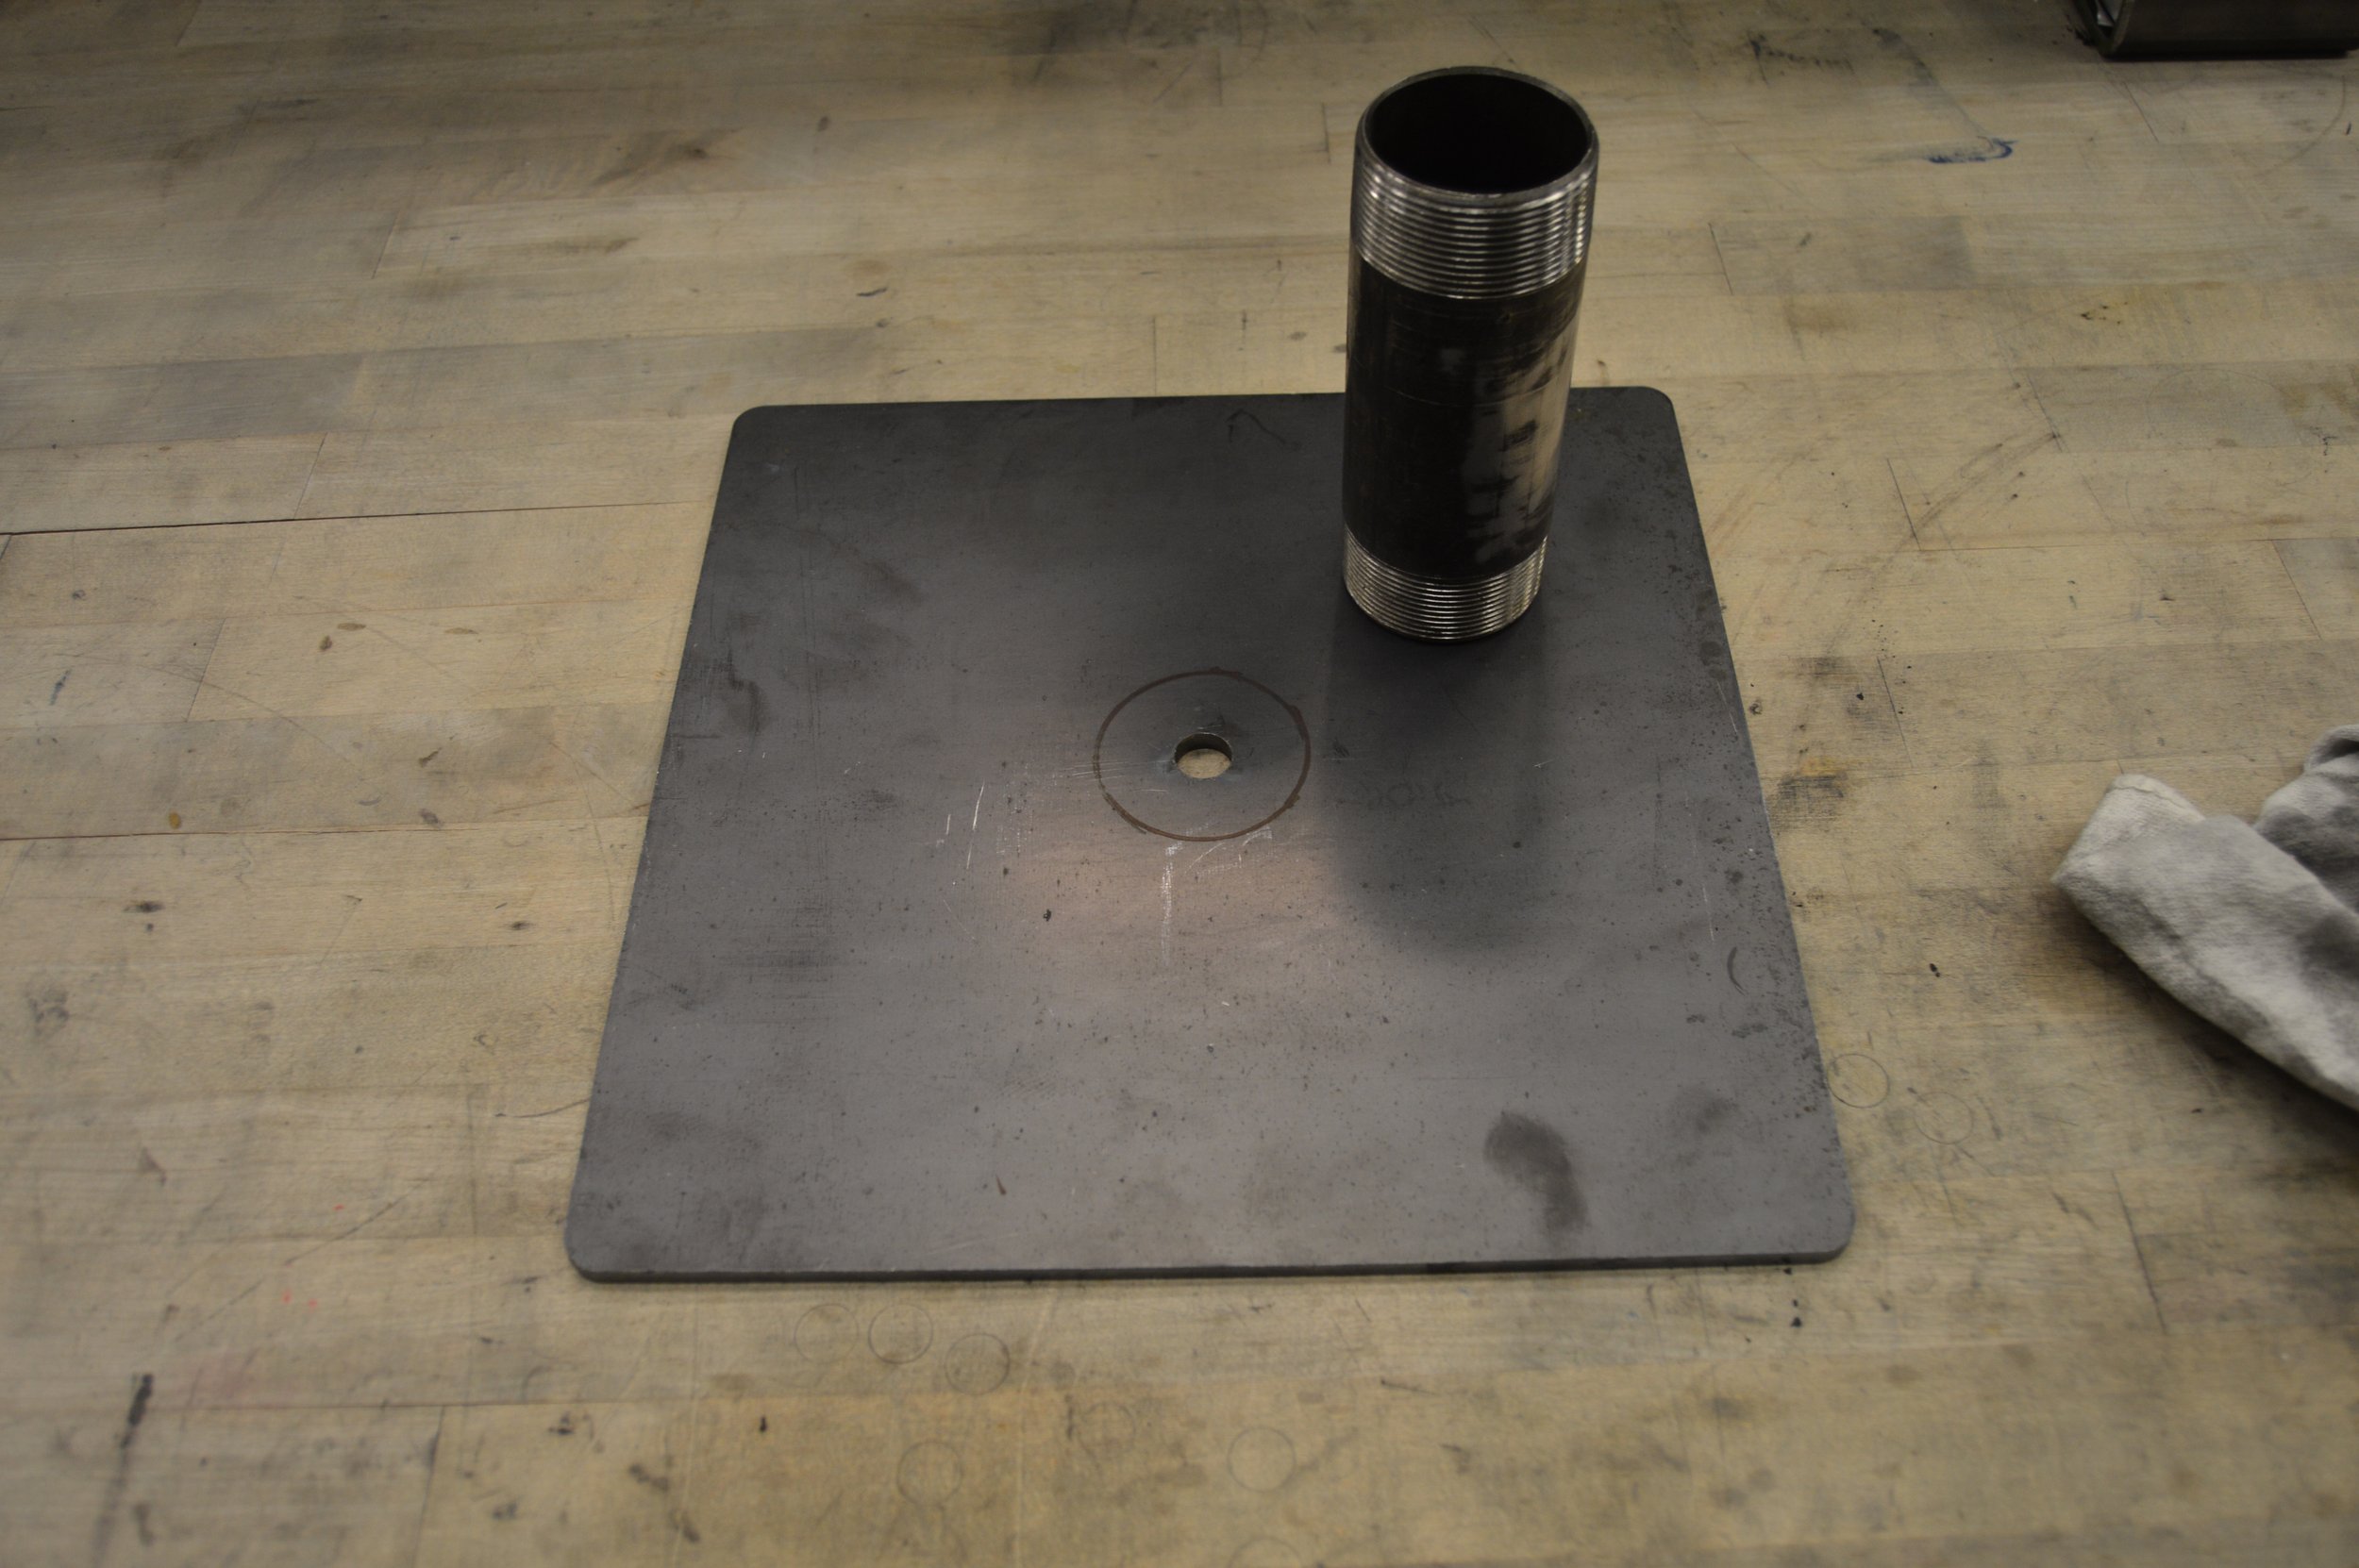
I’ve also seen people adapt brake drums for this as well. They are sturdy and can take the heat. We however, missed a chance to get a brake drum, and so needed to adapt this nice bit of steel:

Eric whipped up a simple plan:

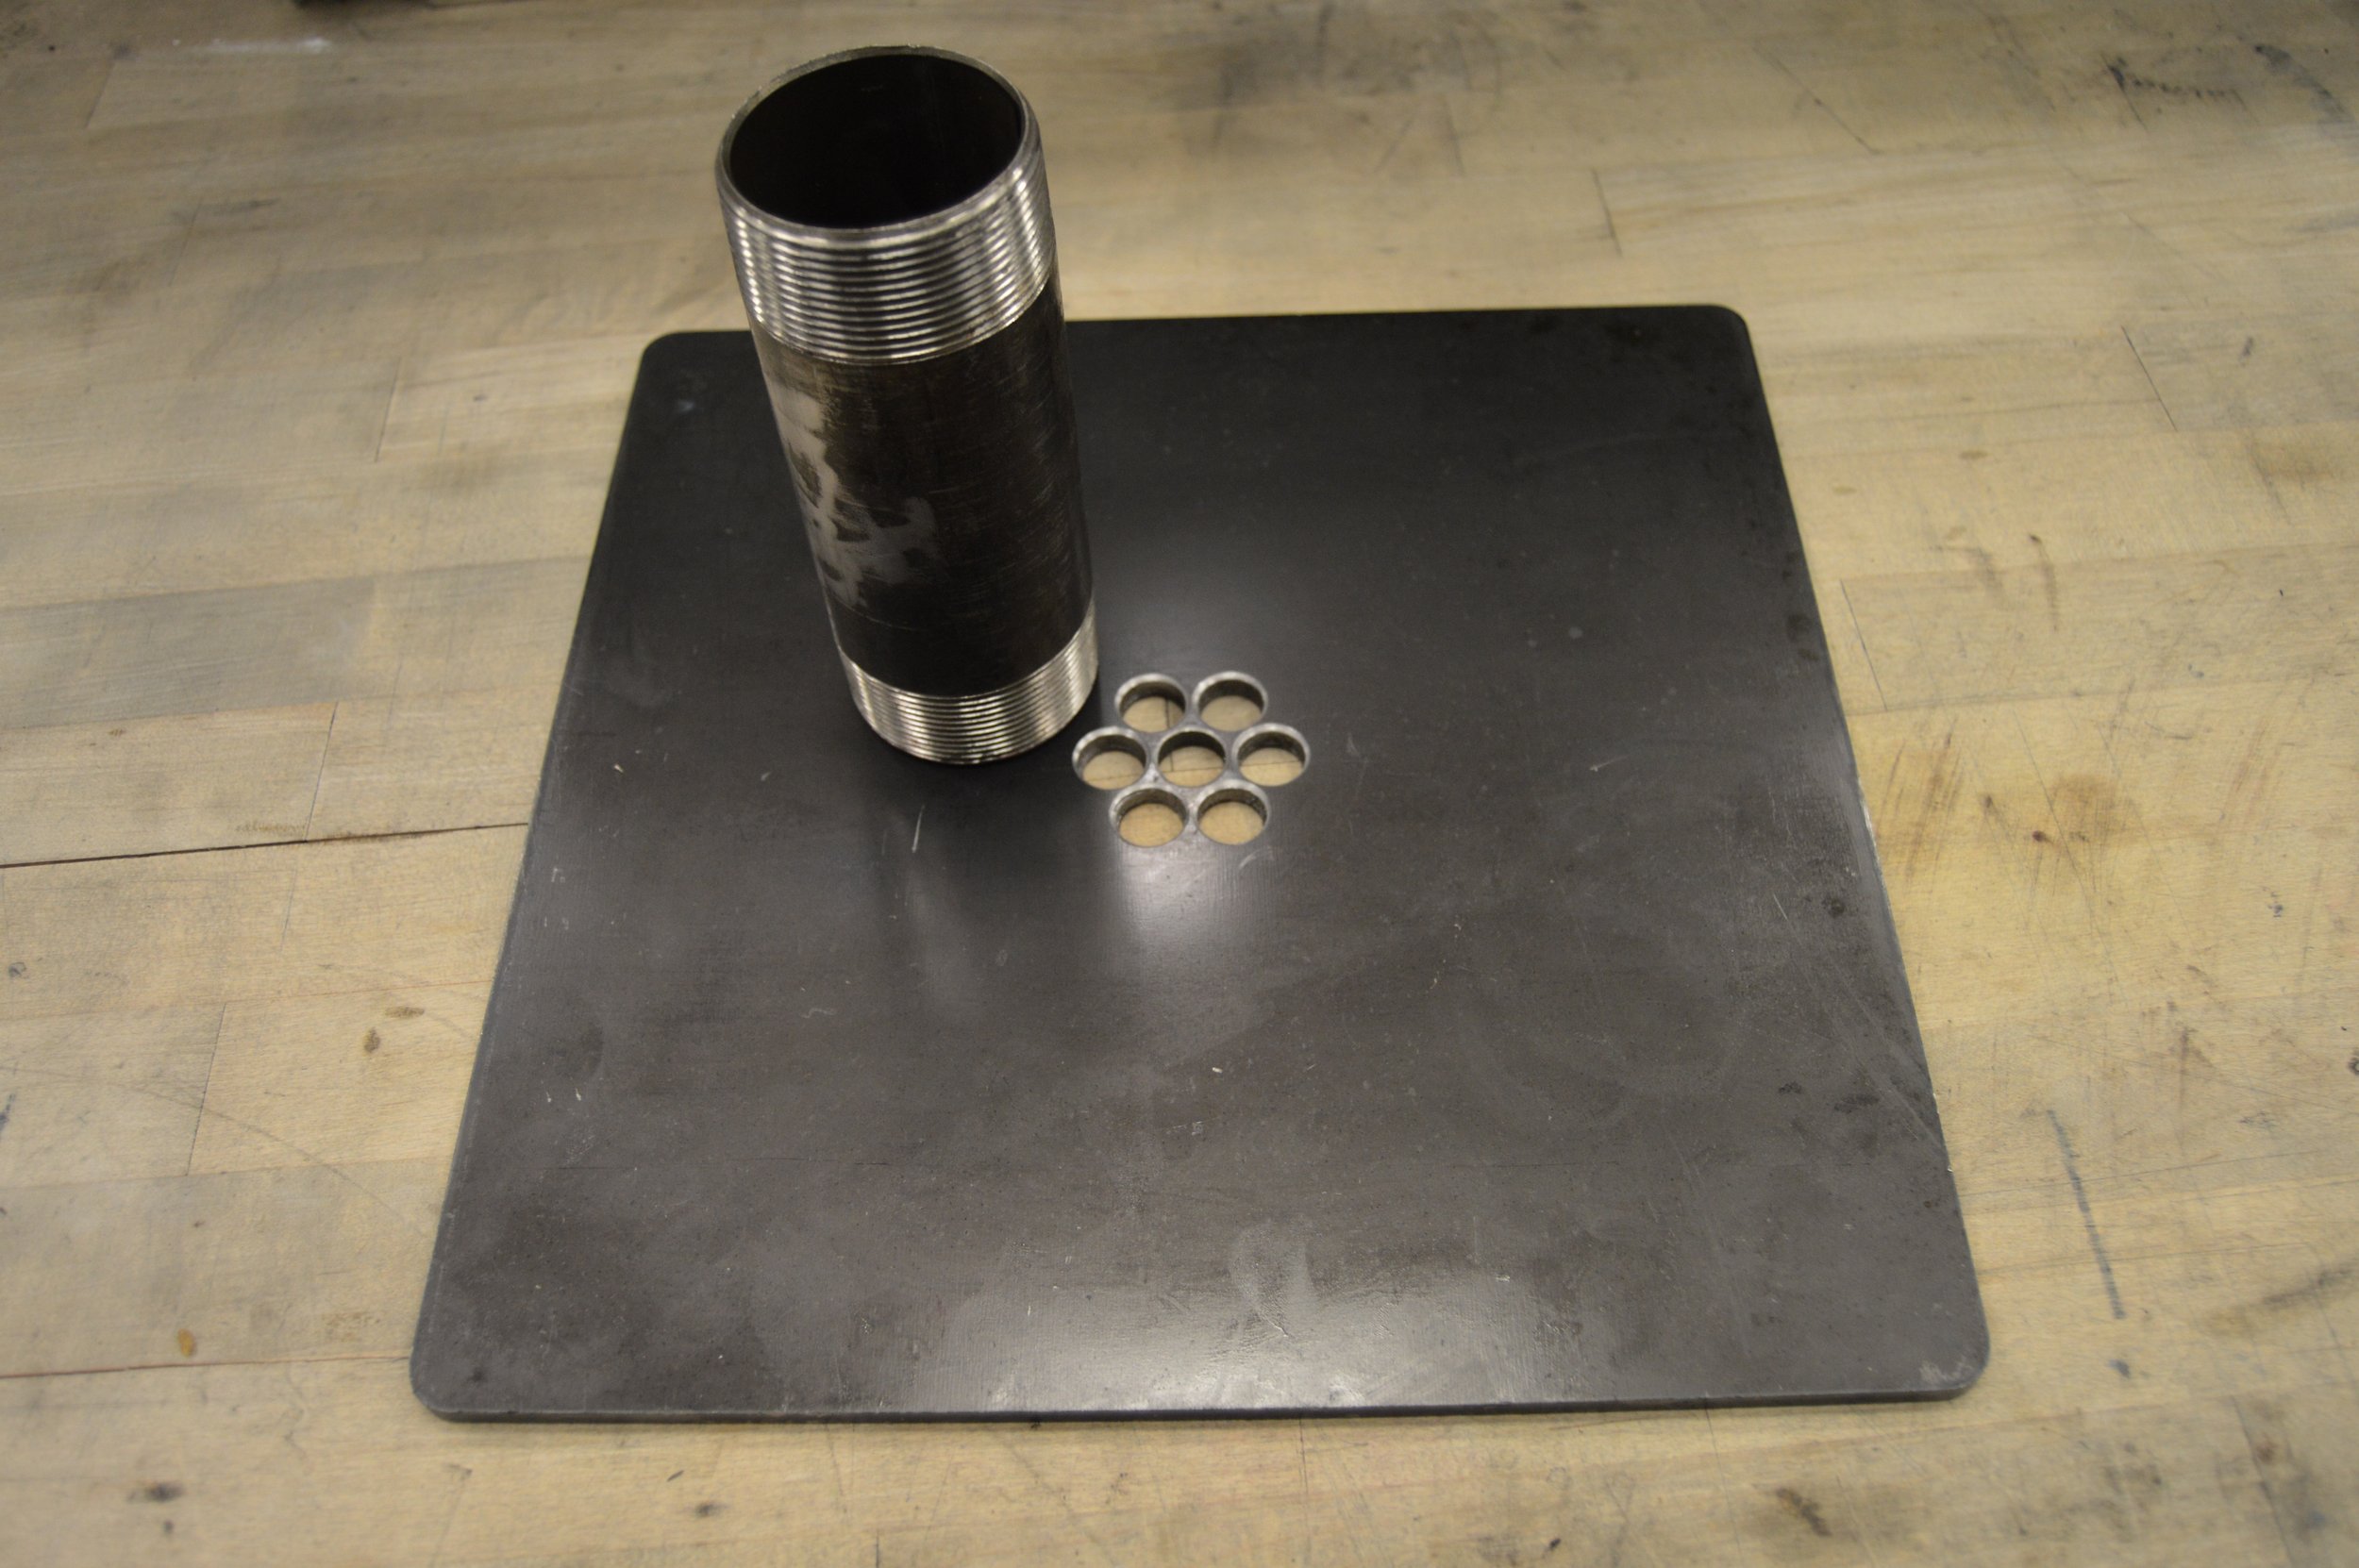
And then, hit the milling machine. These seven holes will prevent the coals from falling down, and really look so good in comparison to some random bar grill.

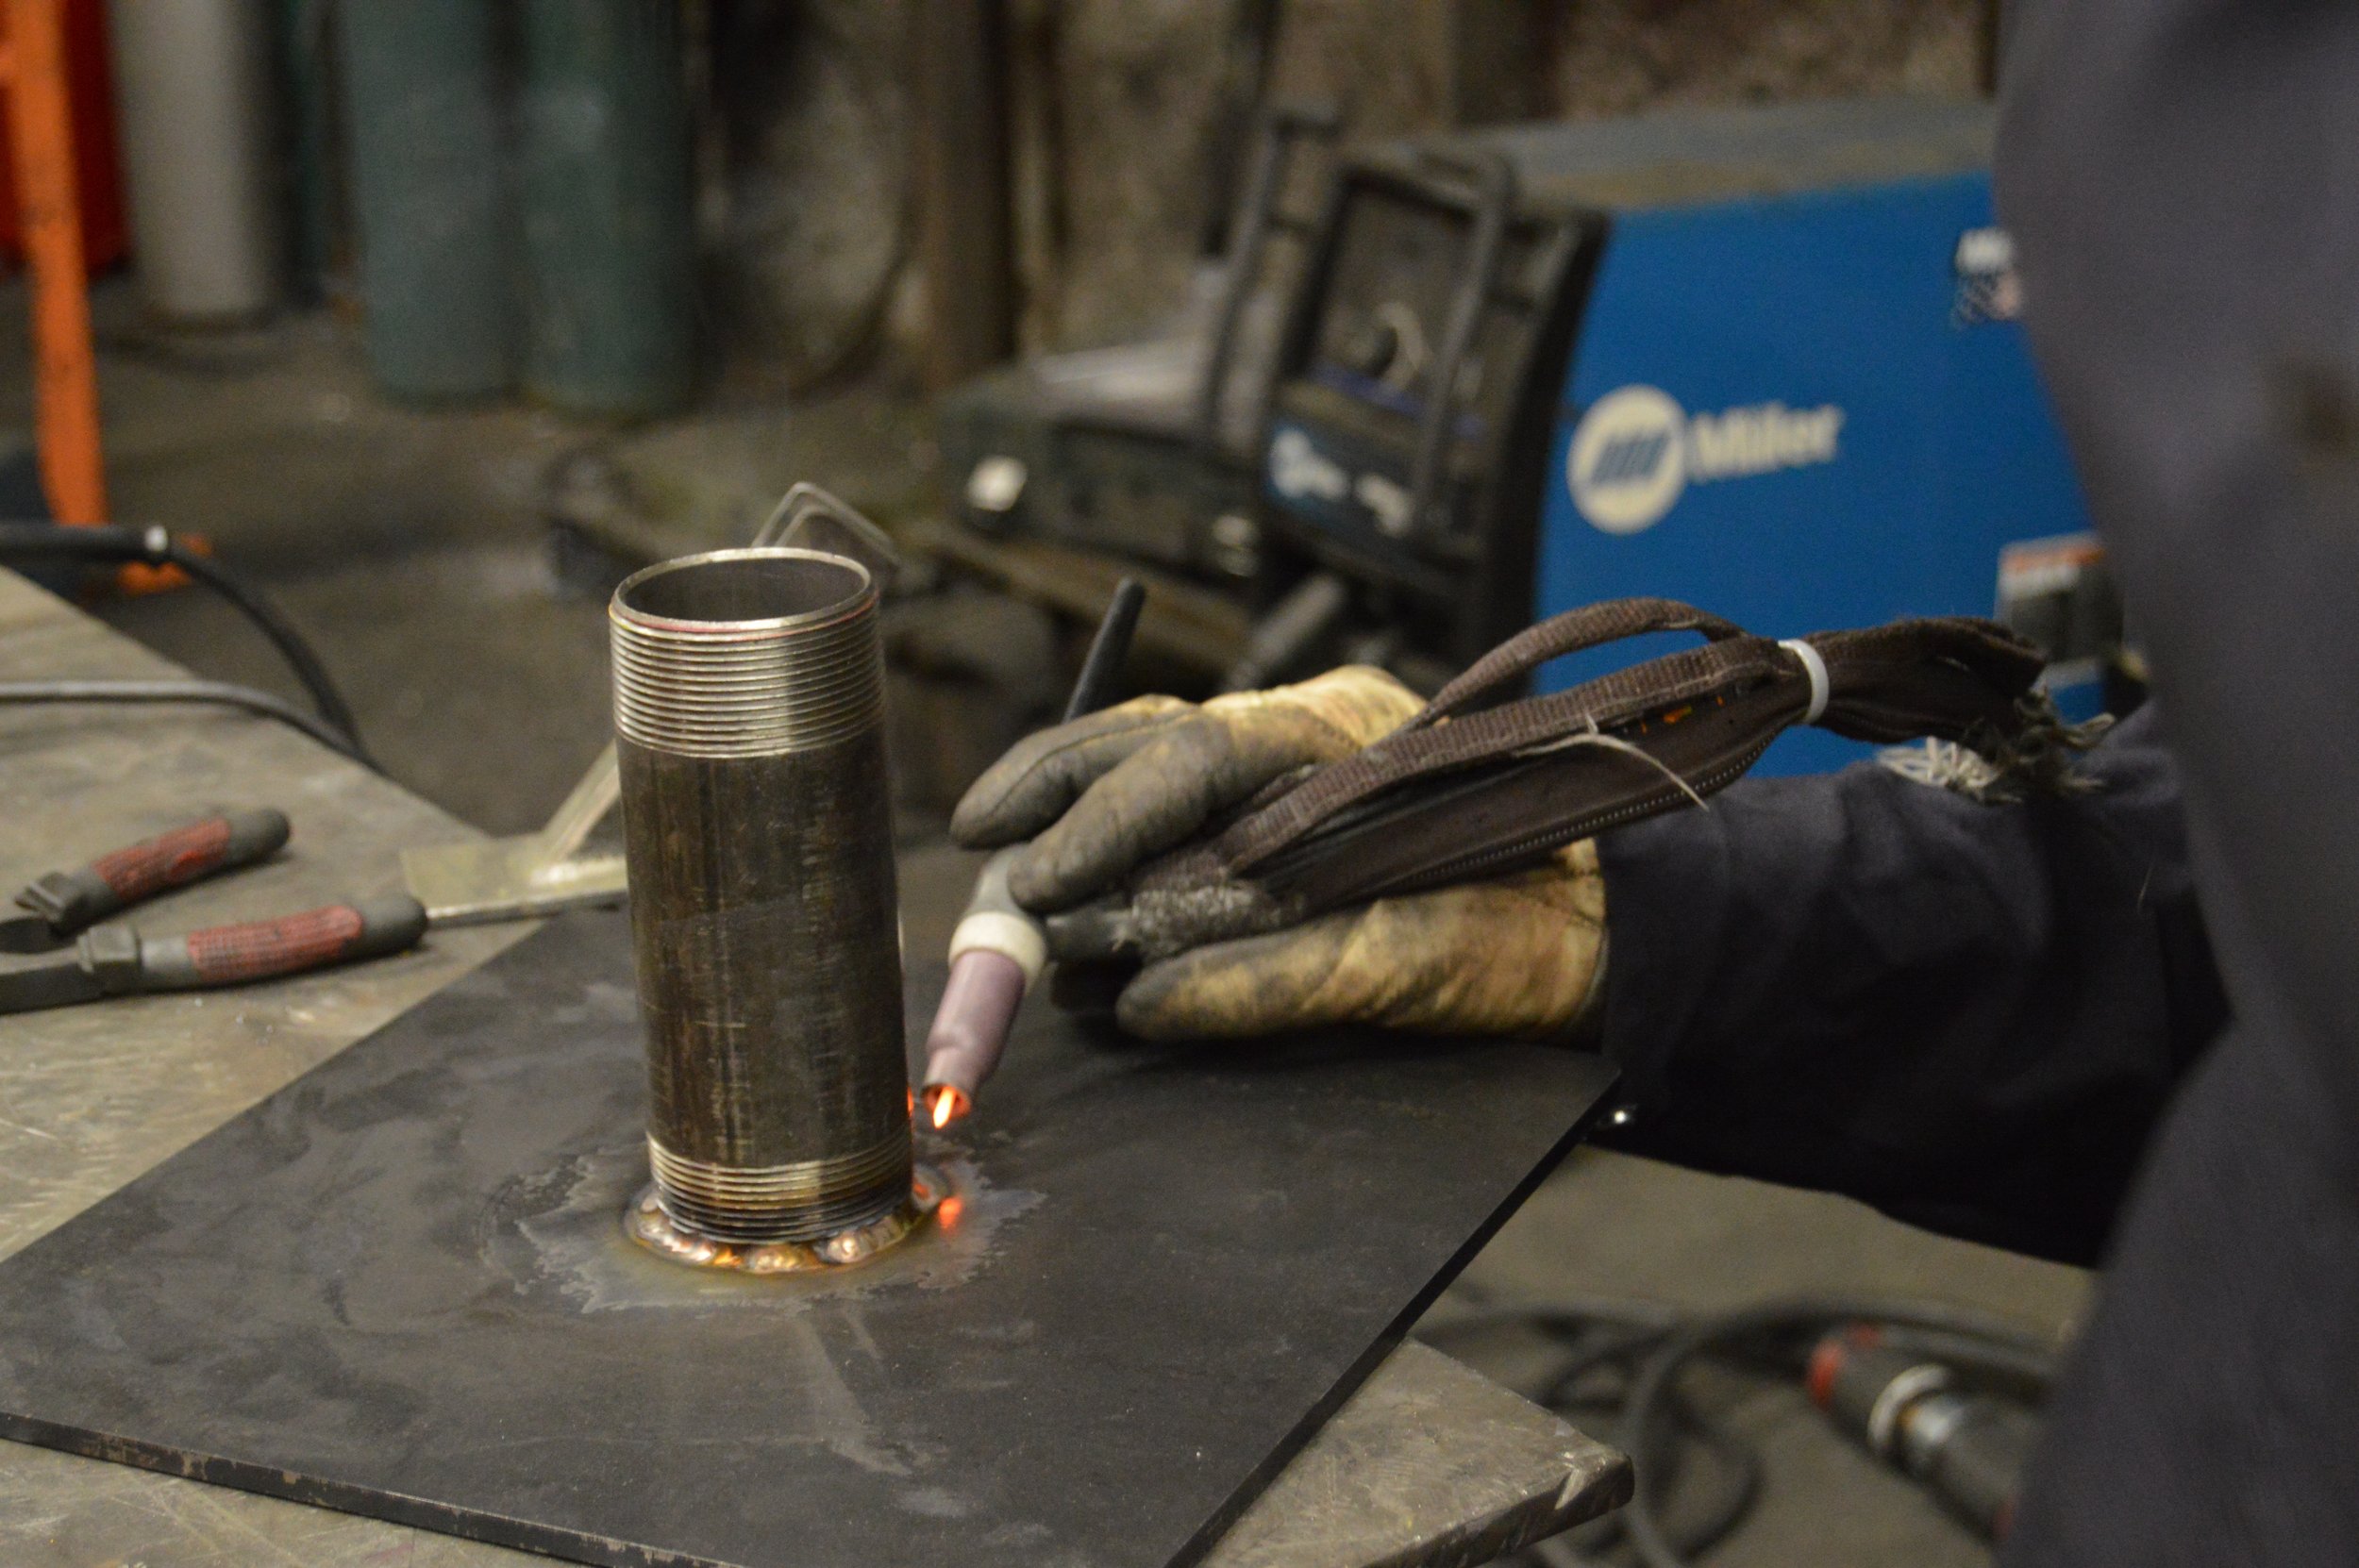
The result was a clean plate, ready for us to weld on the longer air pipe:

We turned down the threads of one end of the pipe, and then welded it to the bottom of the plate:

It turned out, all we had was bronze filler rod, which I had not used before. It actually was a really cool look, the bronze mixing with the steel puddle, and resulting in a clean bead:

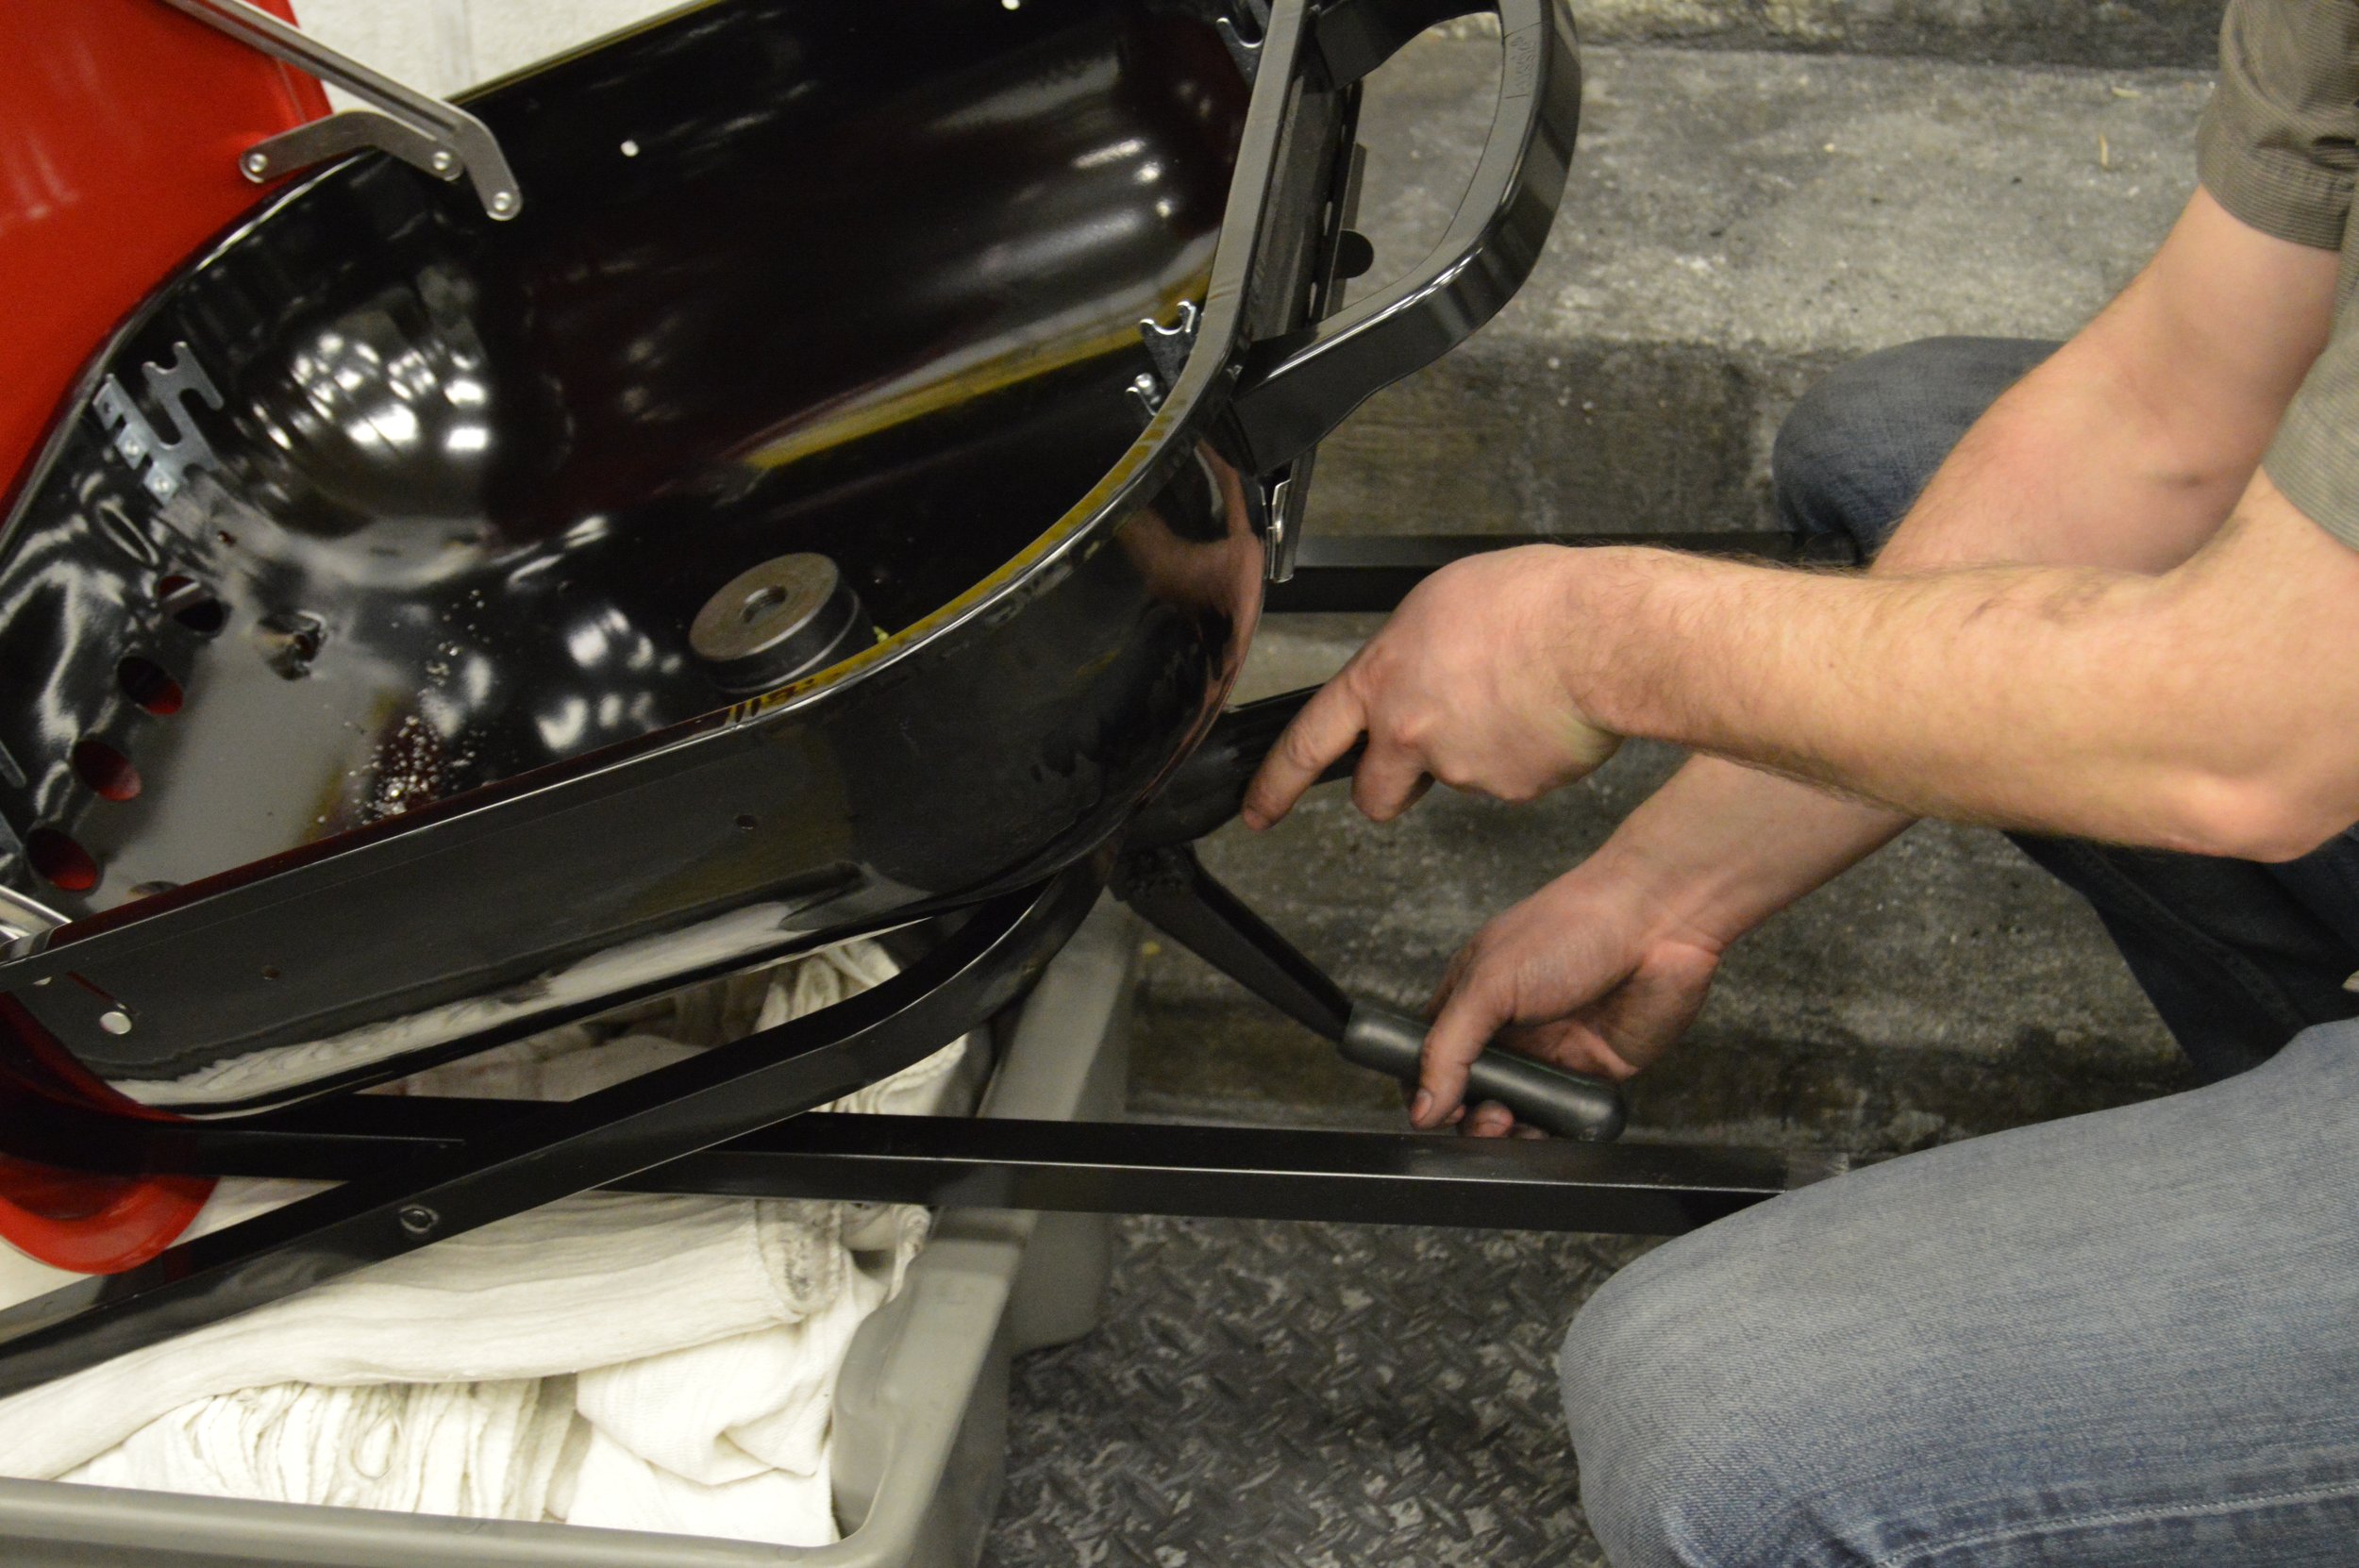
The final step in the assembly process, was to punch a hole in the bottom of the grill, and then drop our plate down through it:

We connected up the rest of the air pipe and this forge was ready for action!
Mold Making
The mold process involves packing two sides of a “flask” with a sand mix, such that the pattern leaves an impression that is ultimately filled with the molten metal. Each side of the flask has a different name– the “cope” for the top half and the “drag” for the bottom half.
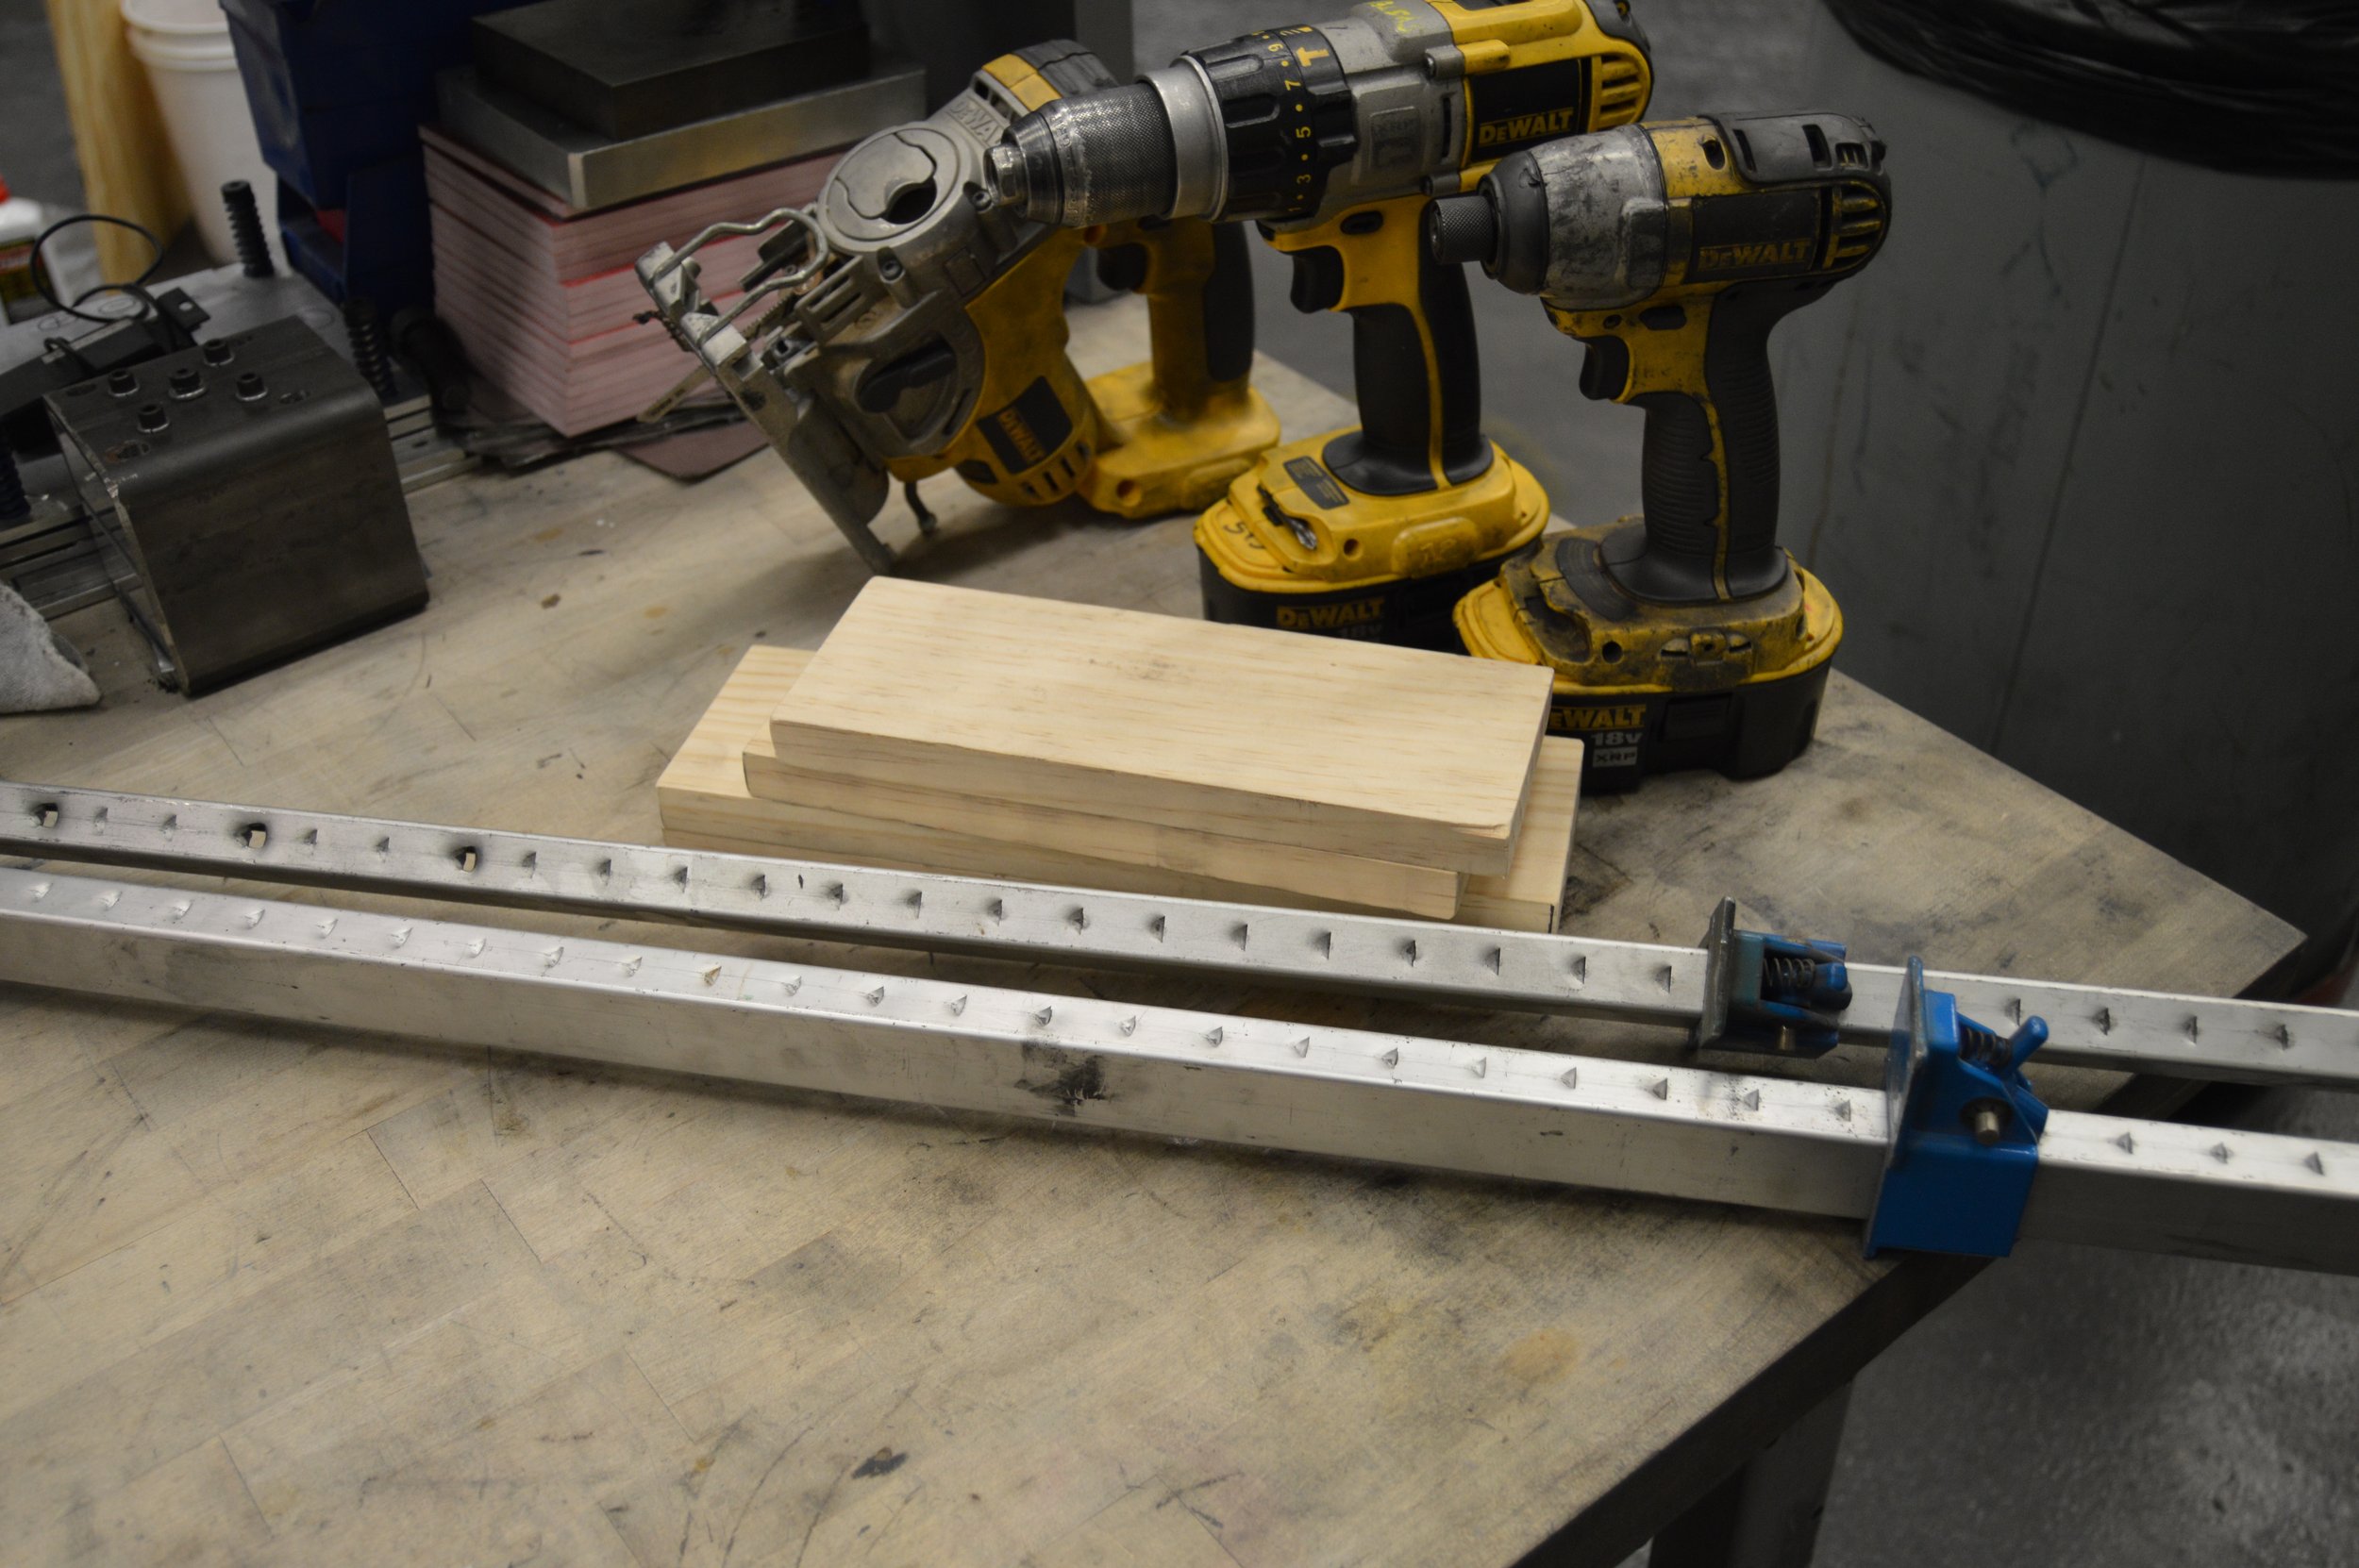
Wingnut started by cutting all the wood parts to size:

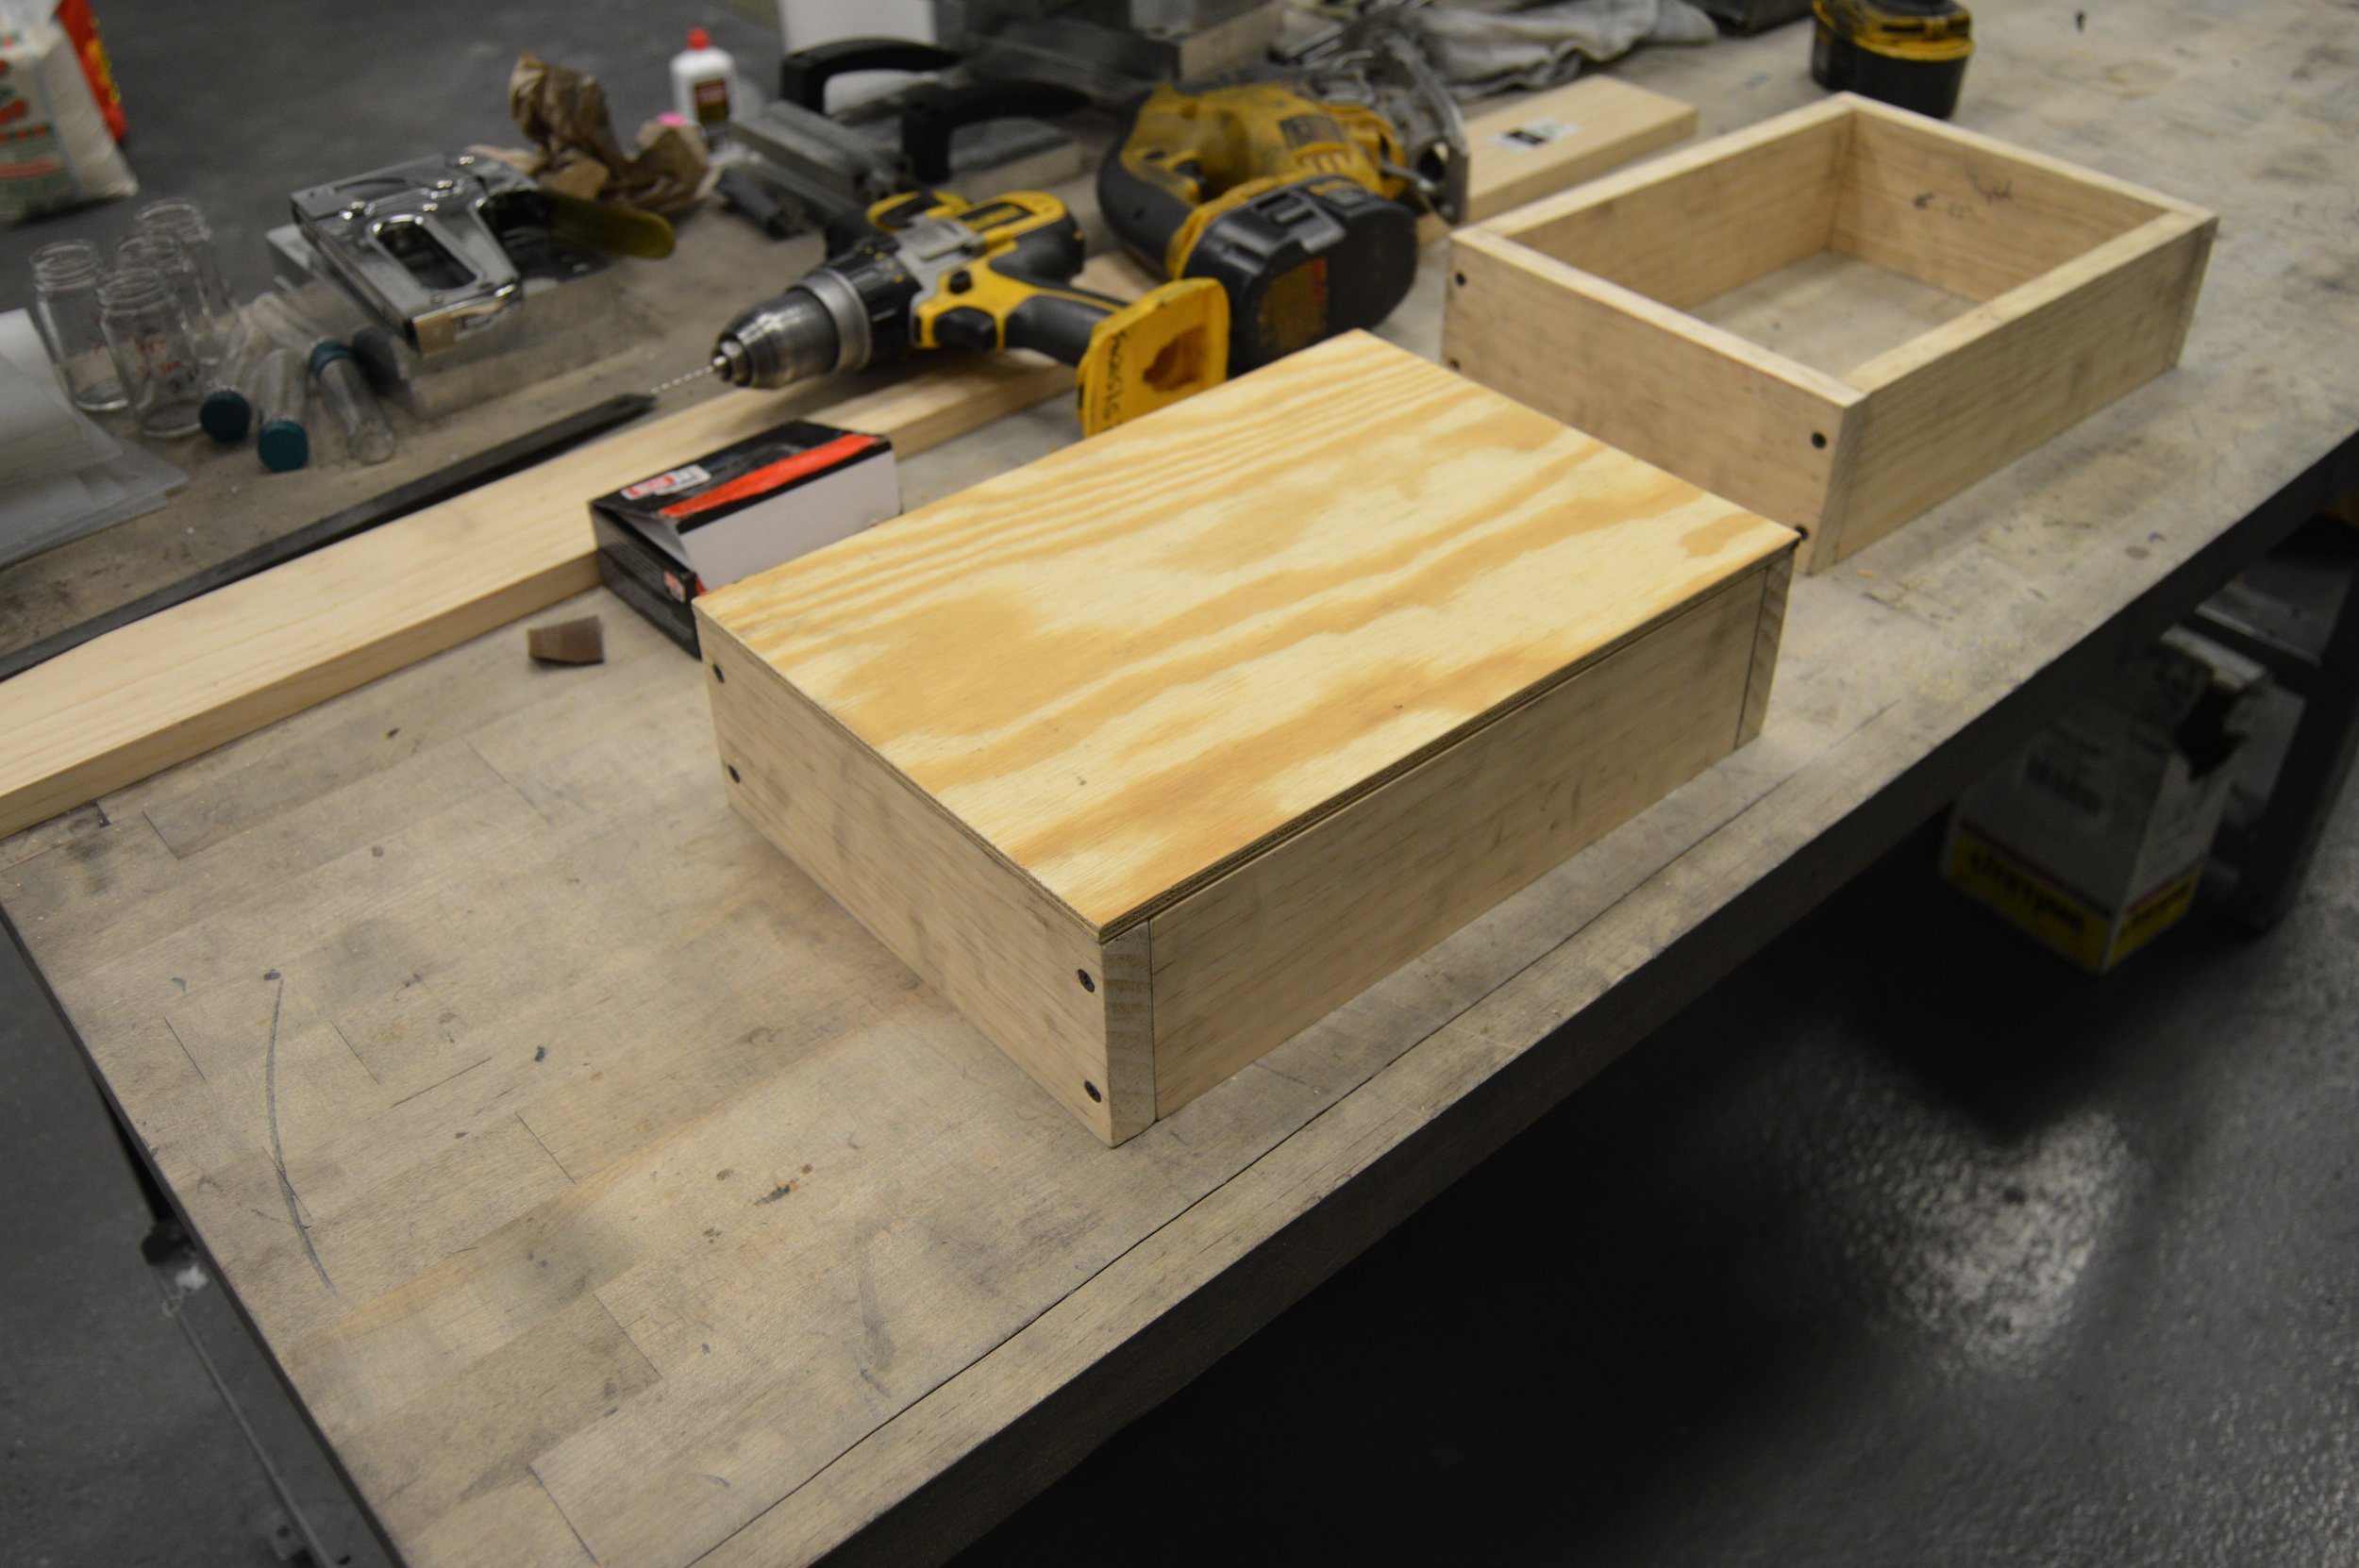
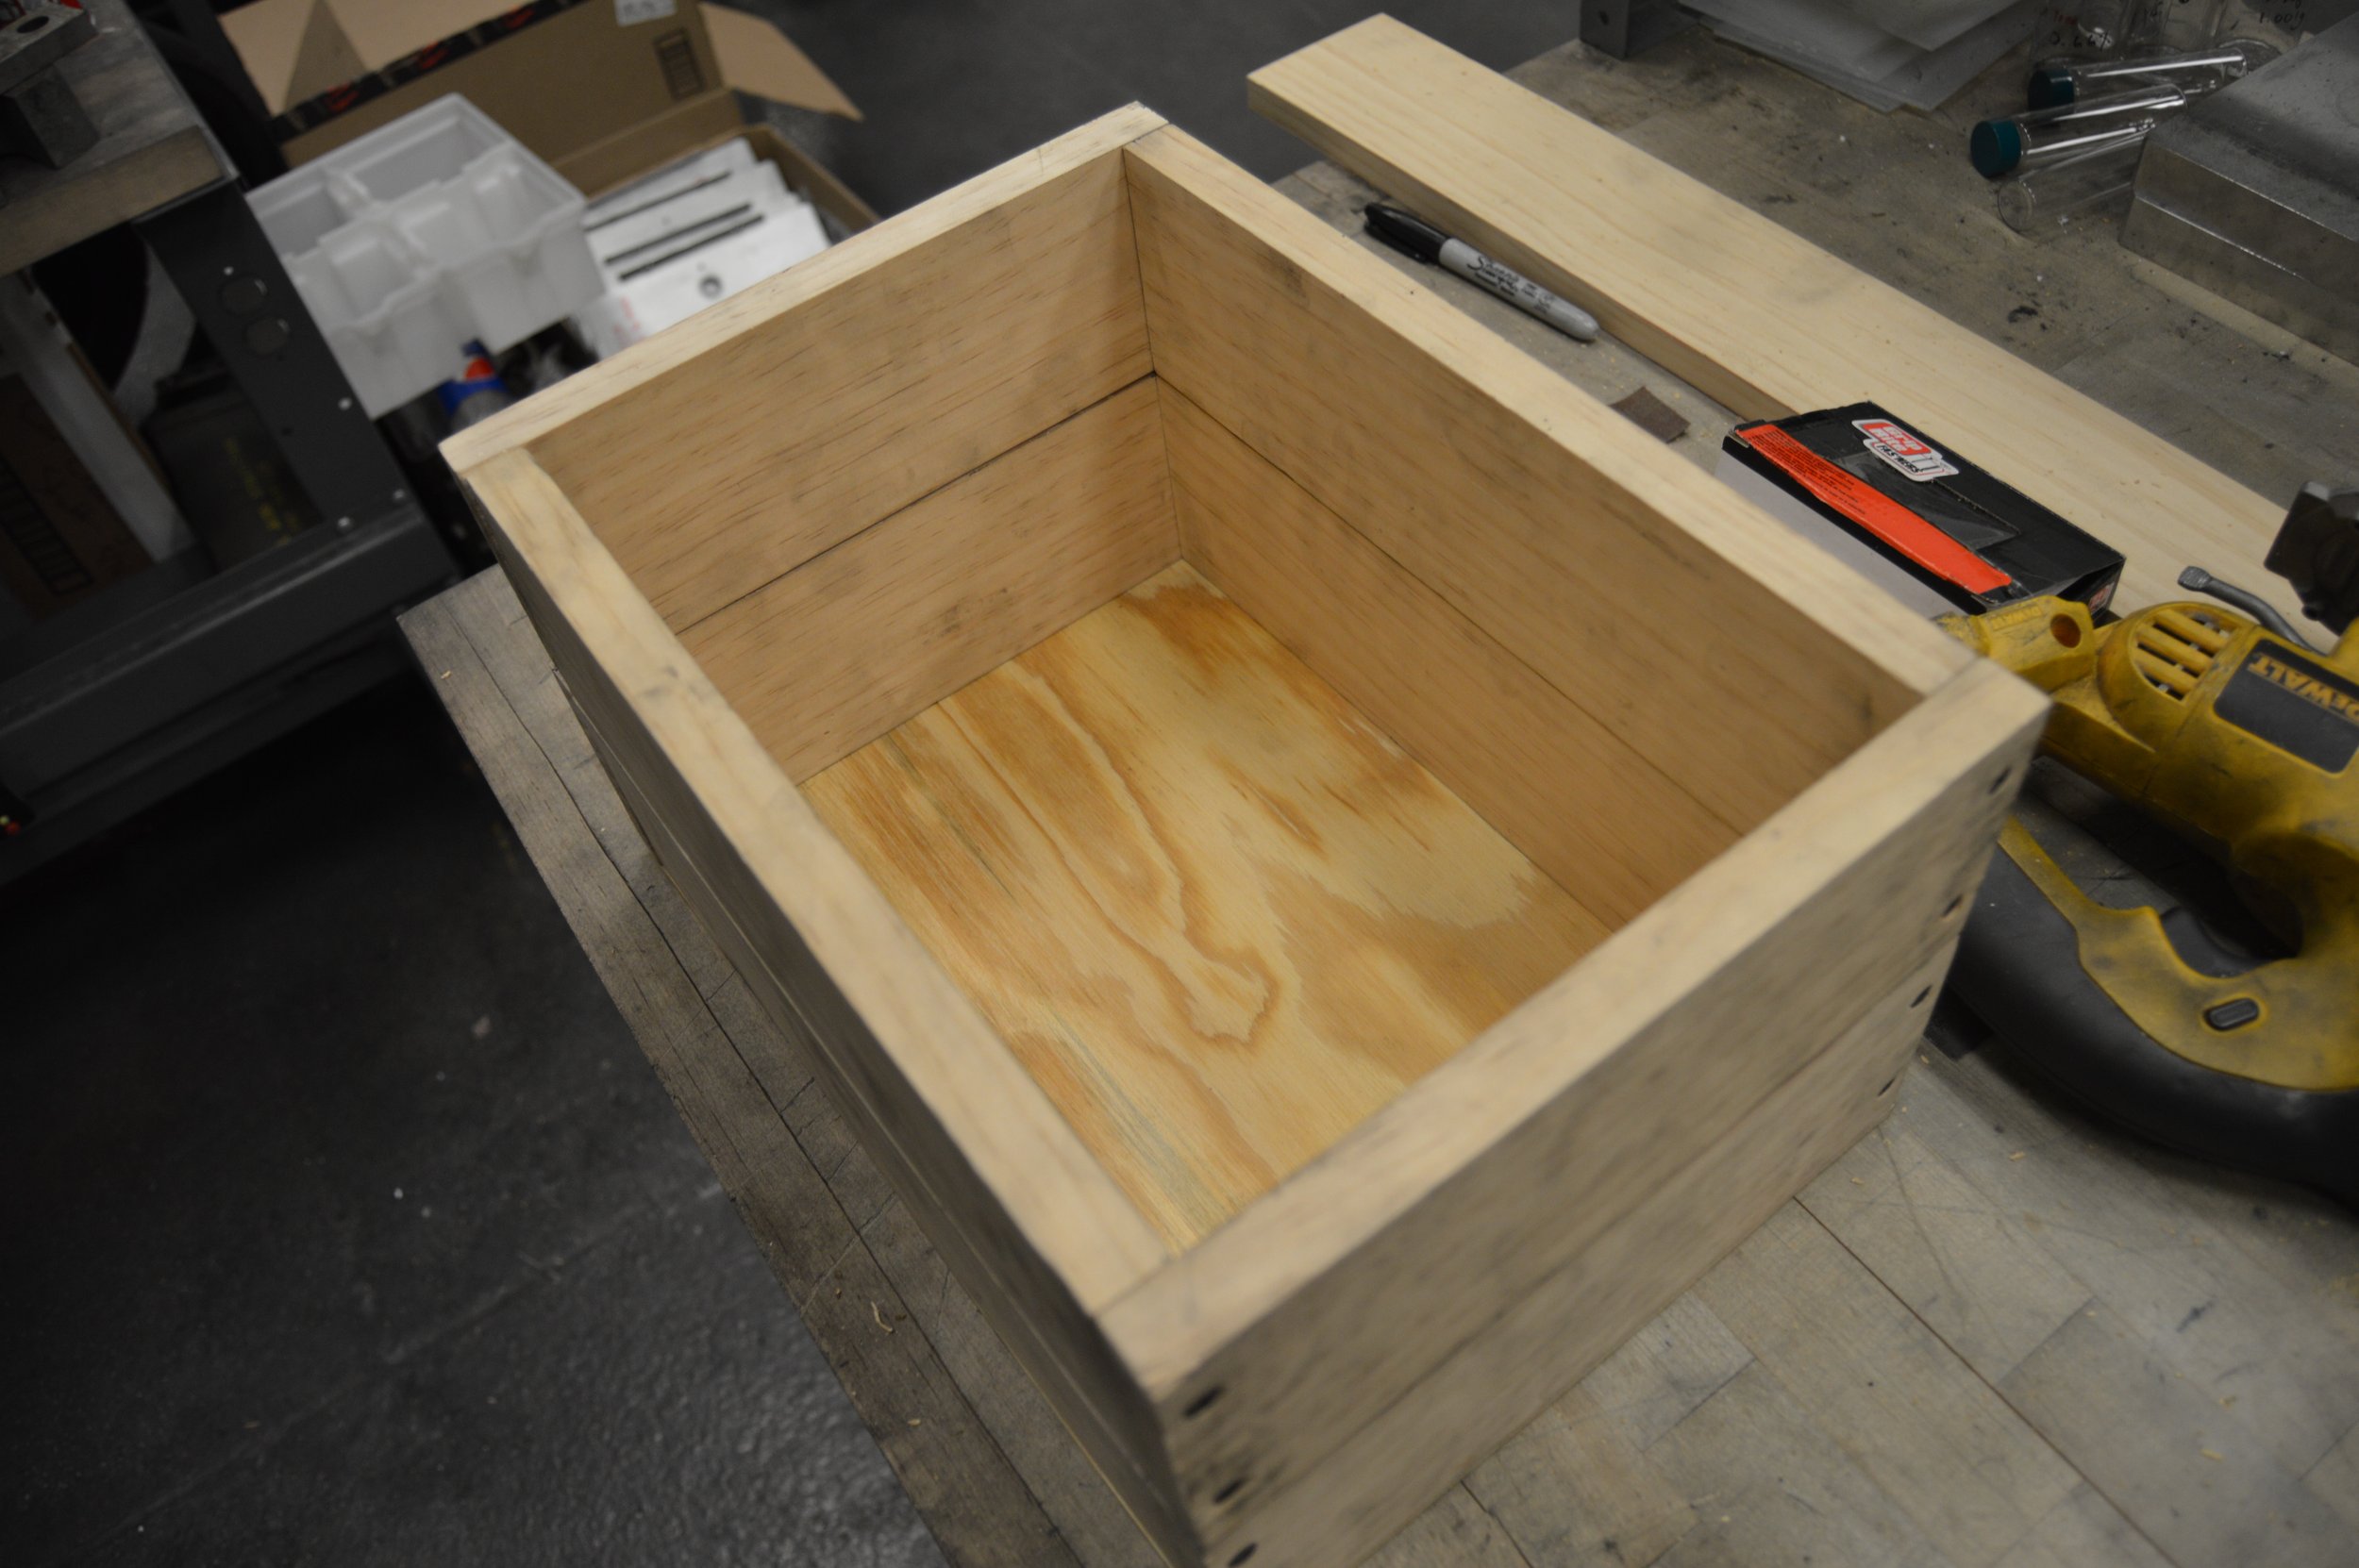
And then, assembled two boxes, one of which (the drag) had a plywood bottom board:

The two fit together nicely with some pins:

We then weighed out the required amounts of sand and clay, mixing them together, and running them through a sieve. Water was added with a spray bottle until the clay could clump and hold it’s shape. Once I have the details of the exact proportions of clay to sand to water, I’ll update this section of the article.

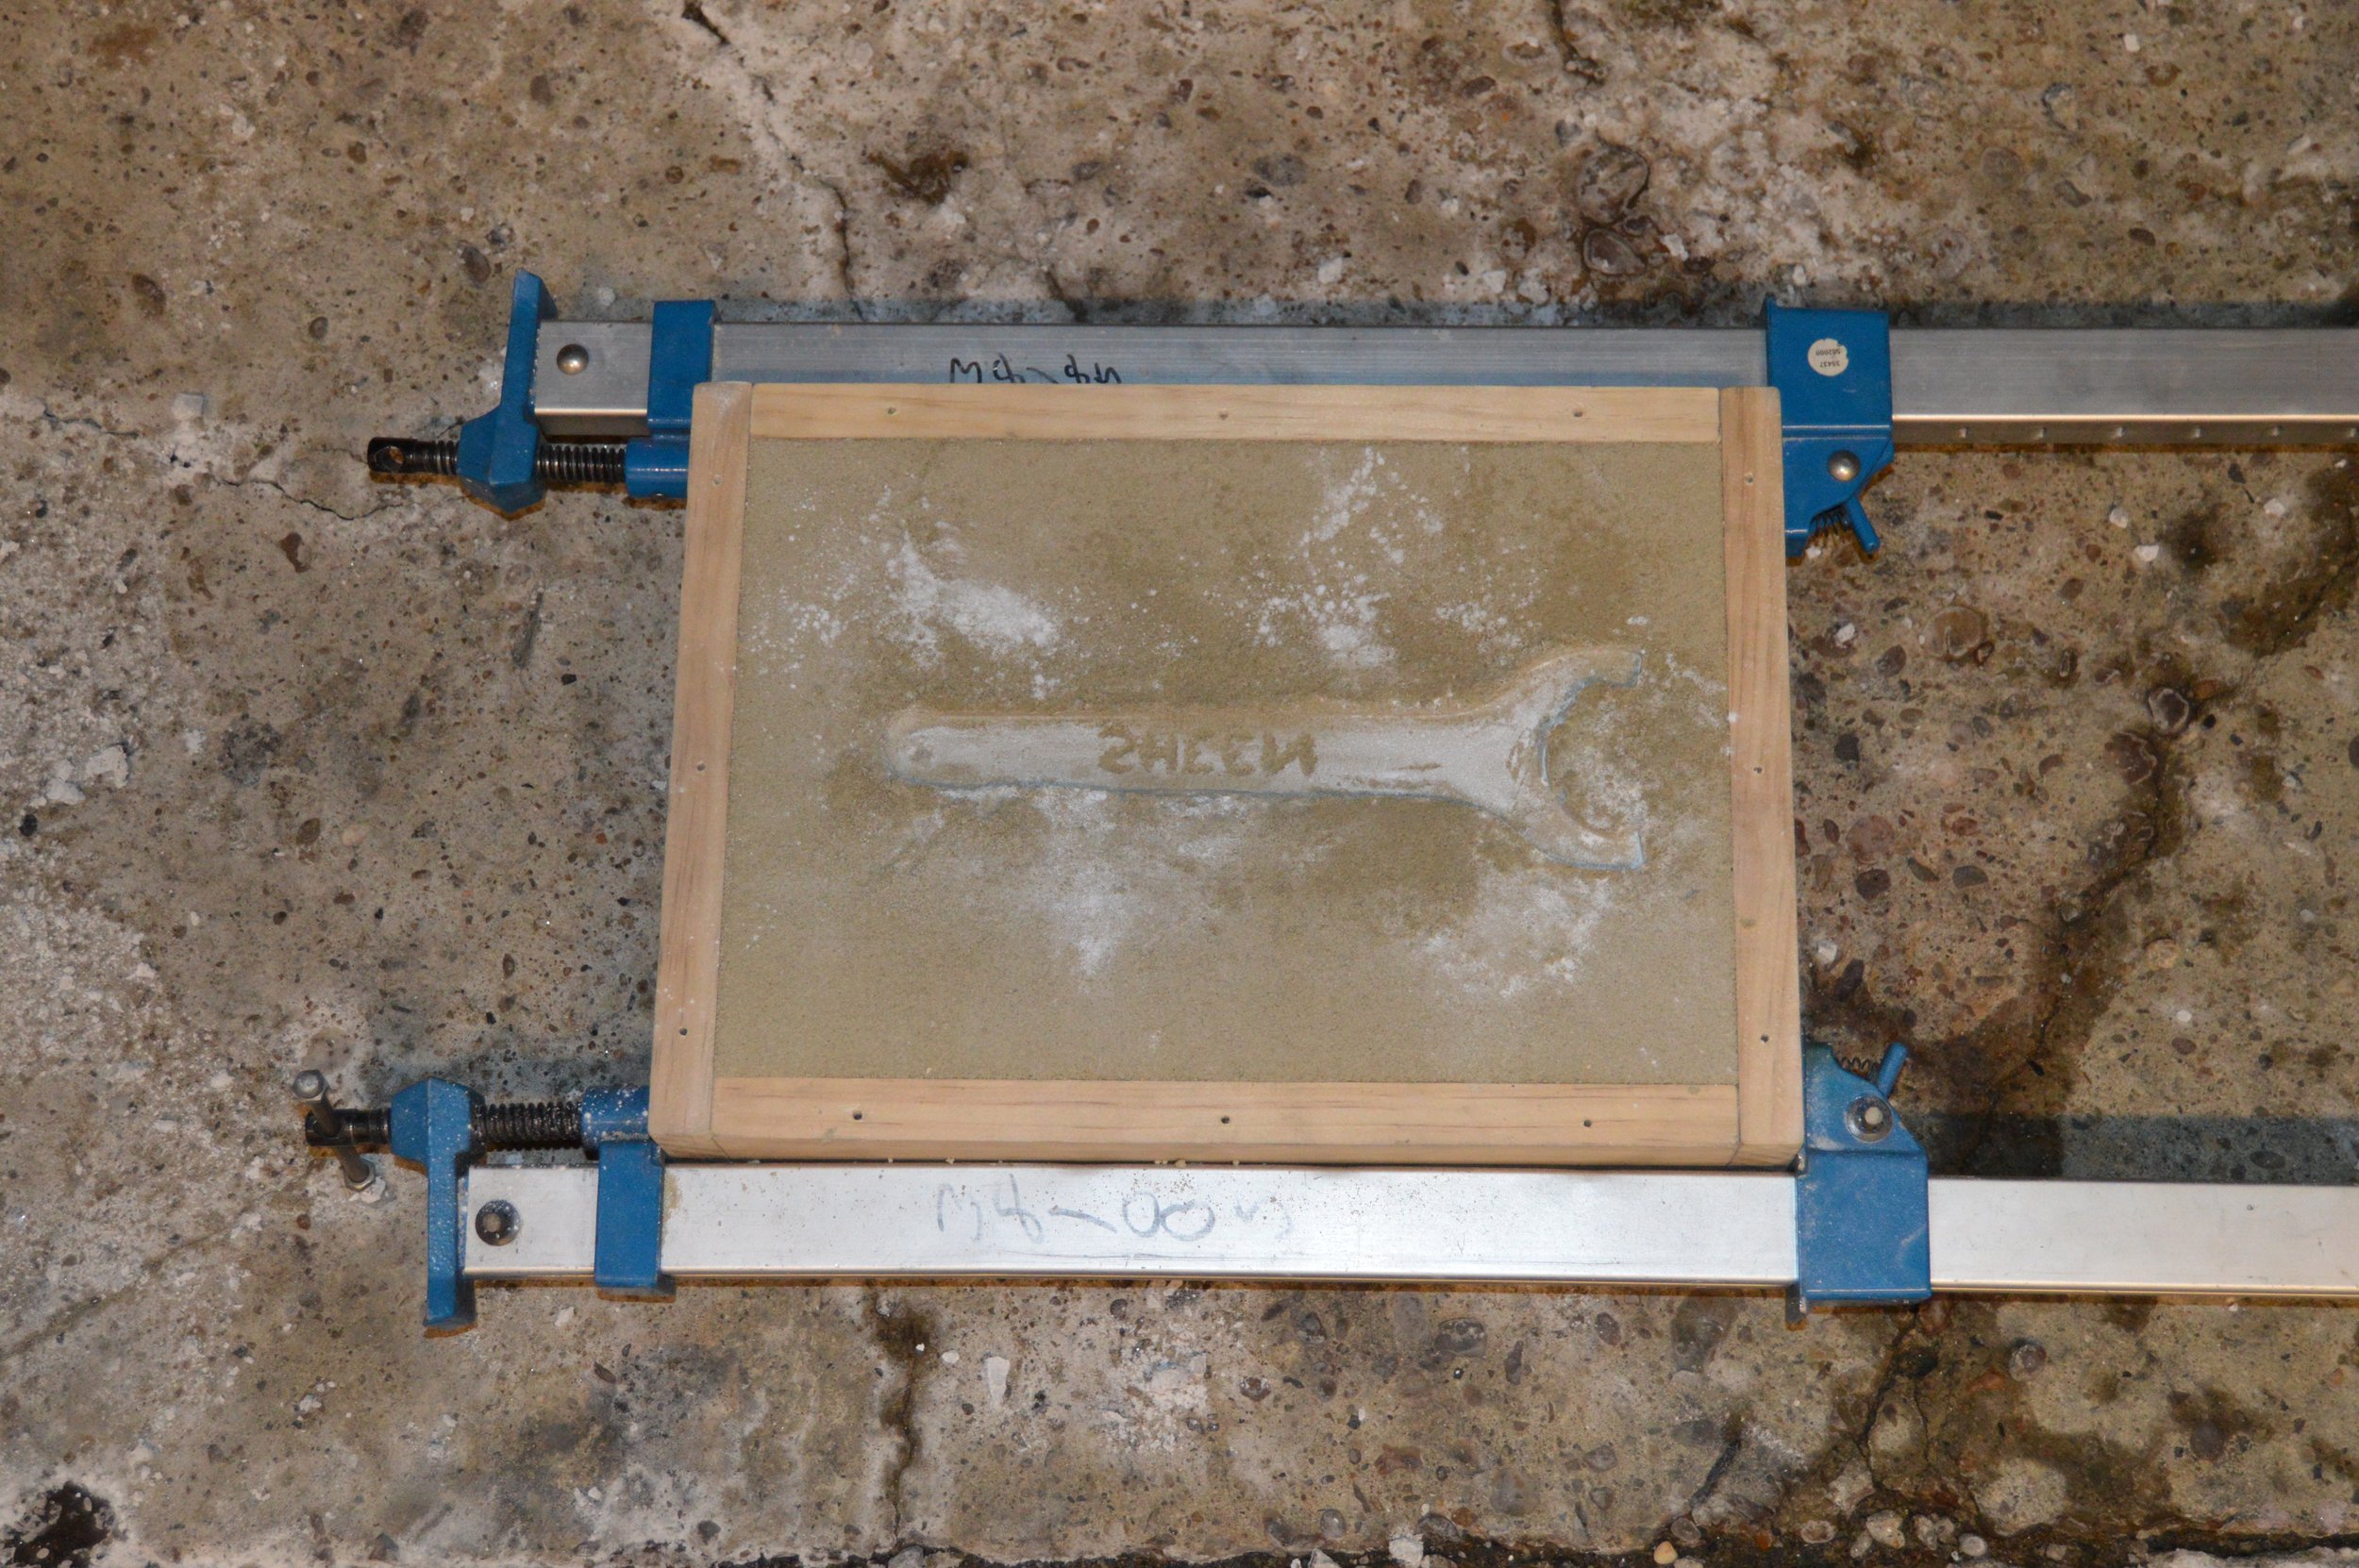
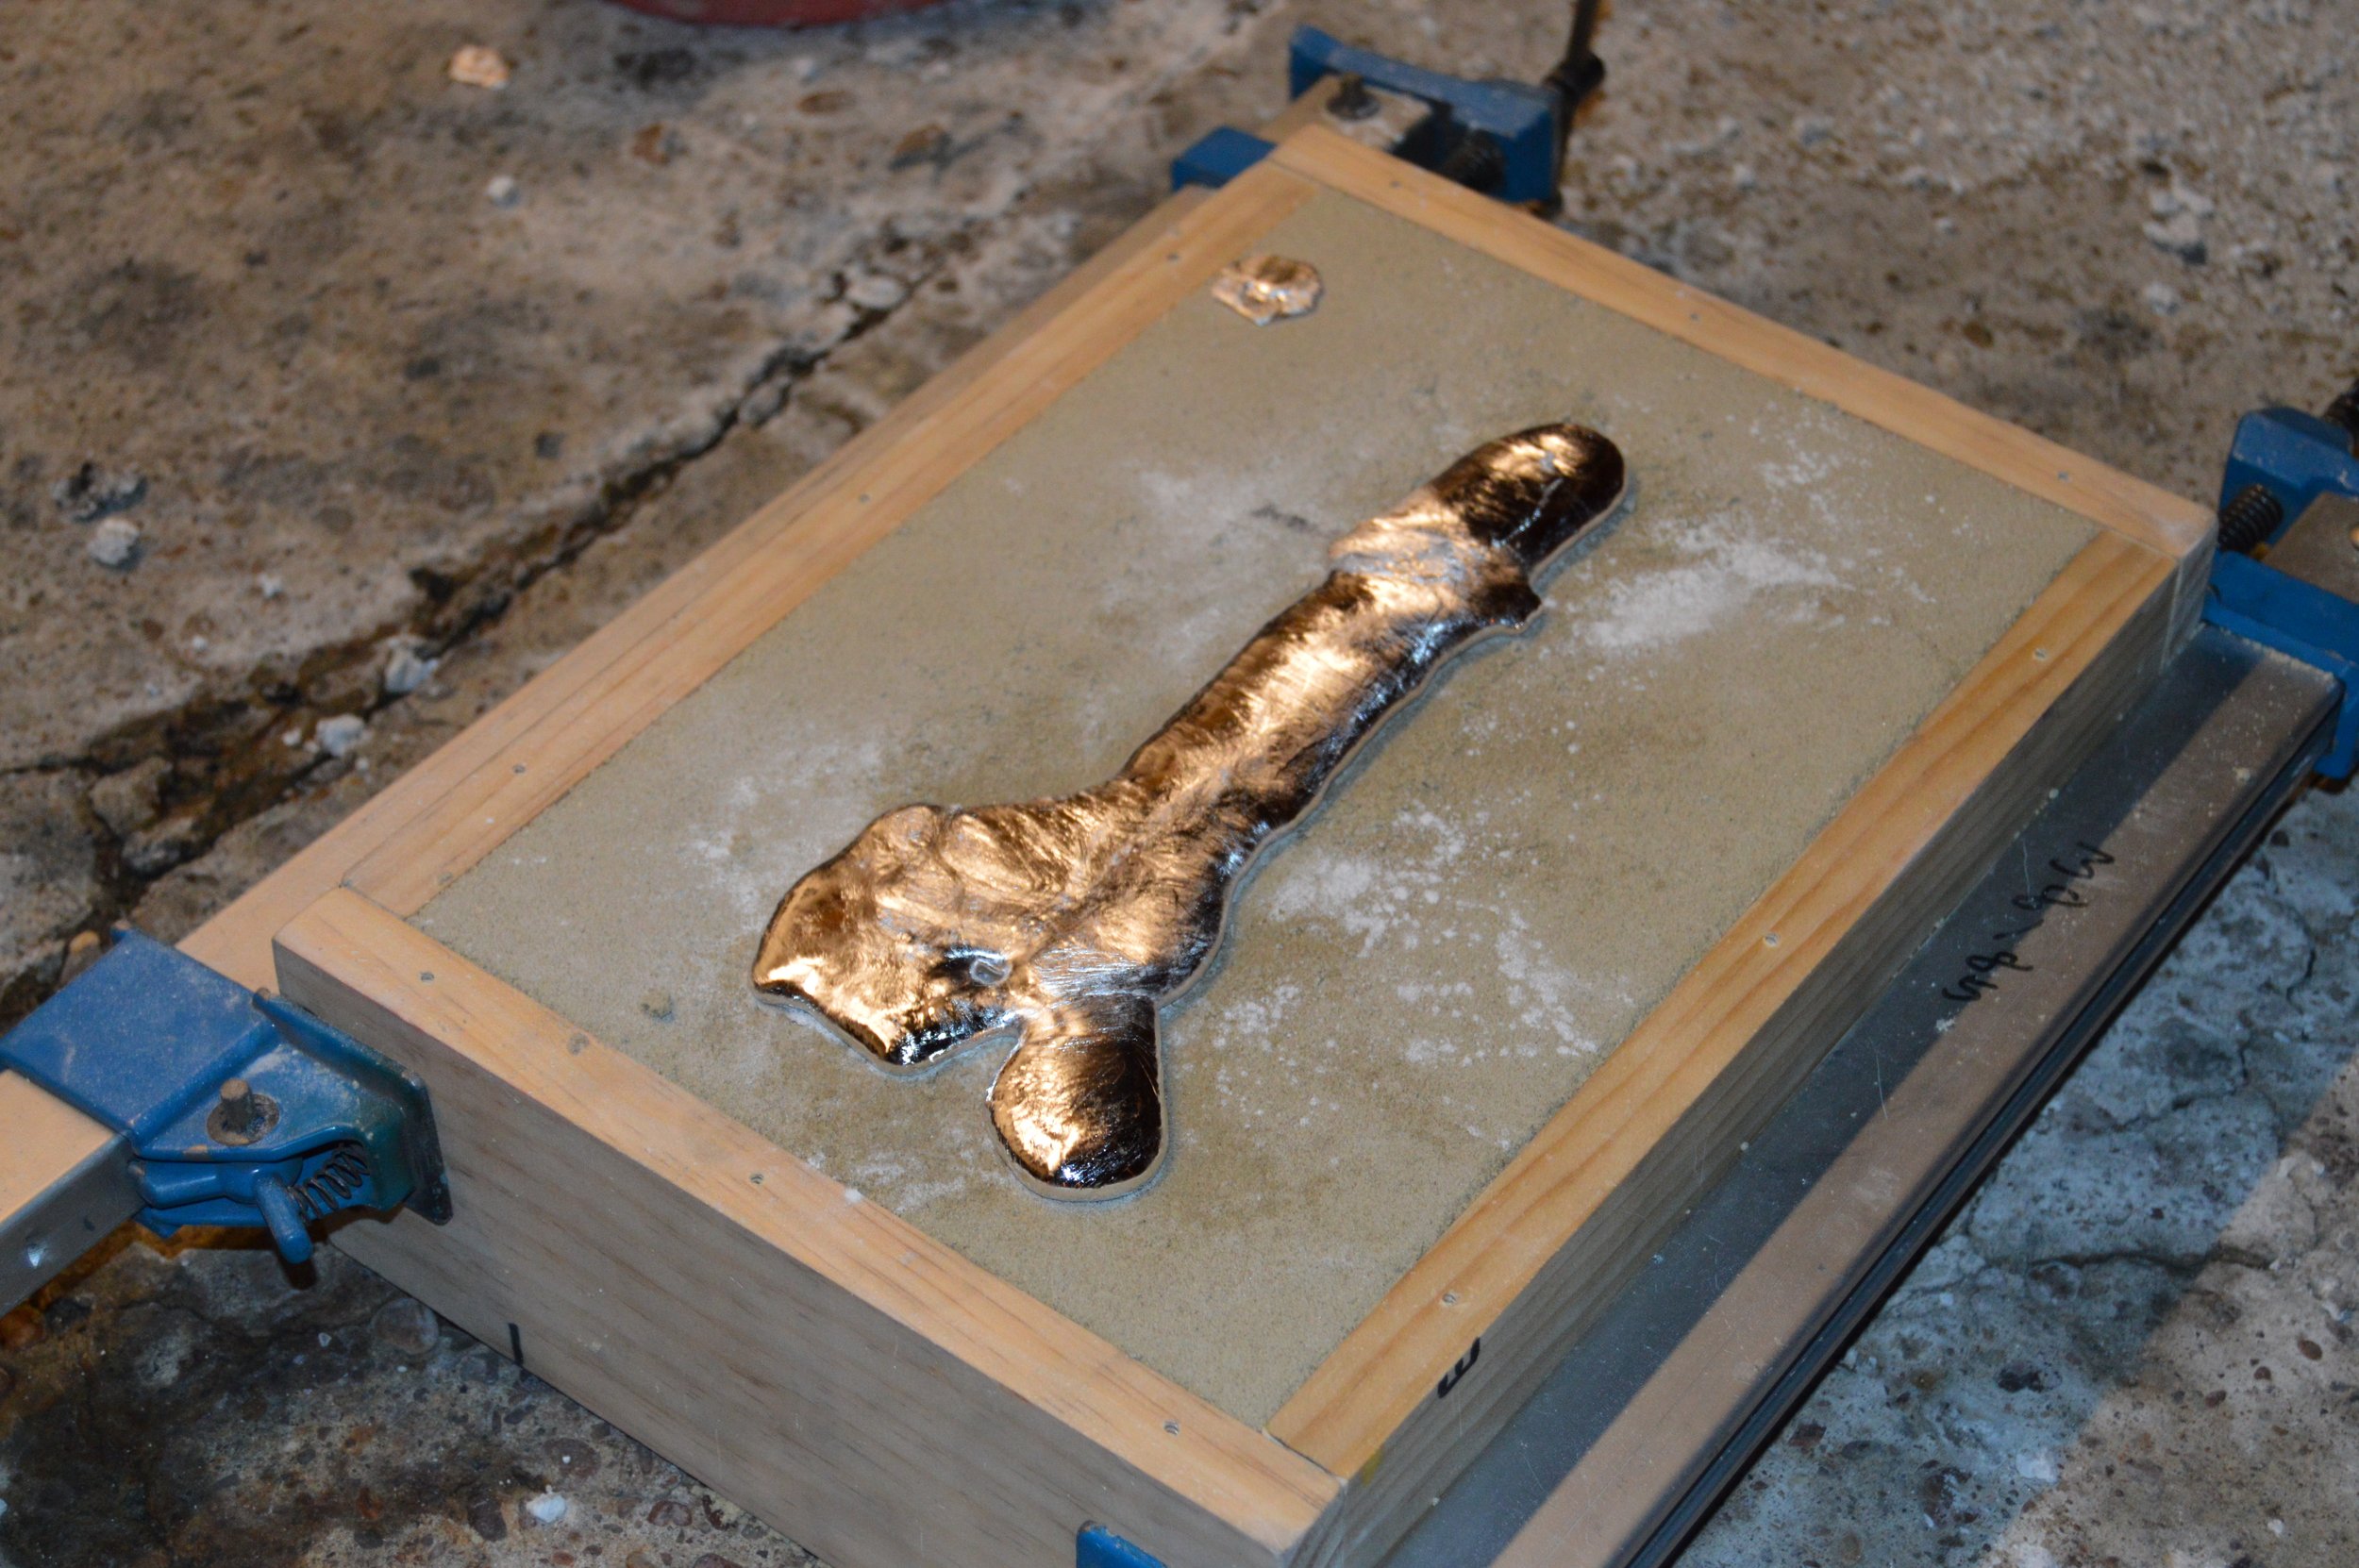
Unfortunately, we only had enough sand to fill one side of the flask, but that did not deter us; Eric used a collet wrench for the pattern, etching his last name into the side. The sand was tamped down to make a hard pack, and the flask was secured with clamps. We were ready to cast:

Casting
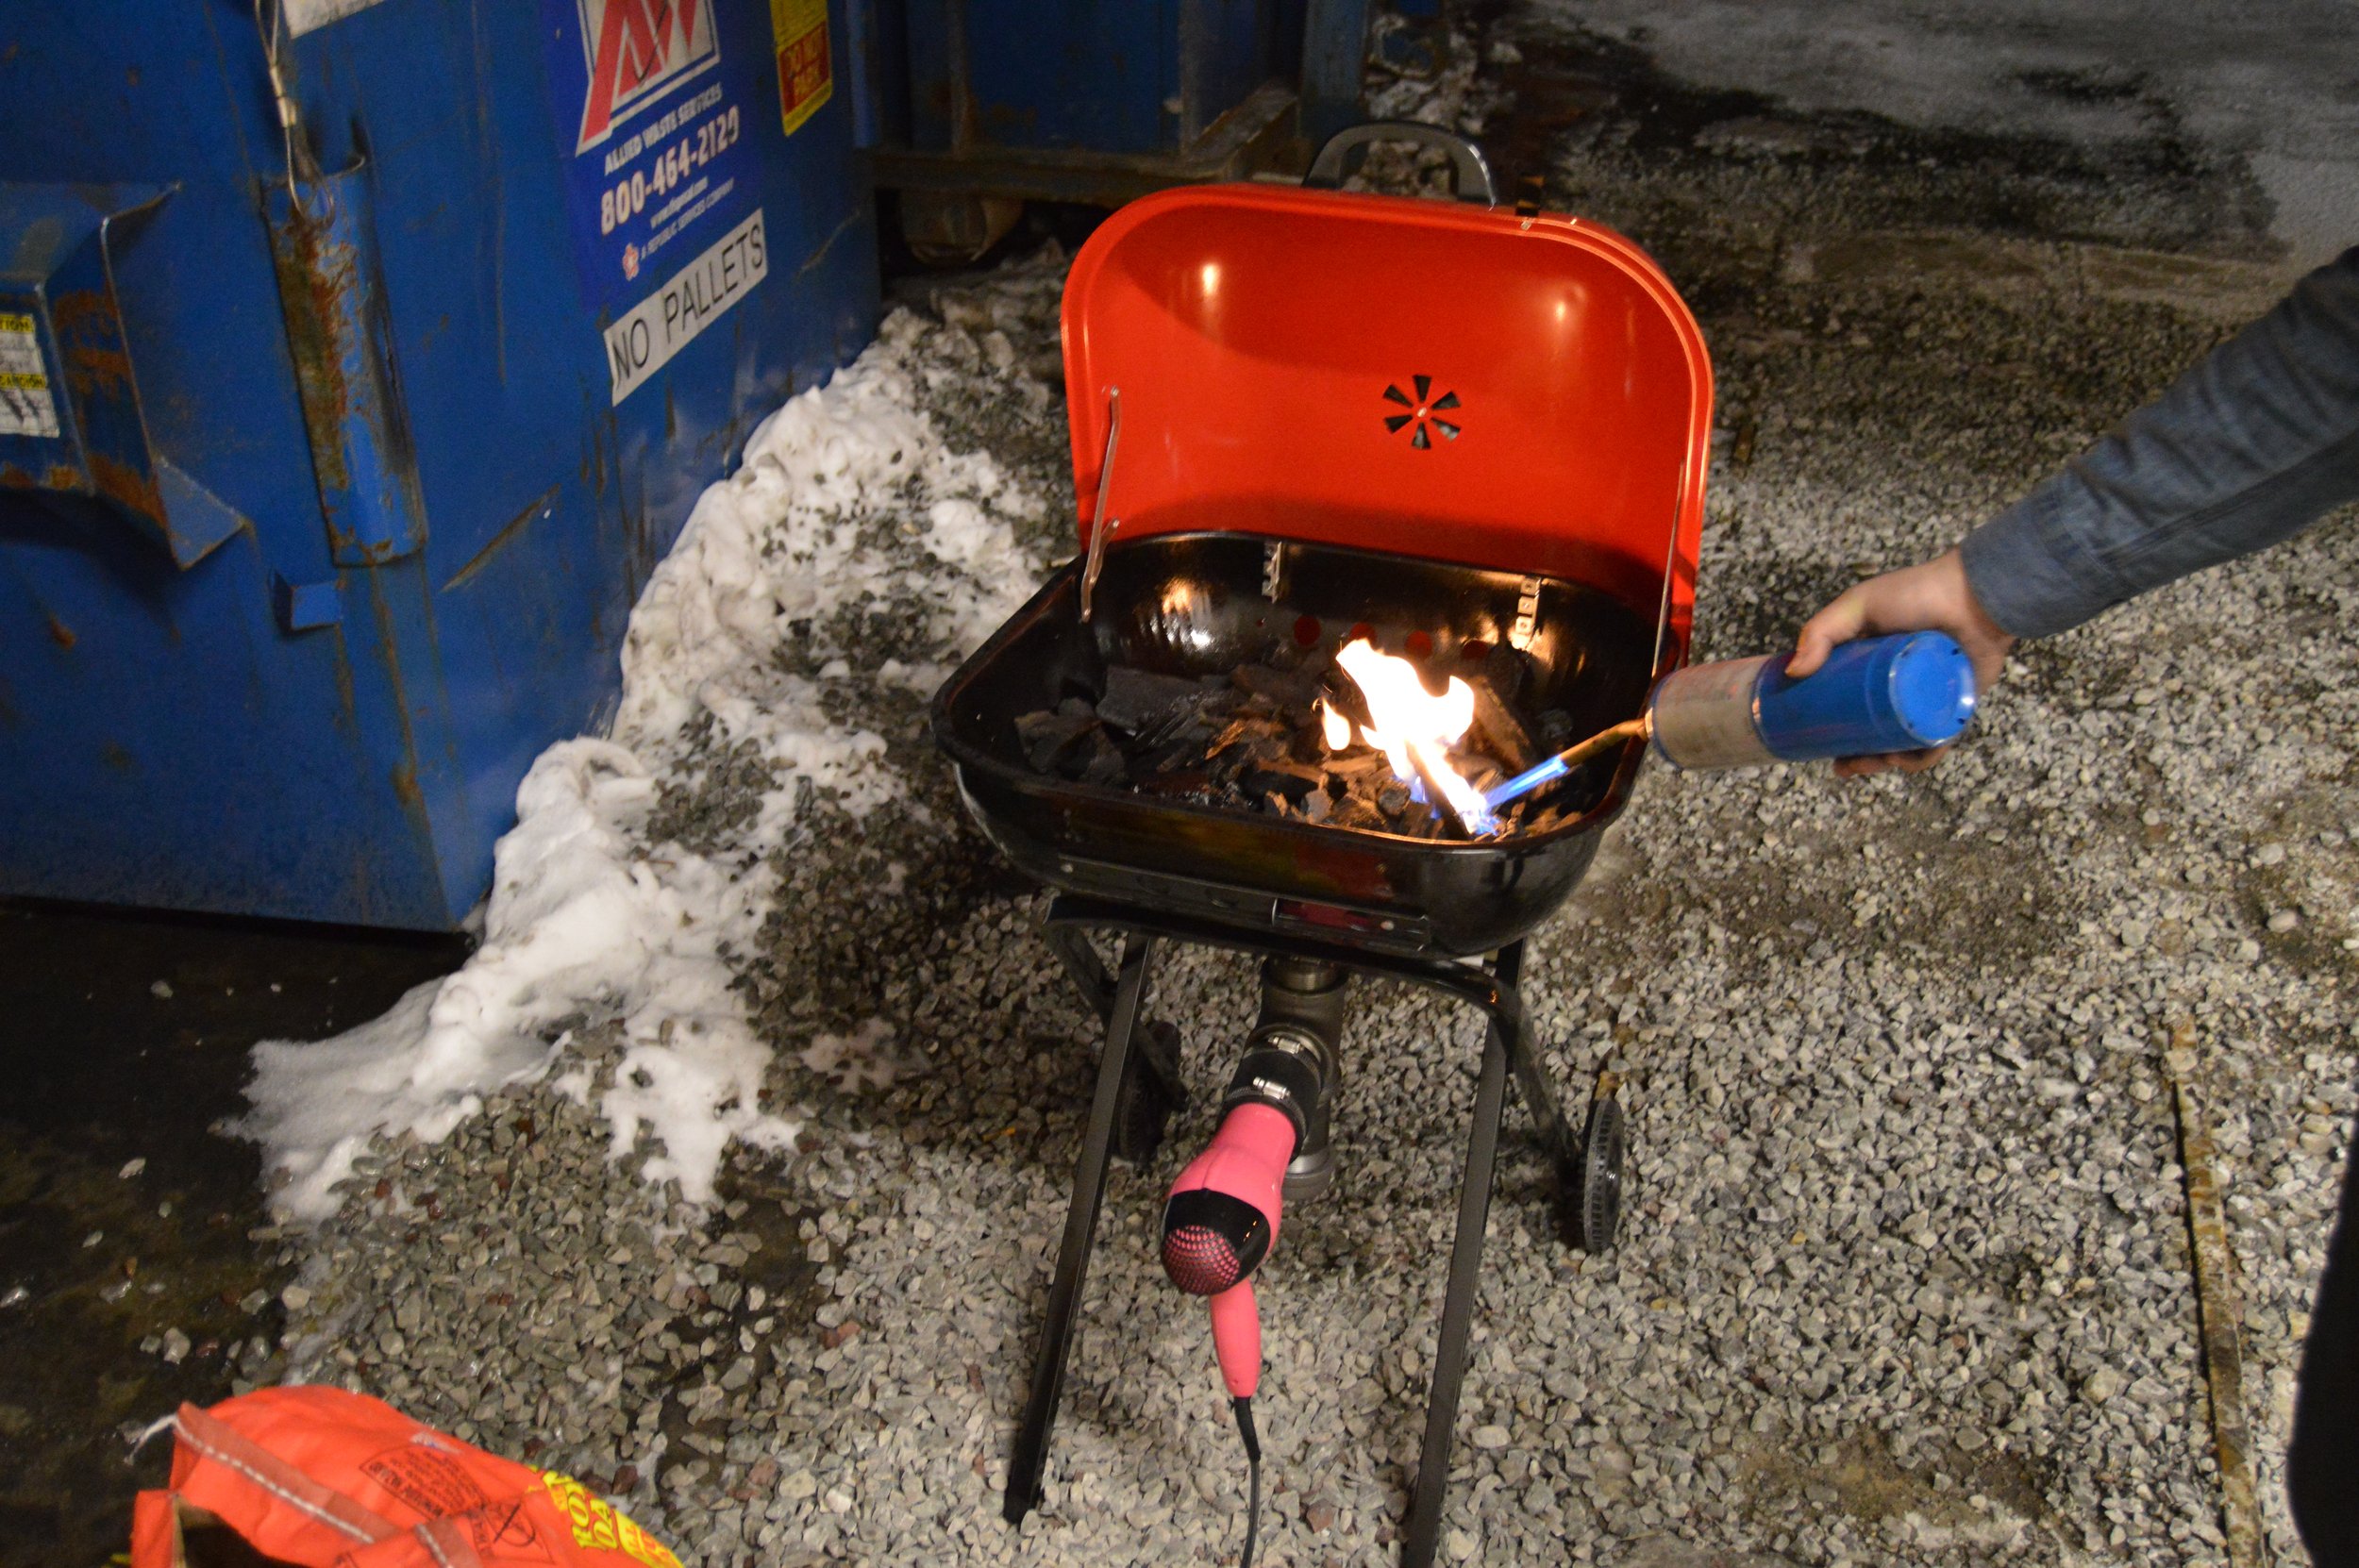
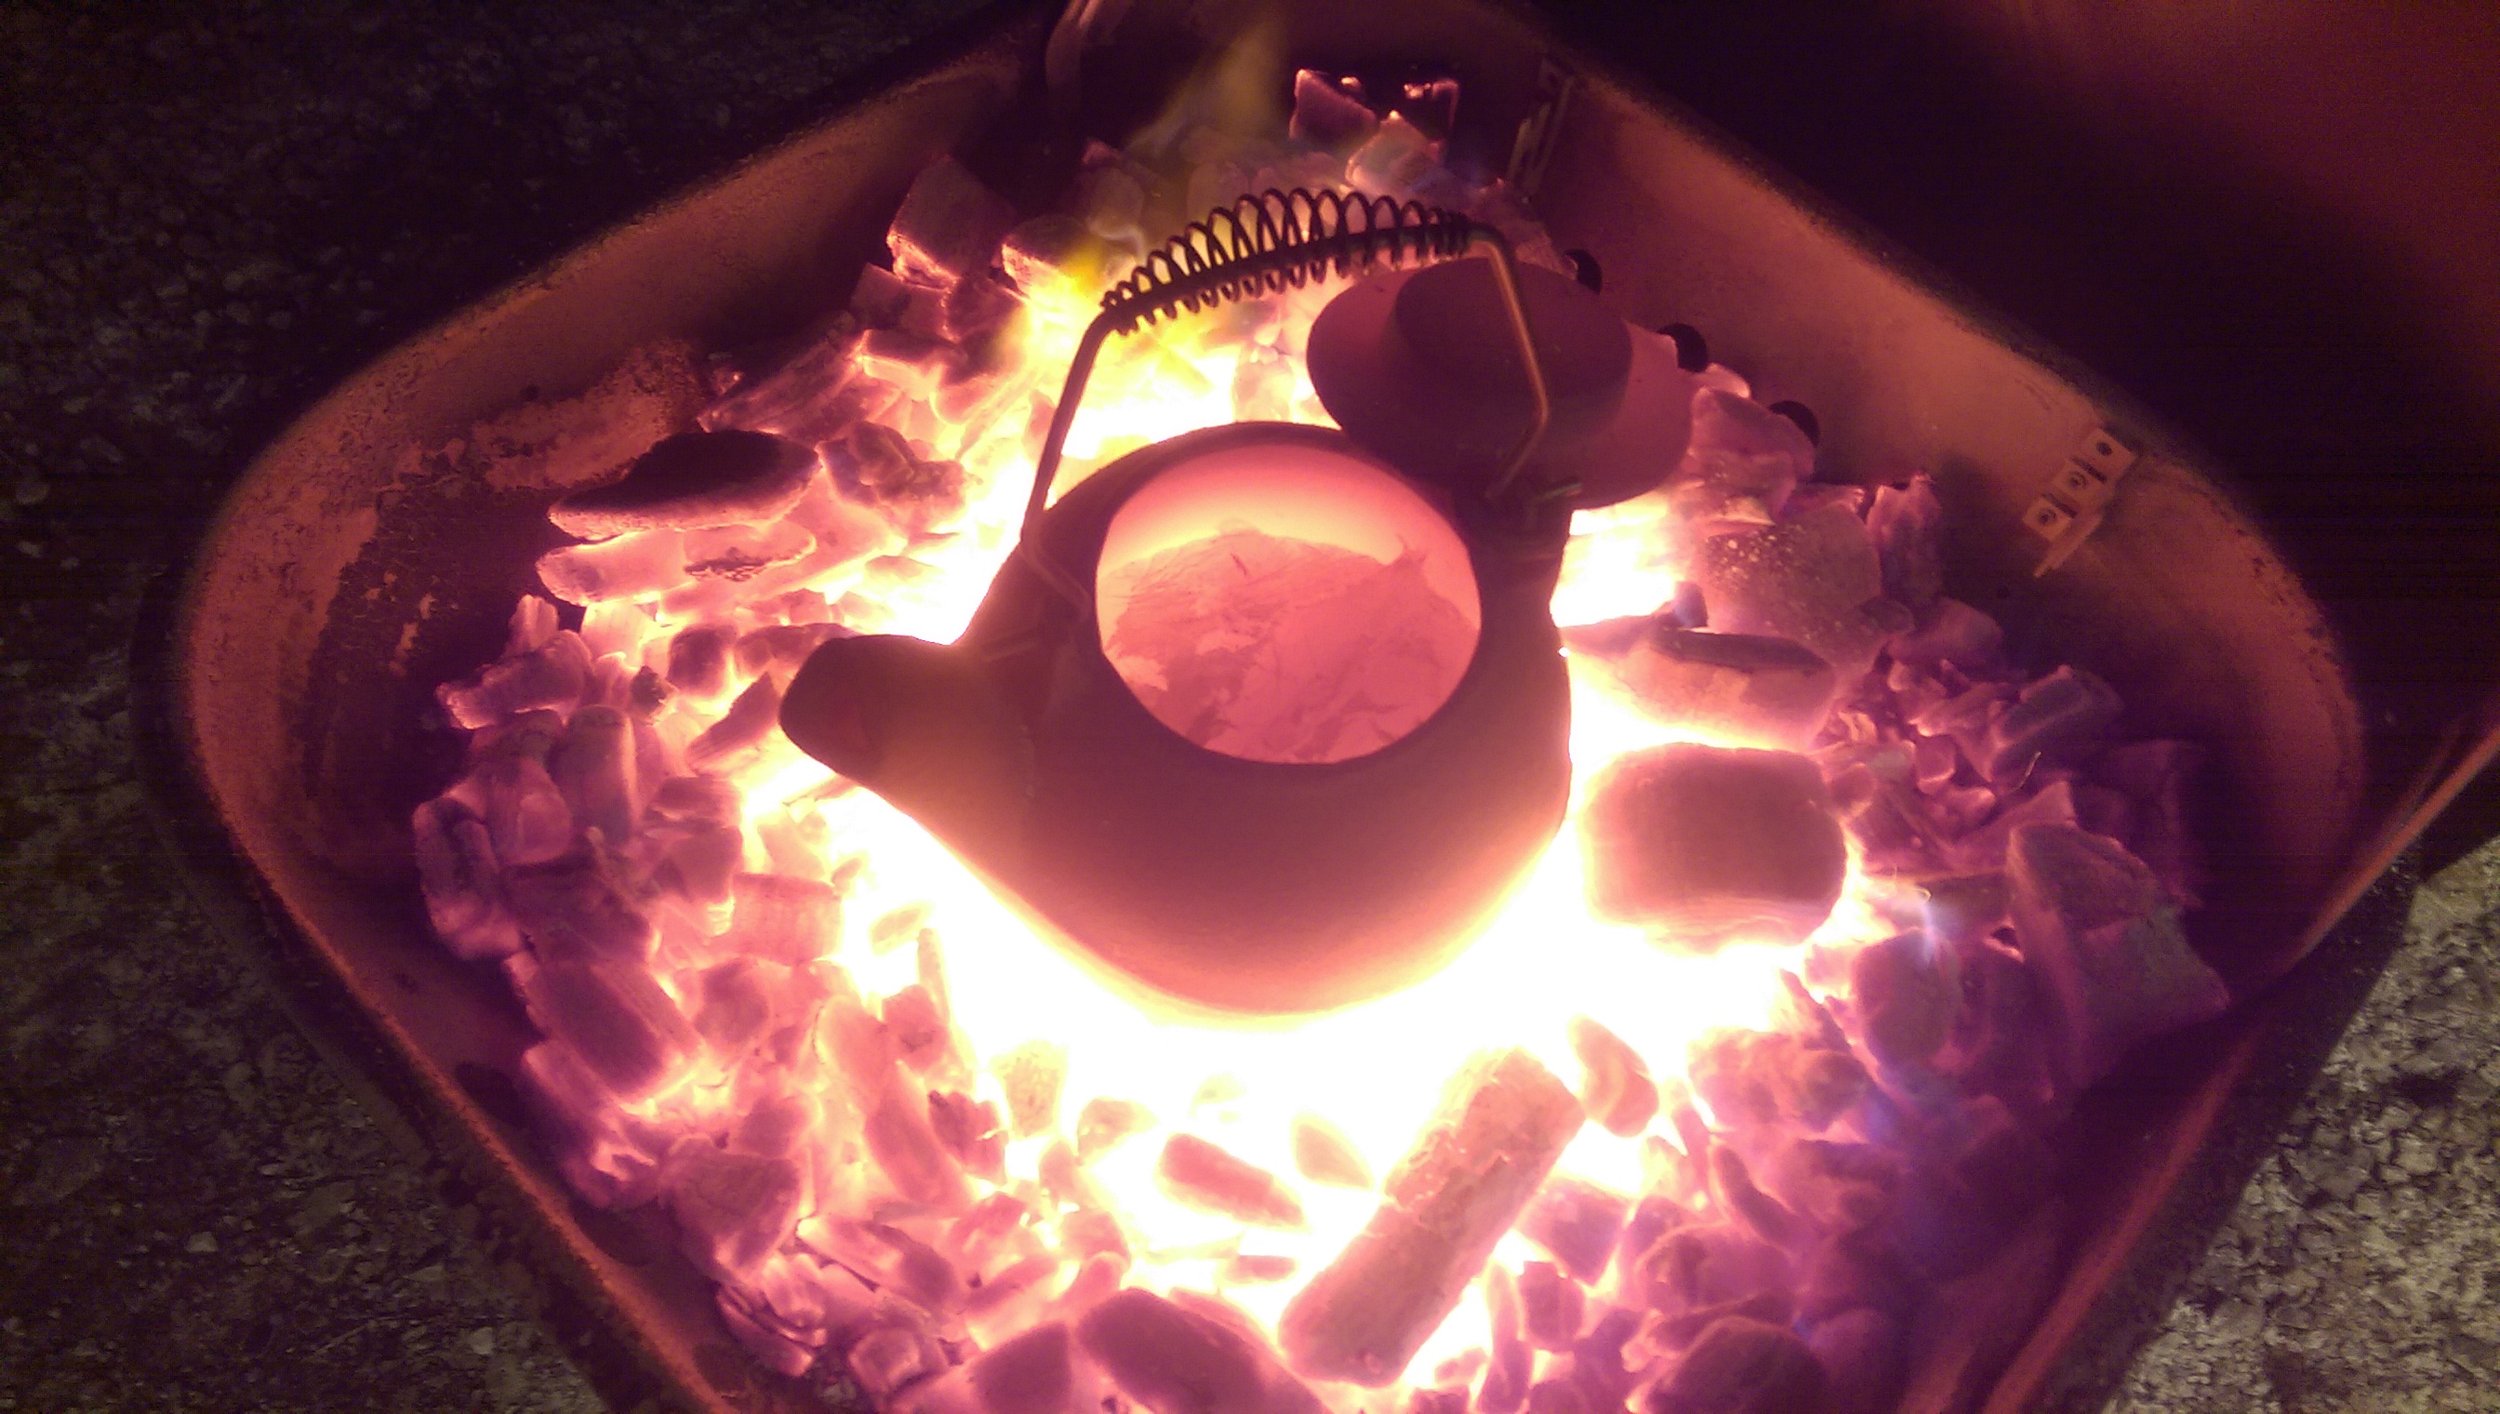
We moved the forge safely outside, filled it with coal, doused it with nearly the whole bottle of lighter fluid, and I lit her up:

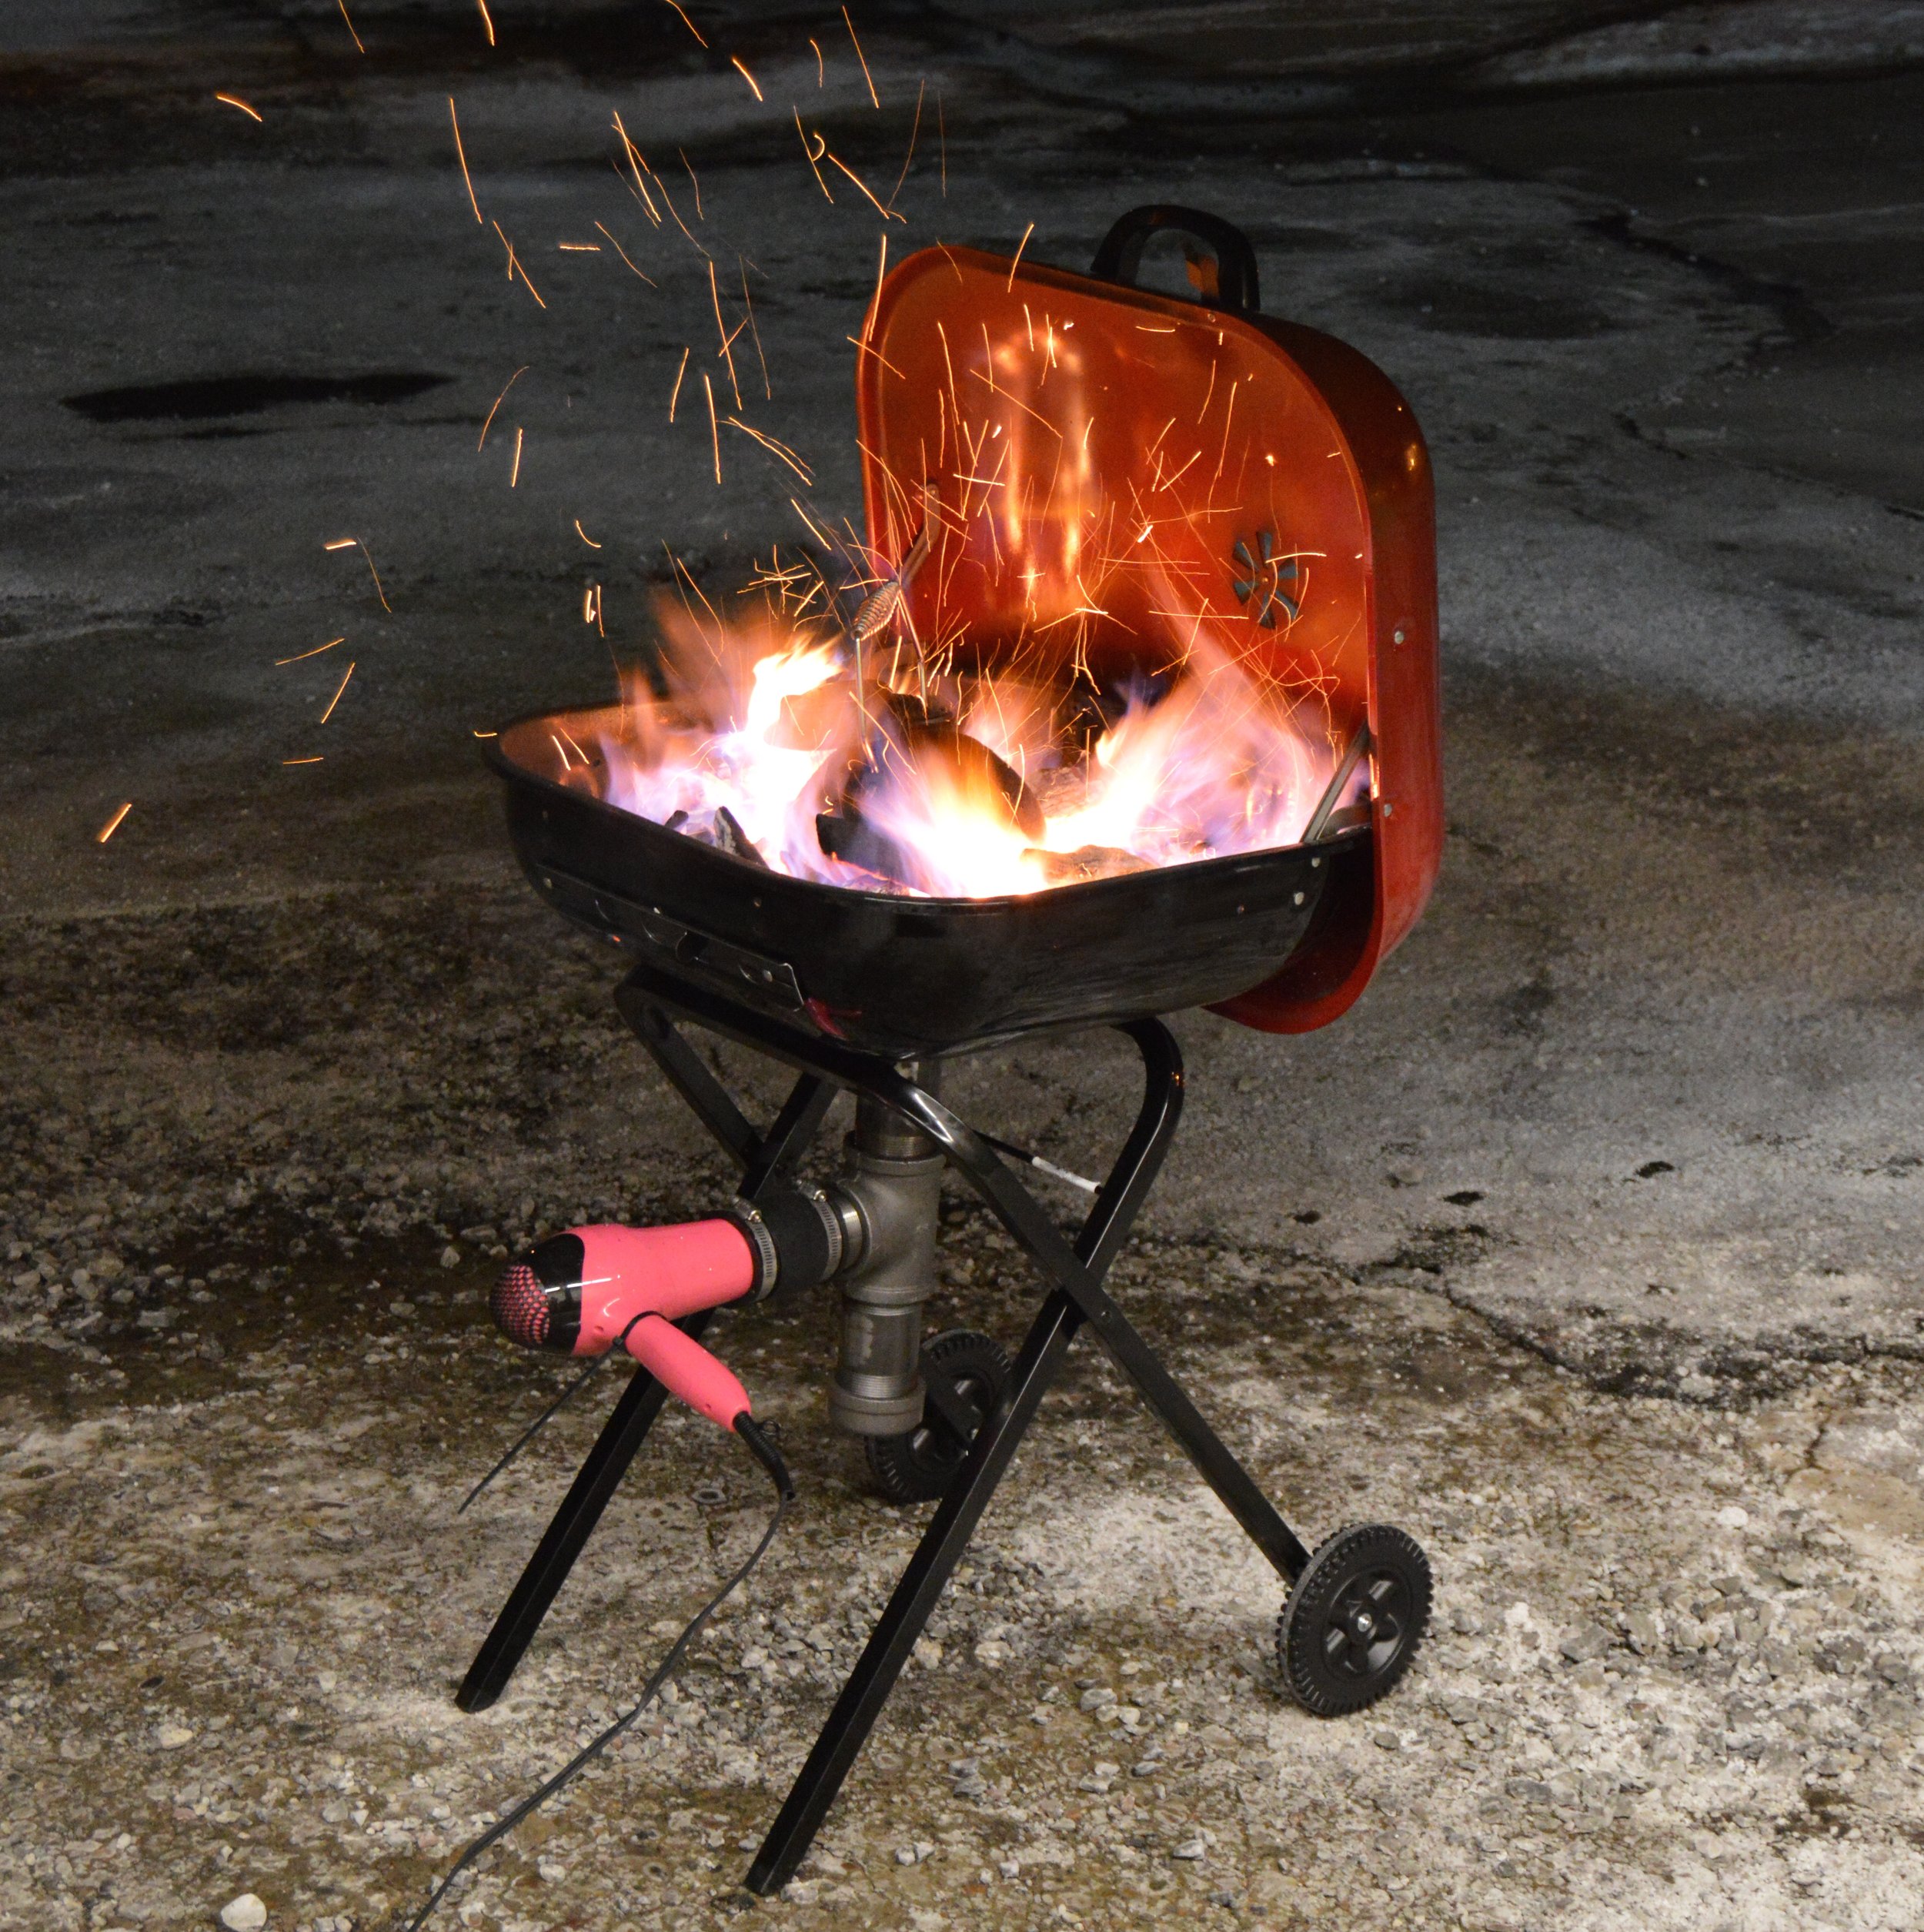
The cast iron pot was filled with scrap aluminum and placed on the bed of coals, and once they were glowing, we fired up the hair dryer. Boy, how did this thing burst to life:

It burned through the coal so fast between the bottom of the kettle and the air holes. I often had to turn off the air, lift the pot out of the way, rake more fuel into the center, and replace the pot. It was awesome how loud and hot the thing got! At one point, we closed the lid, only to have all the grill paint vaporize. Here is a video of the heating:
Before we knew it, we had a liquid aluminum:

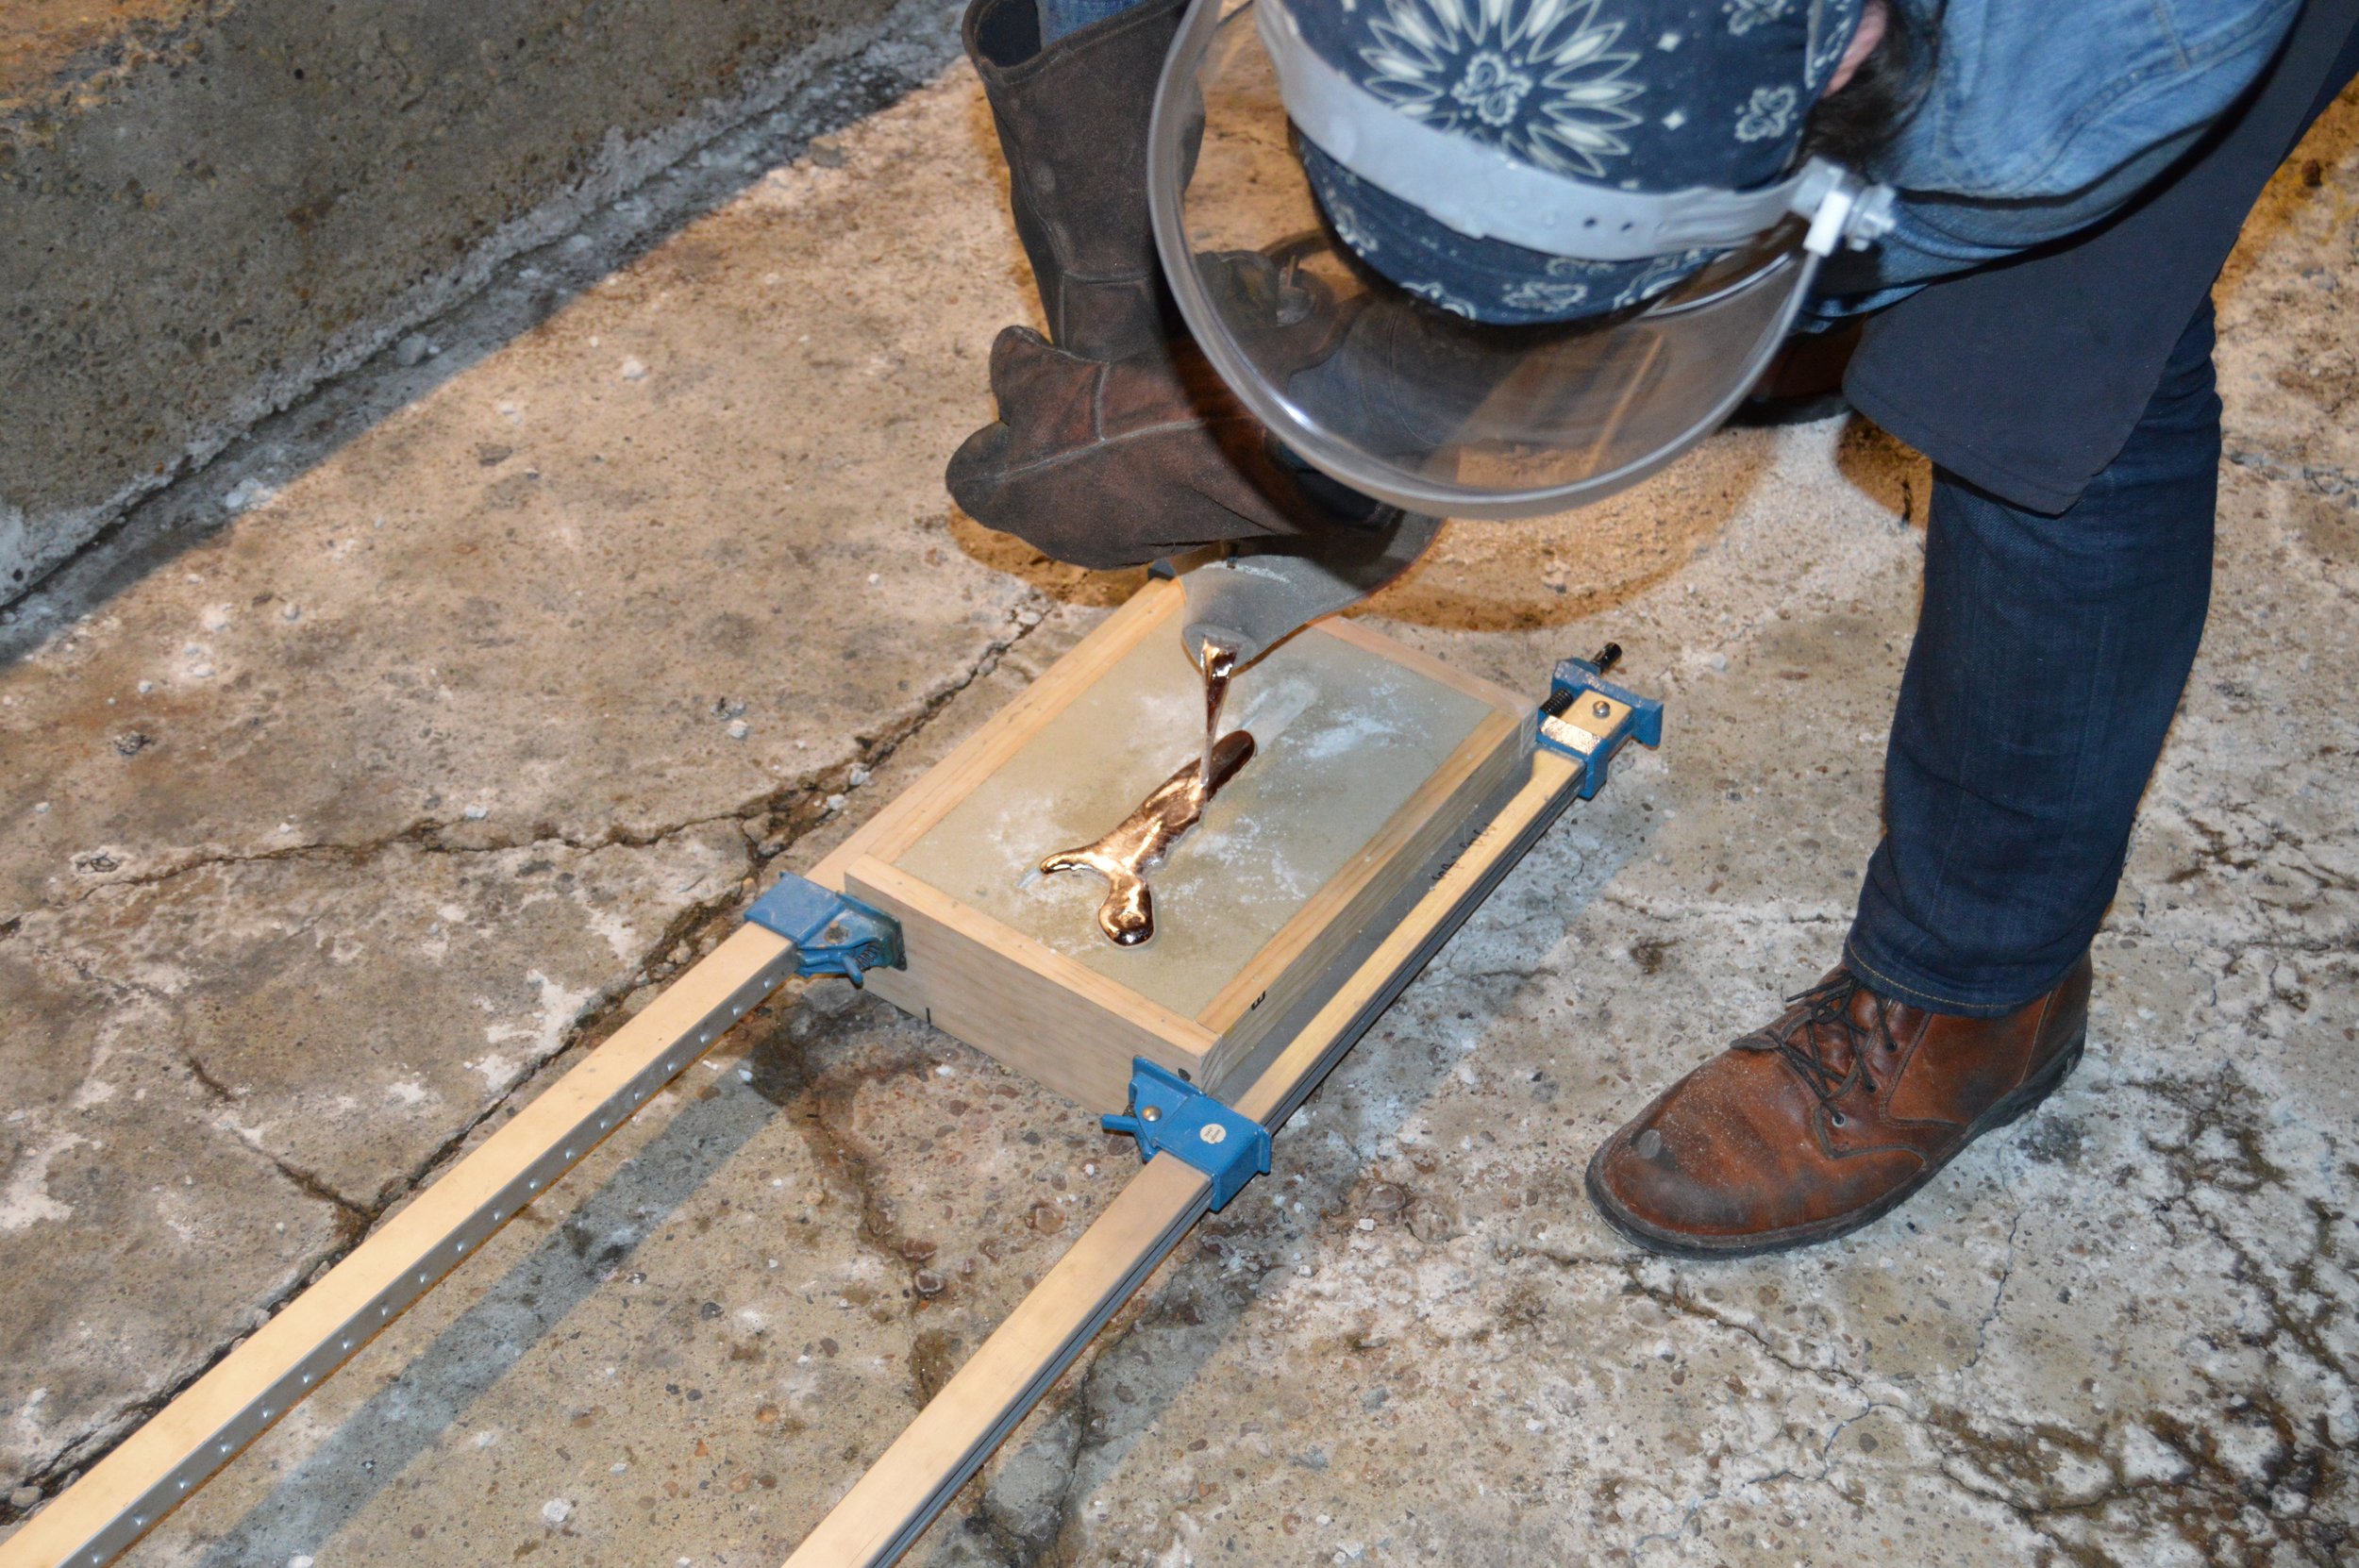
Once the mold was ready, I quickly pulled the kettle off of the forge with the large metal rake, doubled up on my welding gloves, and in one motion, poured the molten metal into the mold:

Let me tell you, this kettle was REALLY hot; I had huge welding gloves on, and I could barely hold it. I had no intuition about molten metal, which apparently has much more surface tension than I’d have guessed. Here, you can see the pour was a little over zealous:

Conclusion
It took no time at all for our casting to cool in the frigid Pittsburgh winter. We popped it out and surveyed our handy work:
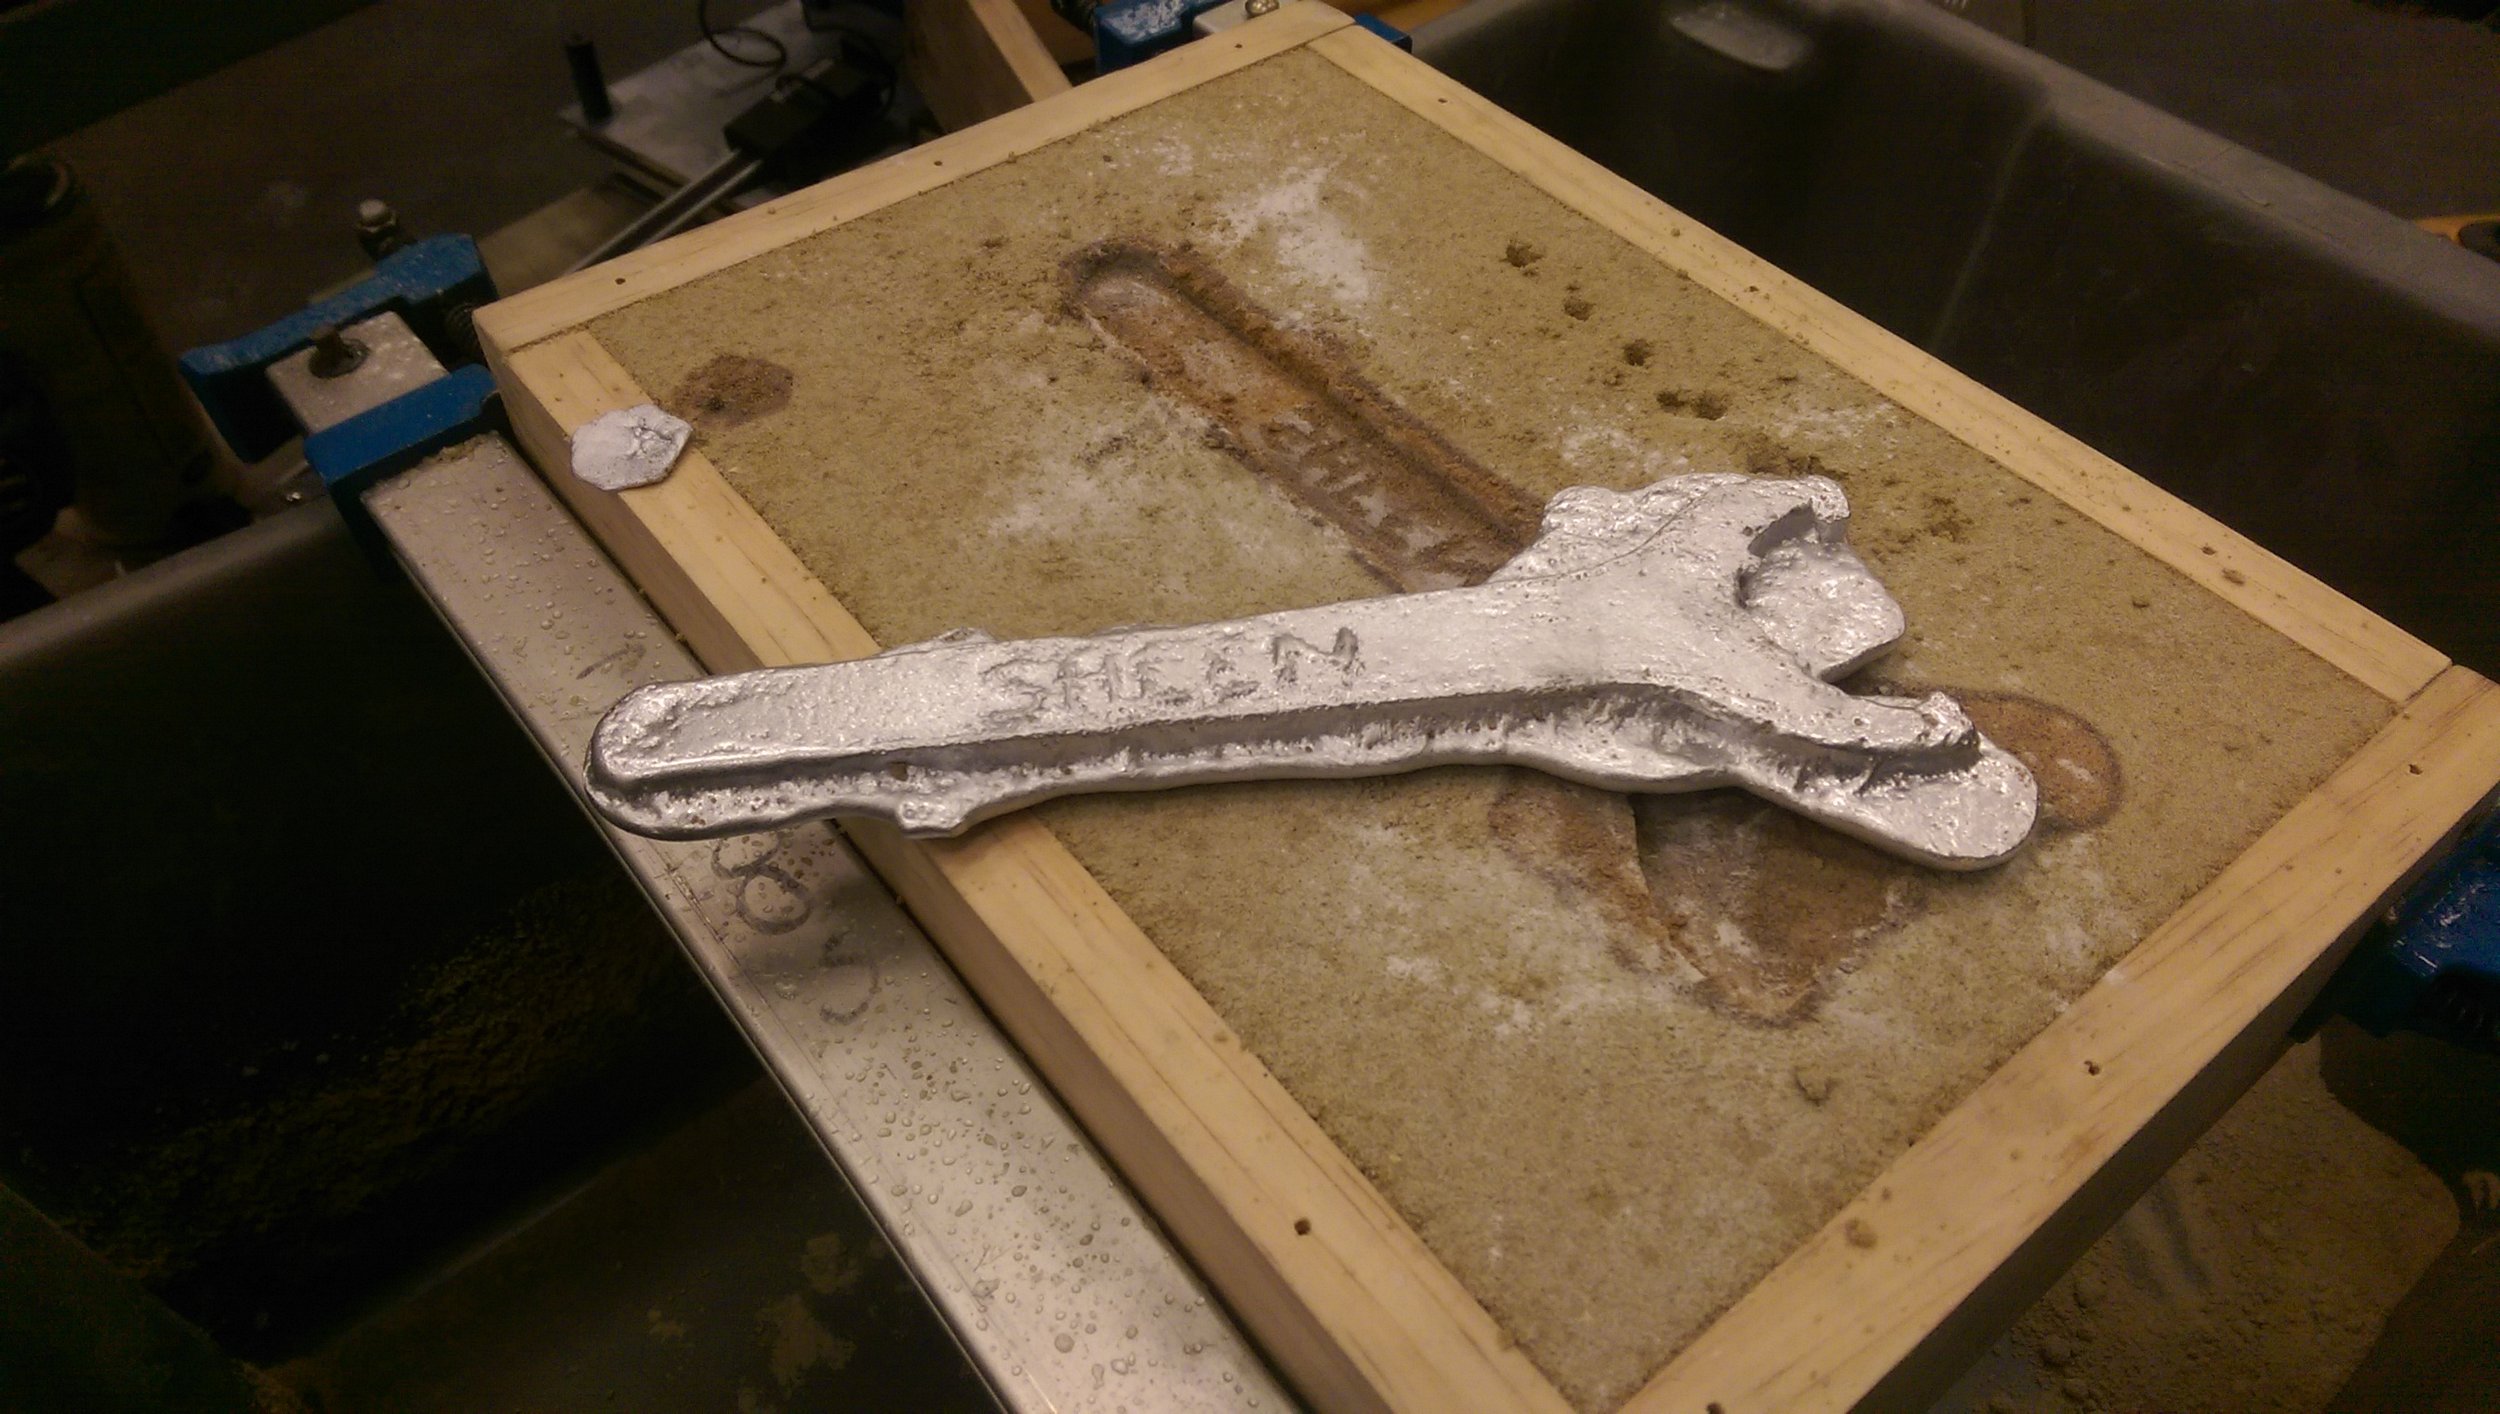
Clearly, we have a lot to learn about casting, but this first foray taught us so much. Some lessons learned include:
Use both sides of the flask; you need to have something preventing the overflow.
Use much finer sand and a little more clay; our sand was too coarse and caused a rough cast.
Get real coal. Charcoal burns too fast and requires a lot of attention.
Use some sort of hook/ladle apparatus to make the pour safer.
In all, it was a great experience, from hunting down all the components, to building the forge, to completing a cast. I look forward to the next time the two of us can melt metal again!