
A Shop of My Own
About two weeks ago, we put the finishing touches on the new shop and had a little get together to officially open the Never Stop Building woodworking studio.
It has been a long time in the making. Part of the reason we chose this house a few years ago was the presence of a garage. And though it was strange, having sliding catty-corner doors, it could serve well as a small shop.

It took on several roles leading up to this point; initially as a motorcycle garage, then a basic welding and fabrication space to support the Ford Flophouse build, and up until recently, a forgotten storage space while my studio was housed in a local maker-space. But after a wander in the western woods in late 2017, I knew it was time to focus my efforts on the woodworking craft. A single minded focus.
One thing which was sorely needed to aid this pursuit was a shop of my own: a peaceful, quite place, aesthetically pleasing, filled with well calibrated and precise tools. It was time to finish the variety of renovation projects on this garage, and move in!
The following is a summary of the total renovation project, which occurred in fits and starts over about 2.5 years.
Power Upgrade
When we purchased the house, the garage had a very small sub-panel, fed from the 100 Amp house service. This would not do. Noticing the power pole directly behind our house, it occurred to me that we could possibly get a 3 phase upgrade in addition to a normal "heavy up." With 3 phase power, there would be more options in the type of tools that could be run in the shop; larger industrial grade tools often use 3 phase motors. Long story short, this was possible, however it required some substantial work to prepare the site for the electric company to install a 200 Amp single phase and 100 Amp 3 phase service.

For a 3-phase power upgrade, a commercial service was required. This meant we had to install a 24 foot steel w-beam as a mast for the drops from the power pole. Installing this was a challenge given limited equipment. Read more about that here.

Buried conduit was installed from the garage under the patio and kitchen and into the basement. The new power service would terminate in panels in the garage with 100 Amps sent back to the original main house panel in the basement.
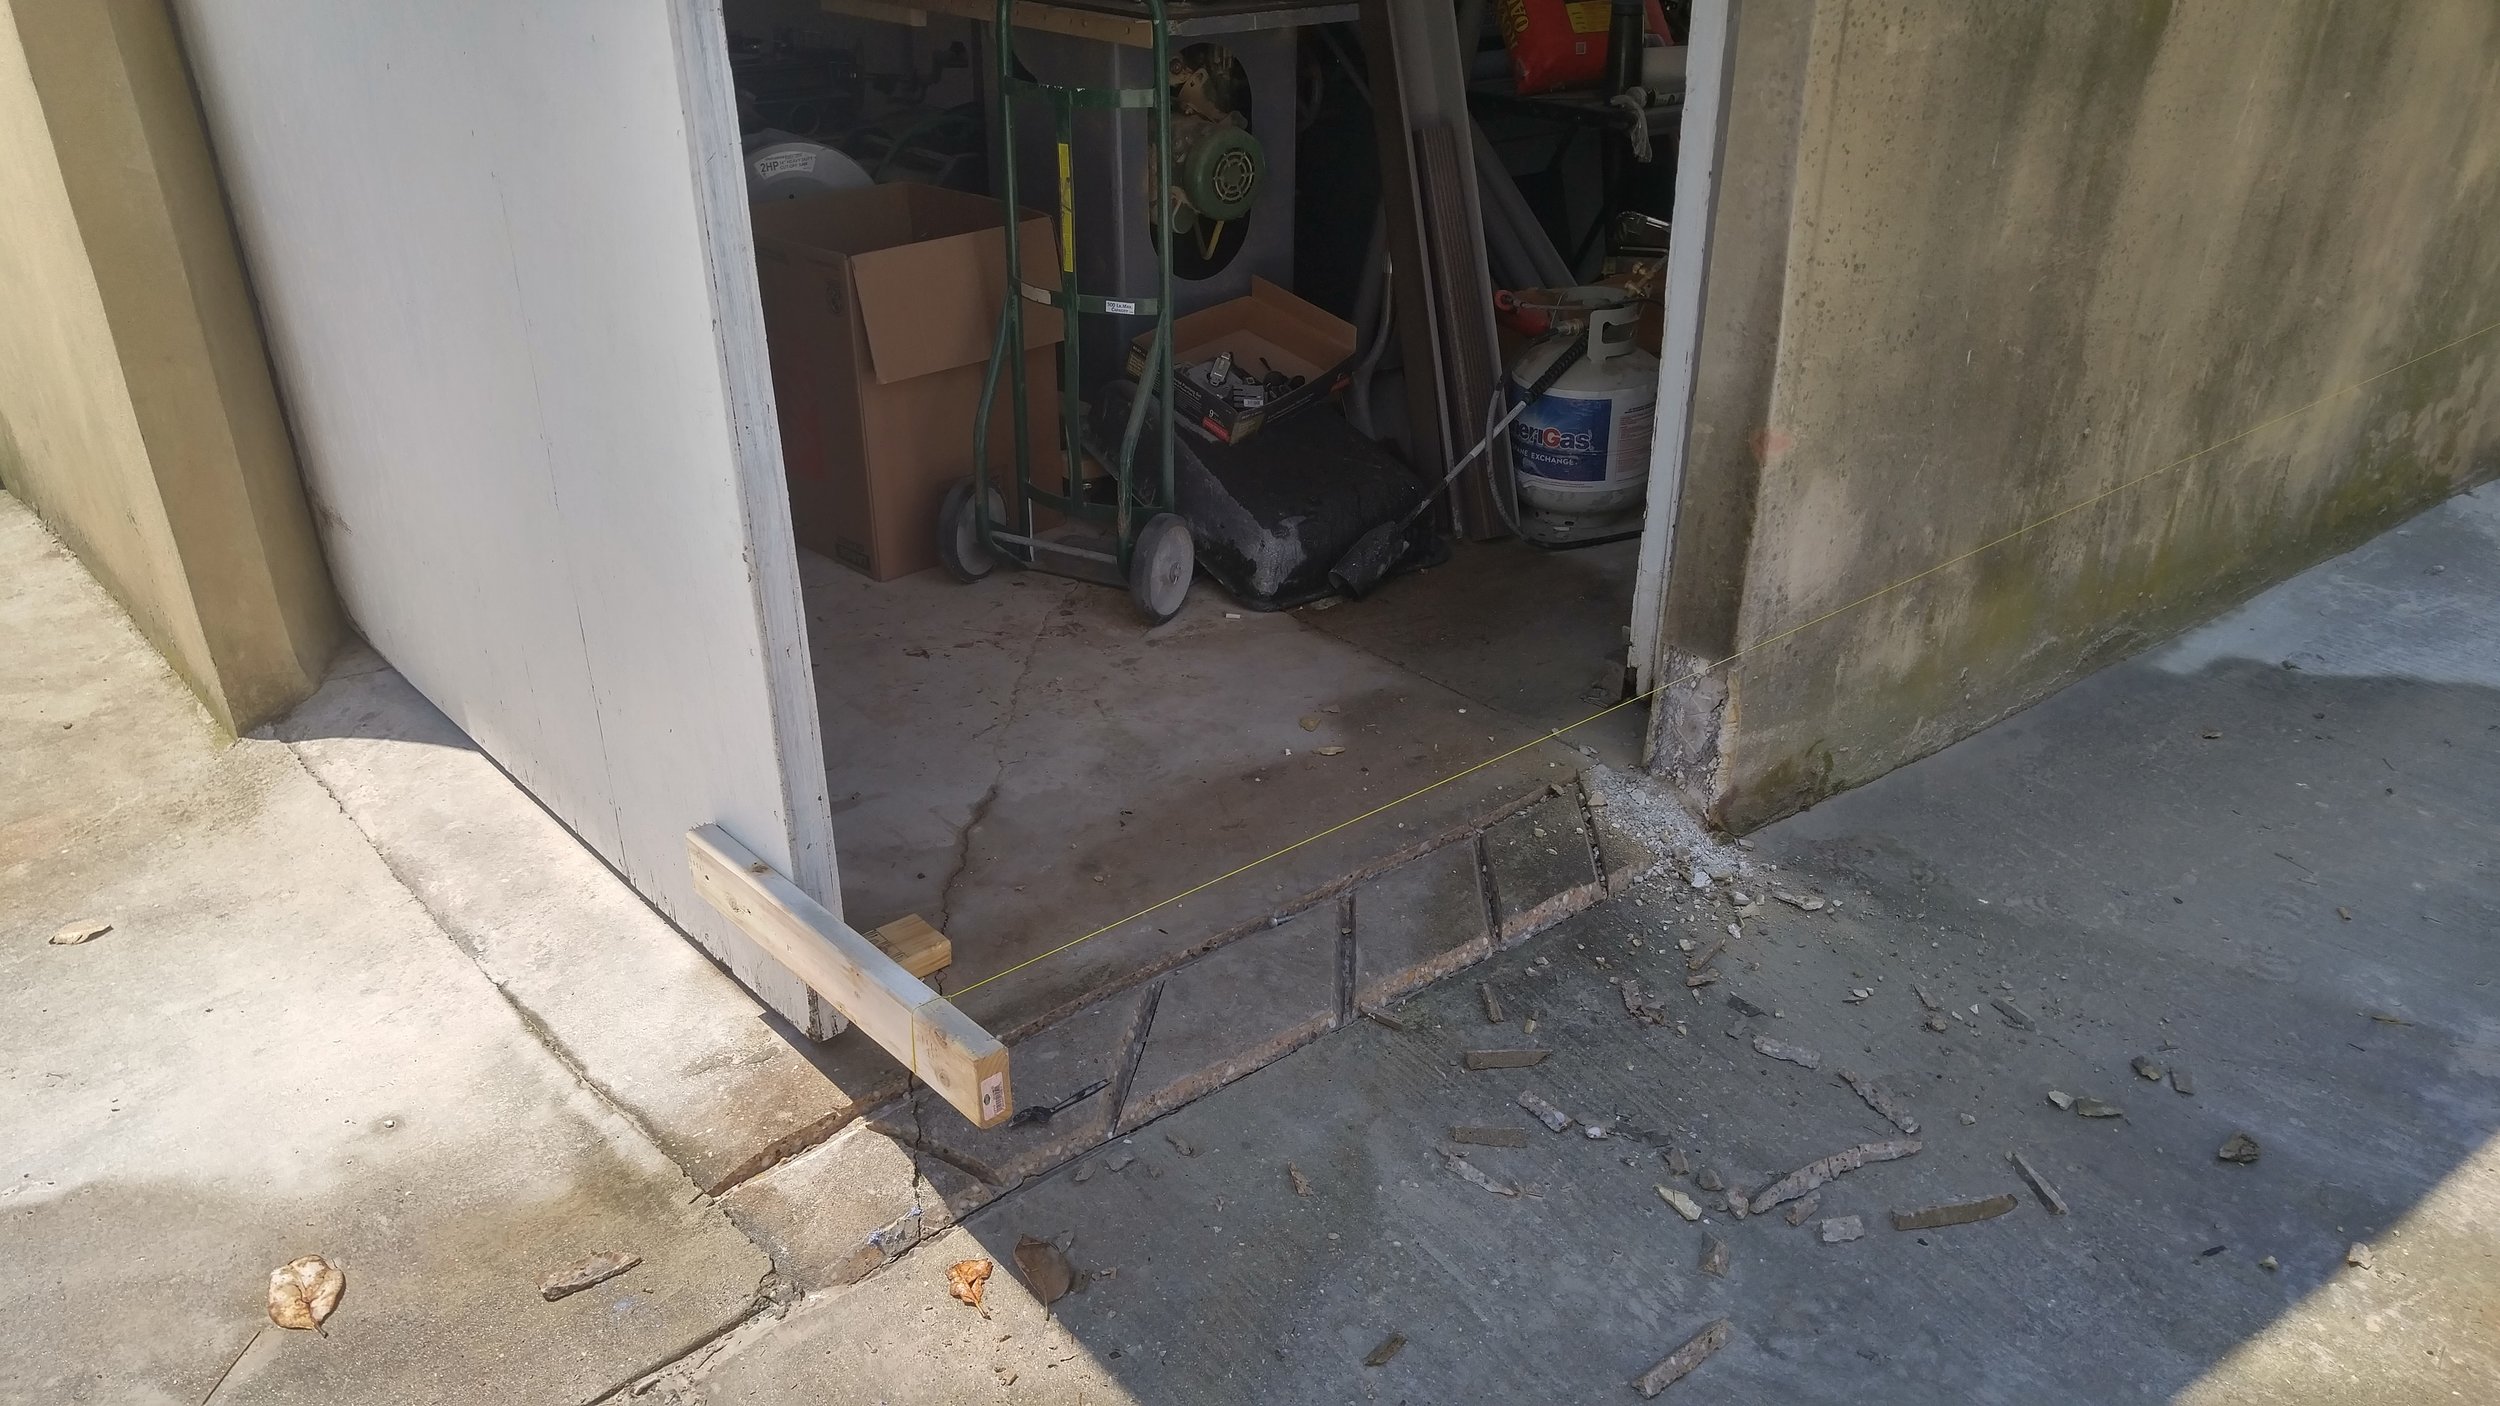
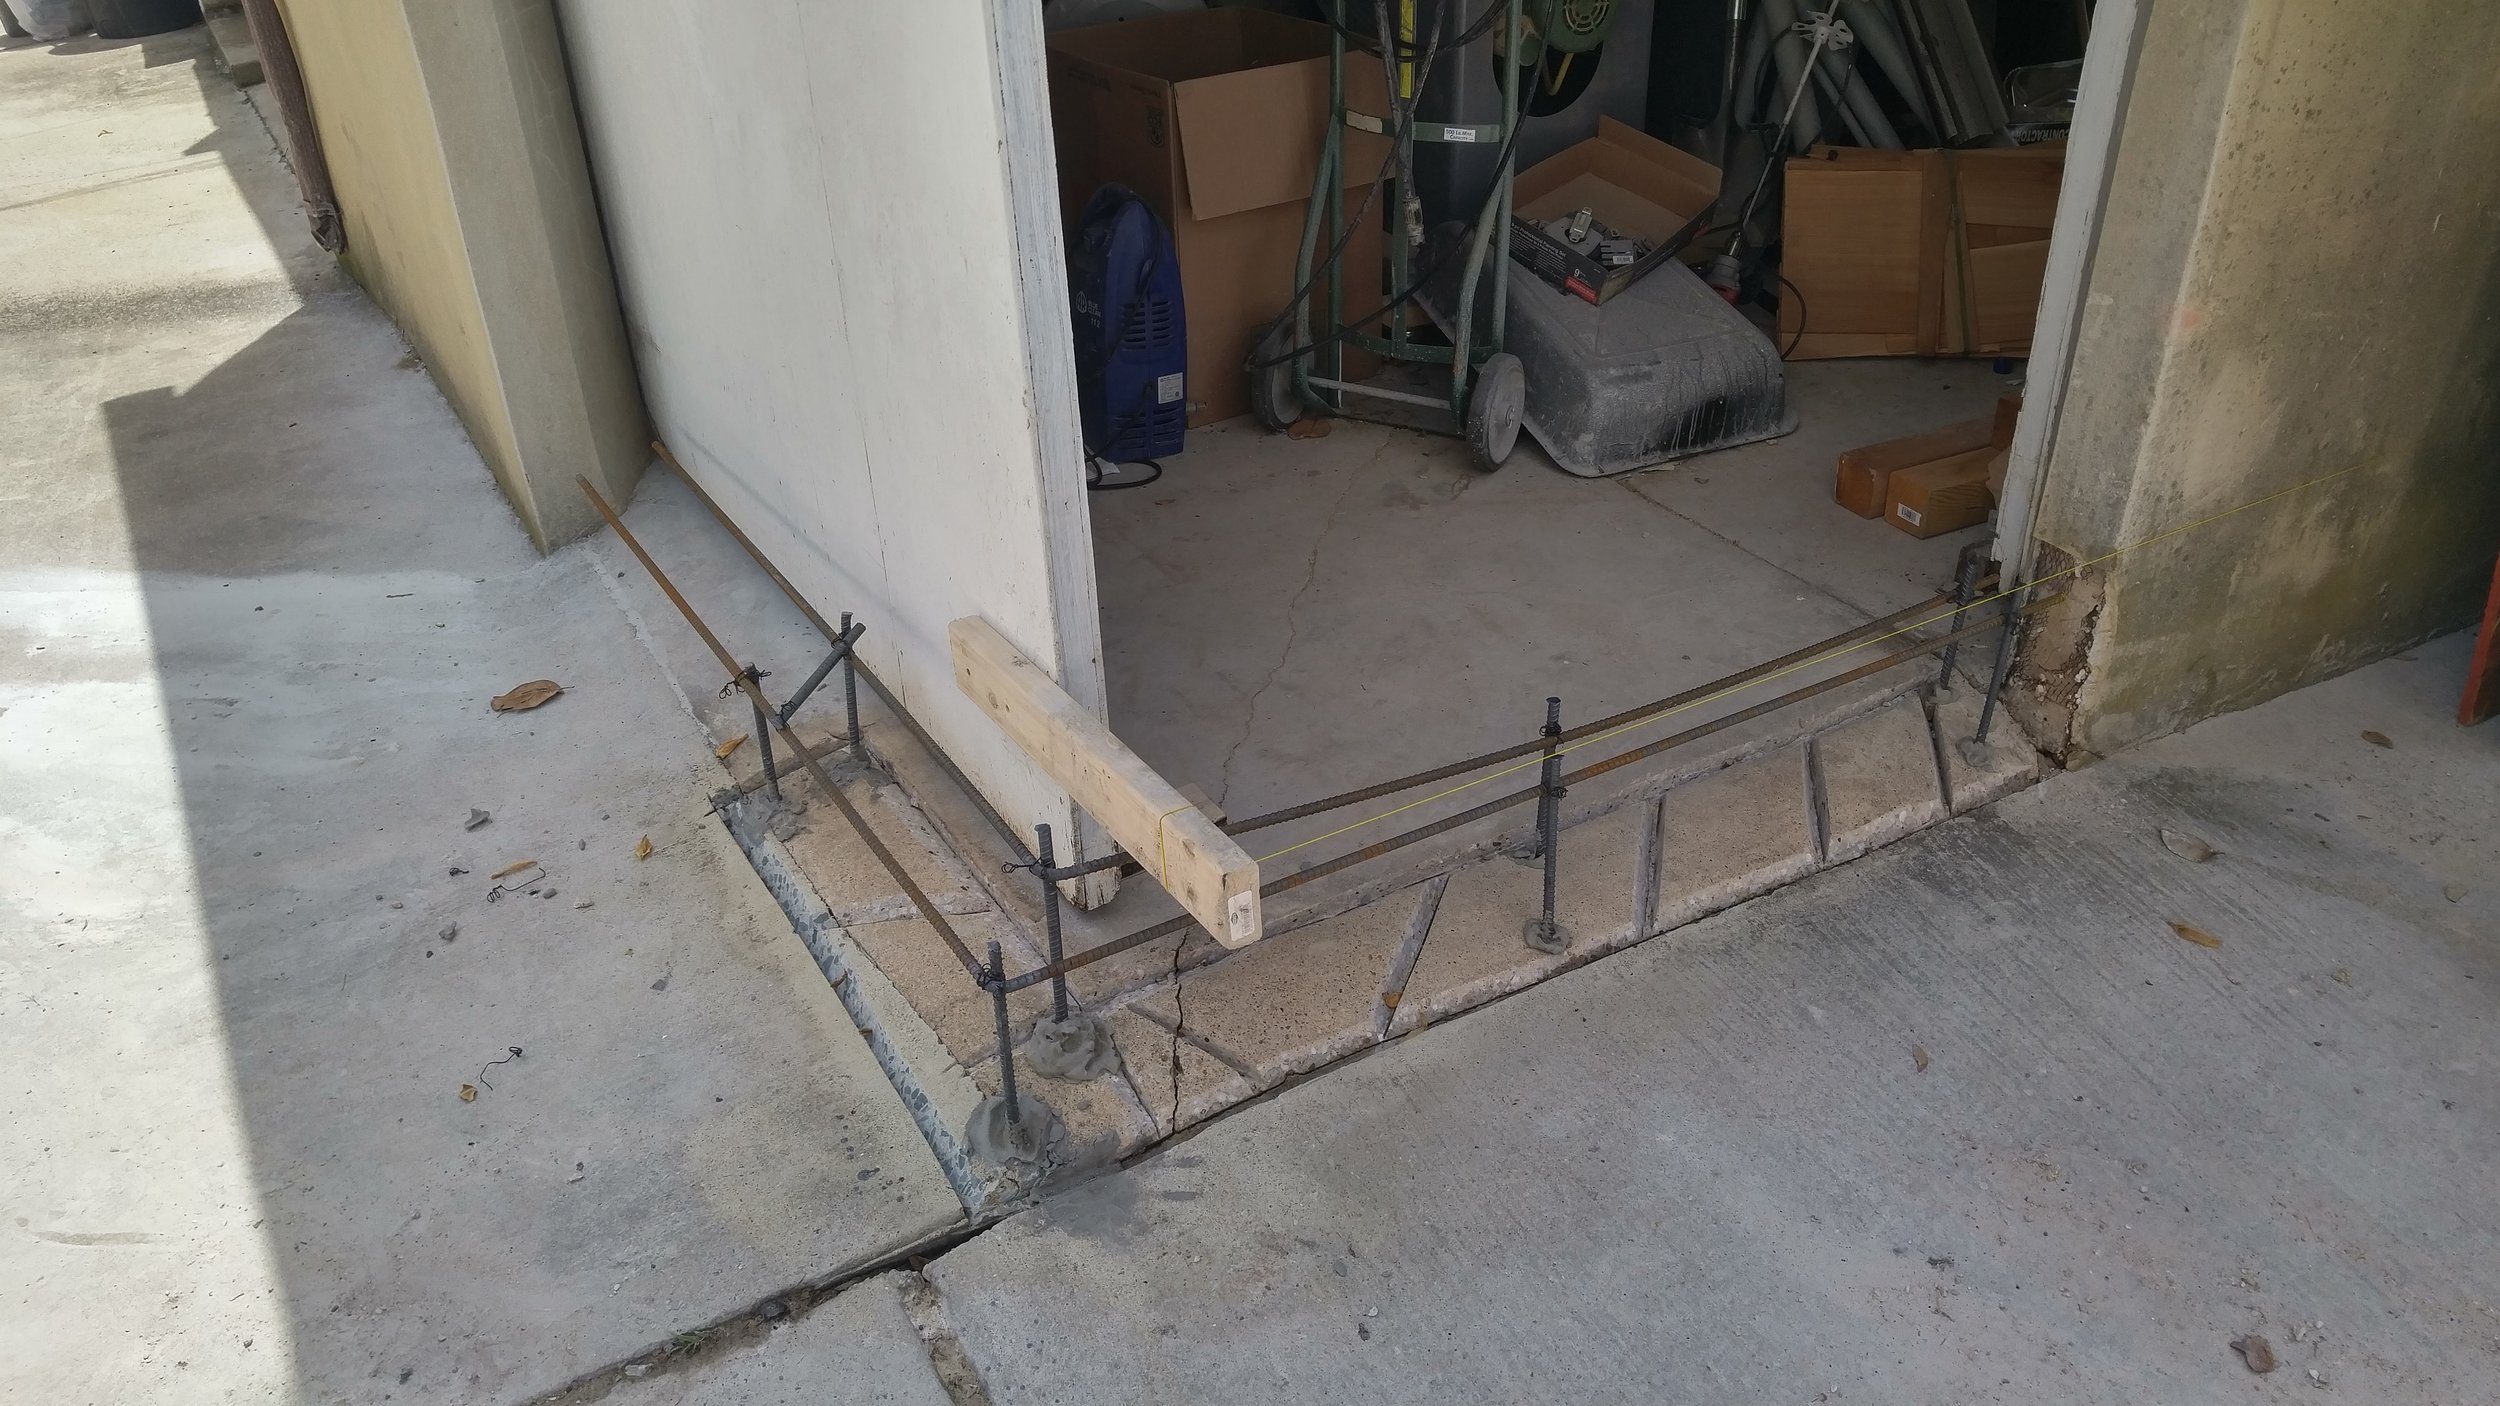
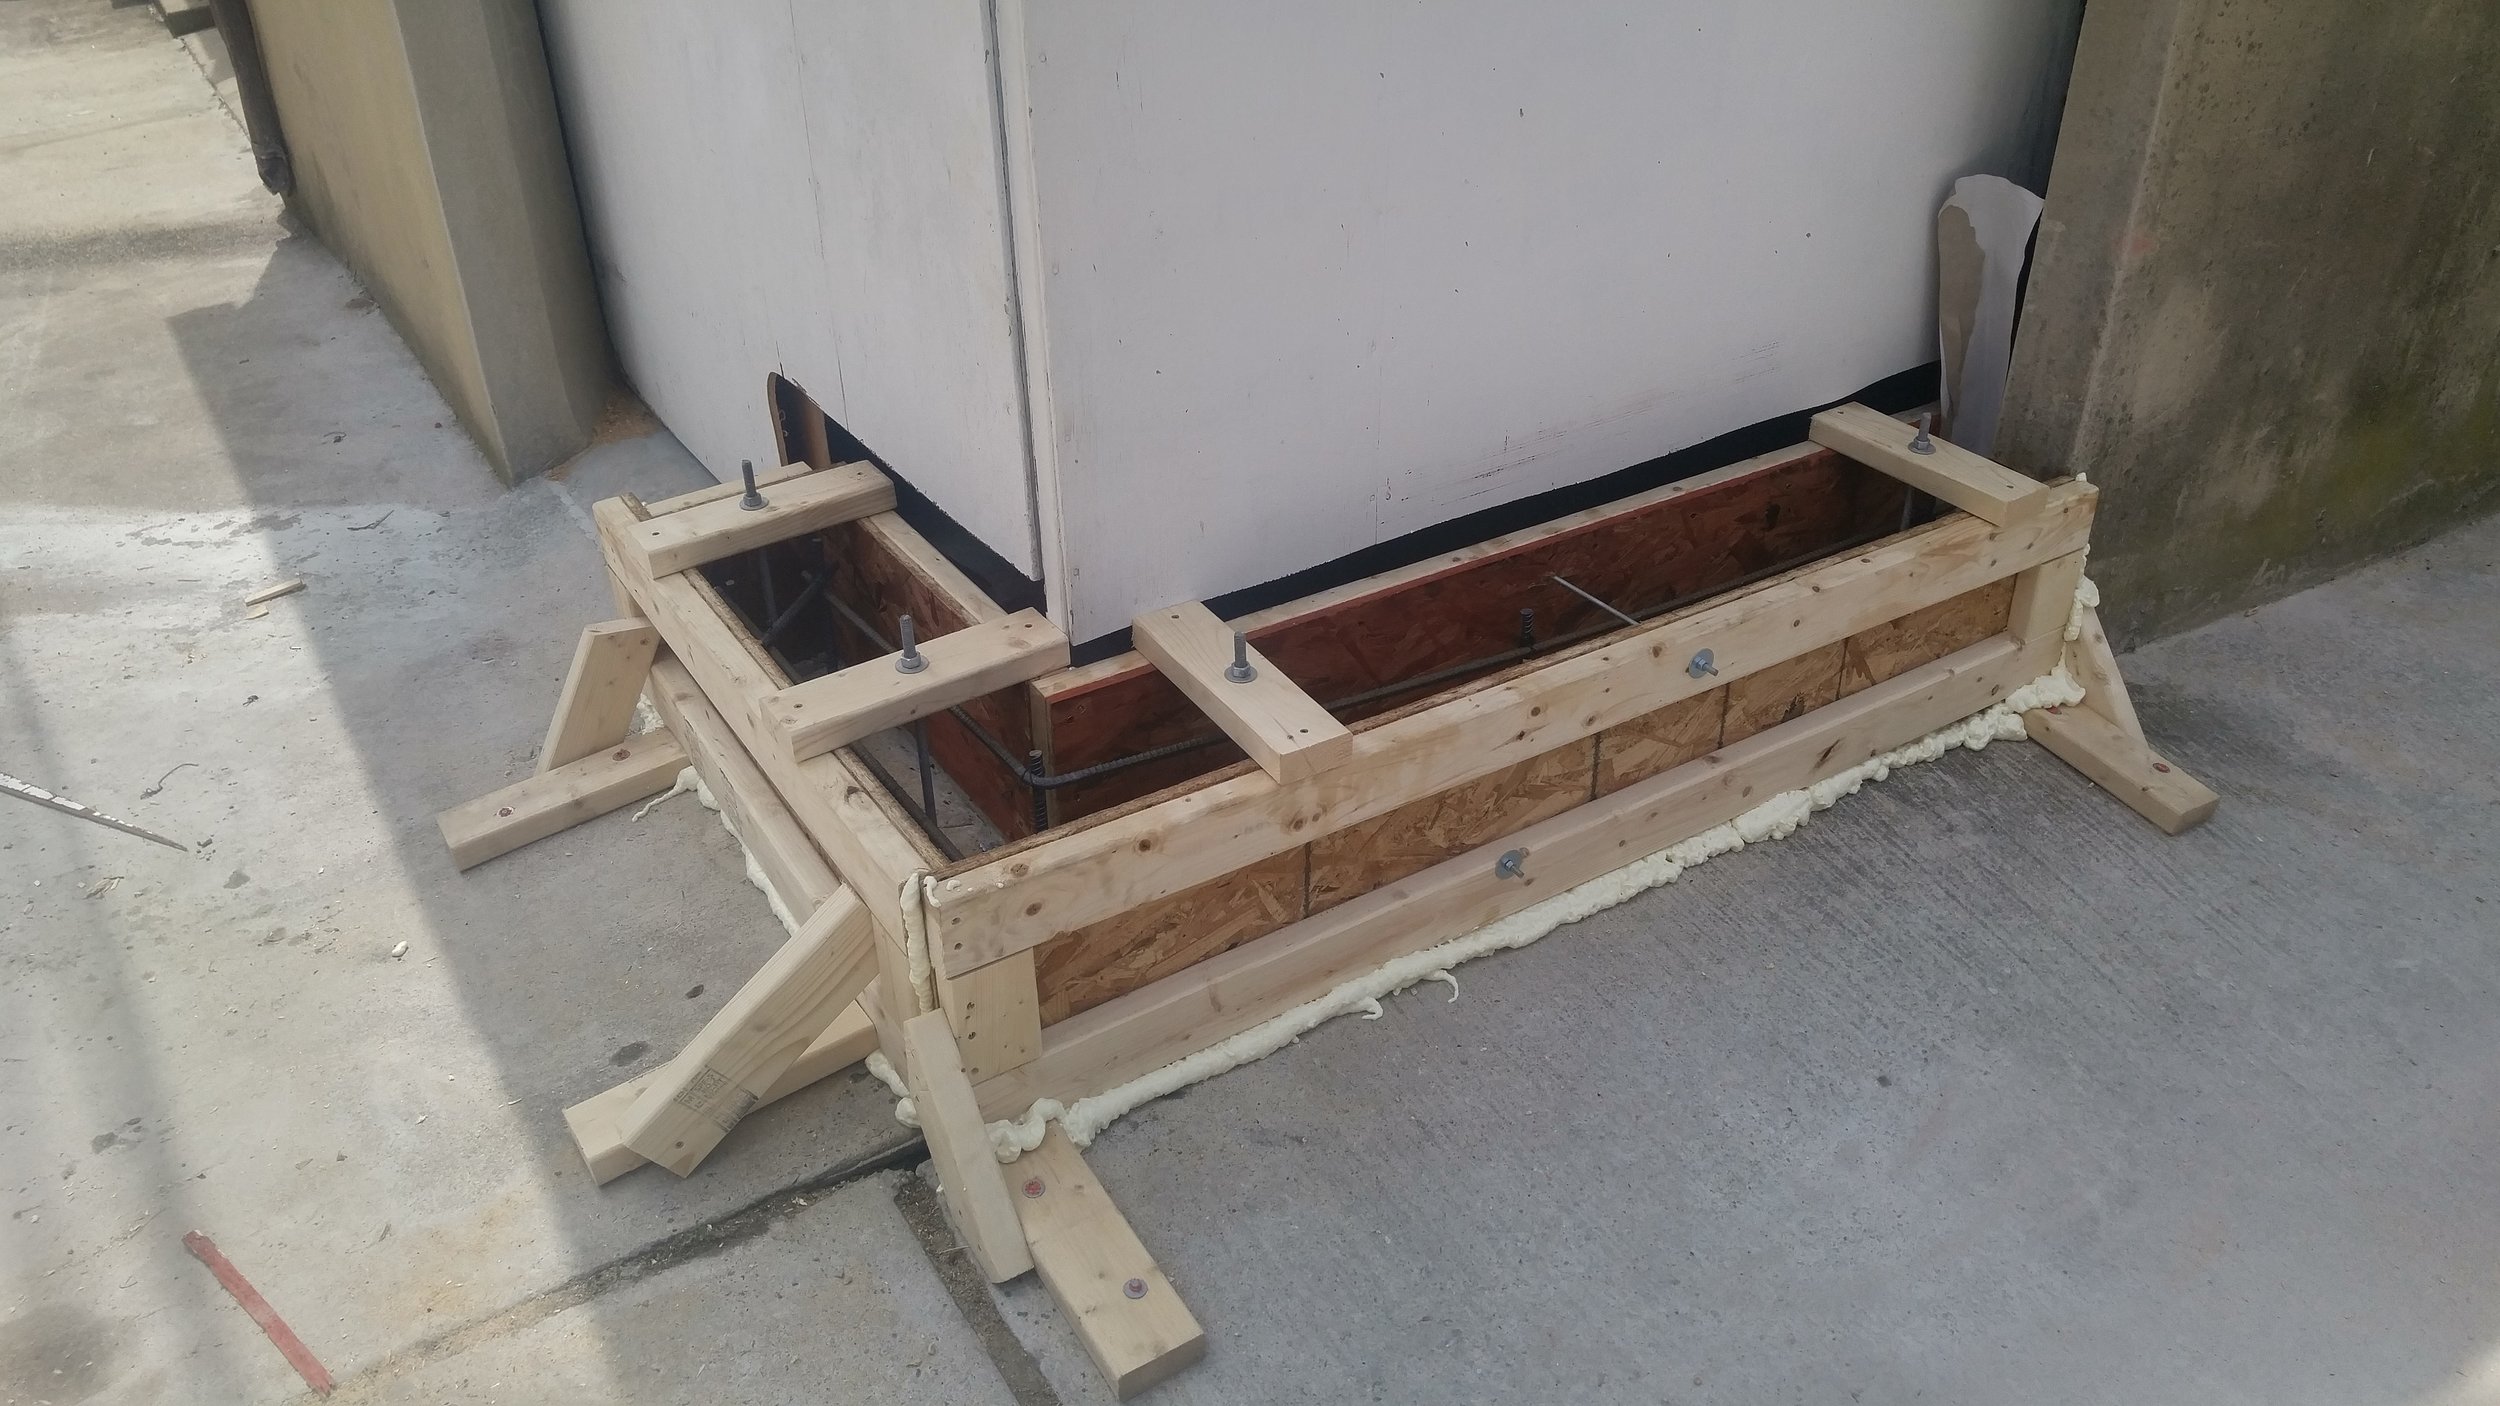
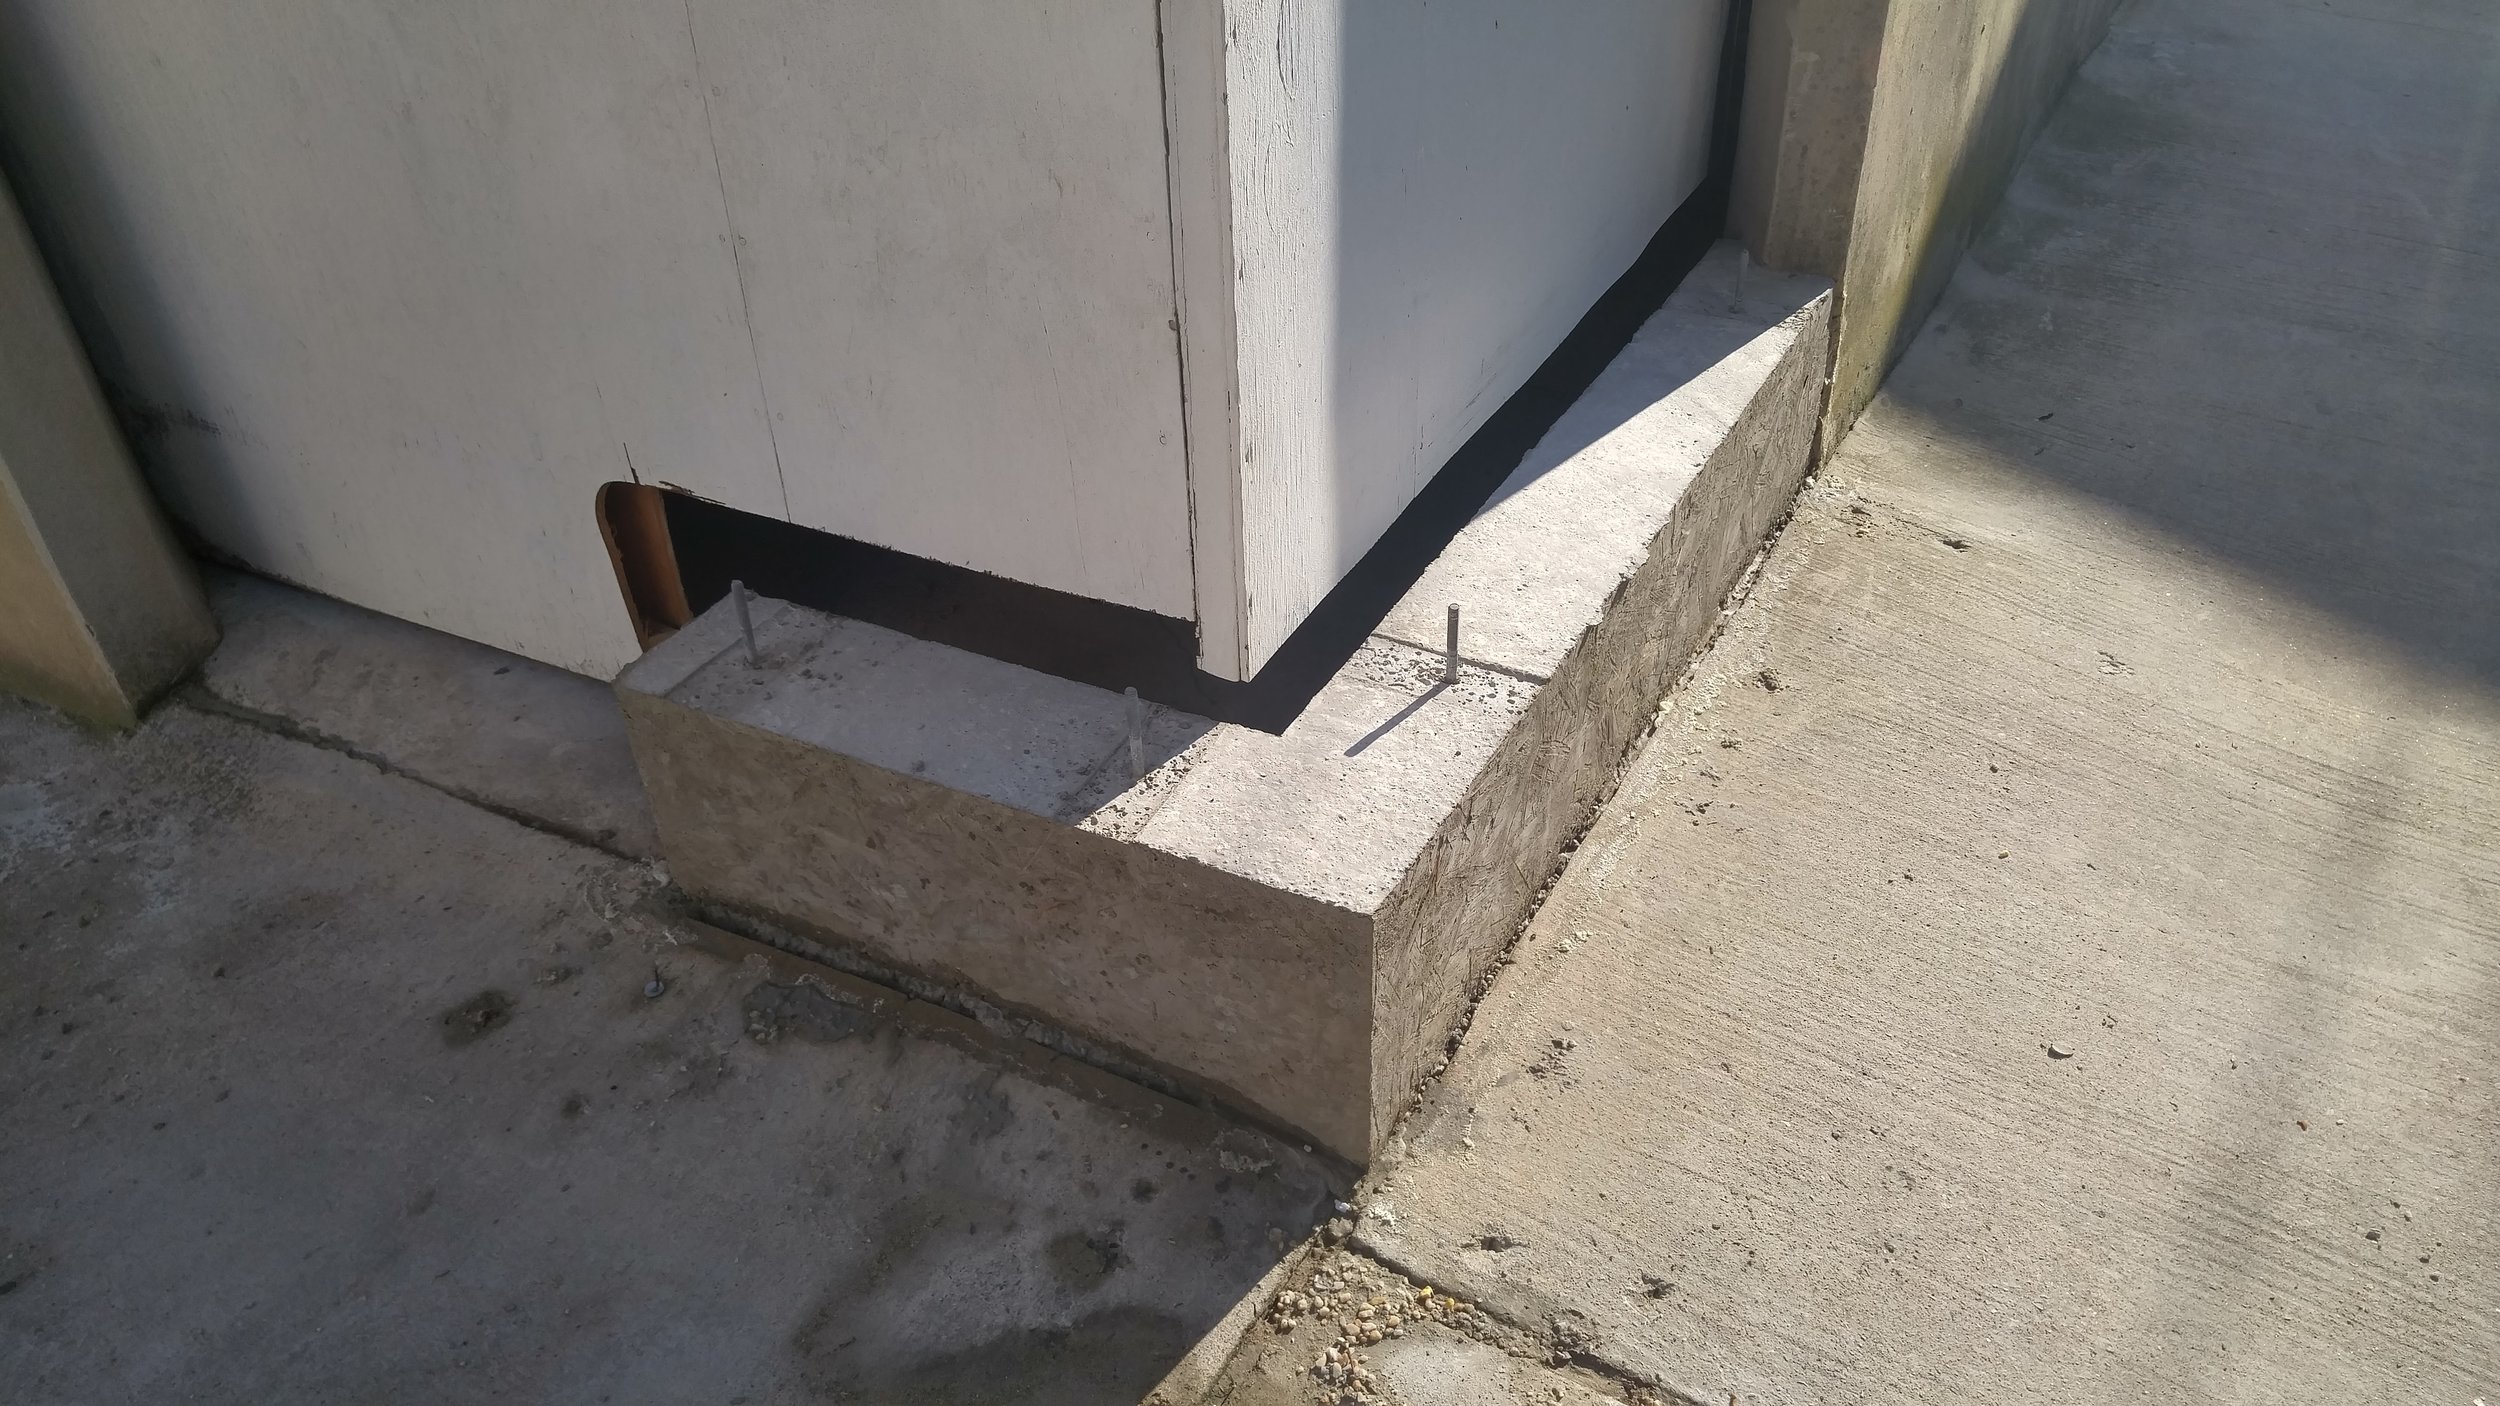
Becoming a Normally Shaped Garage
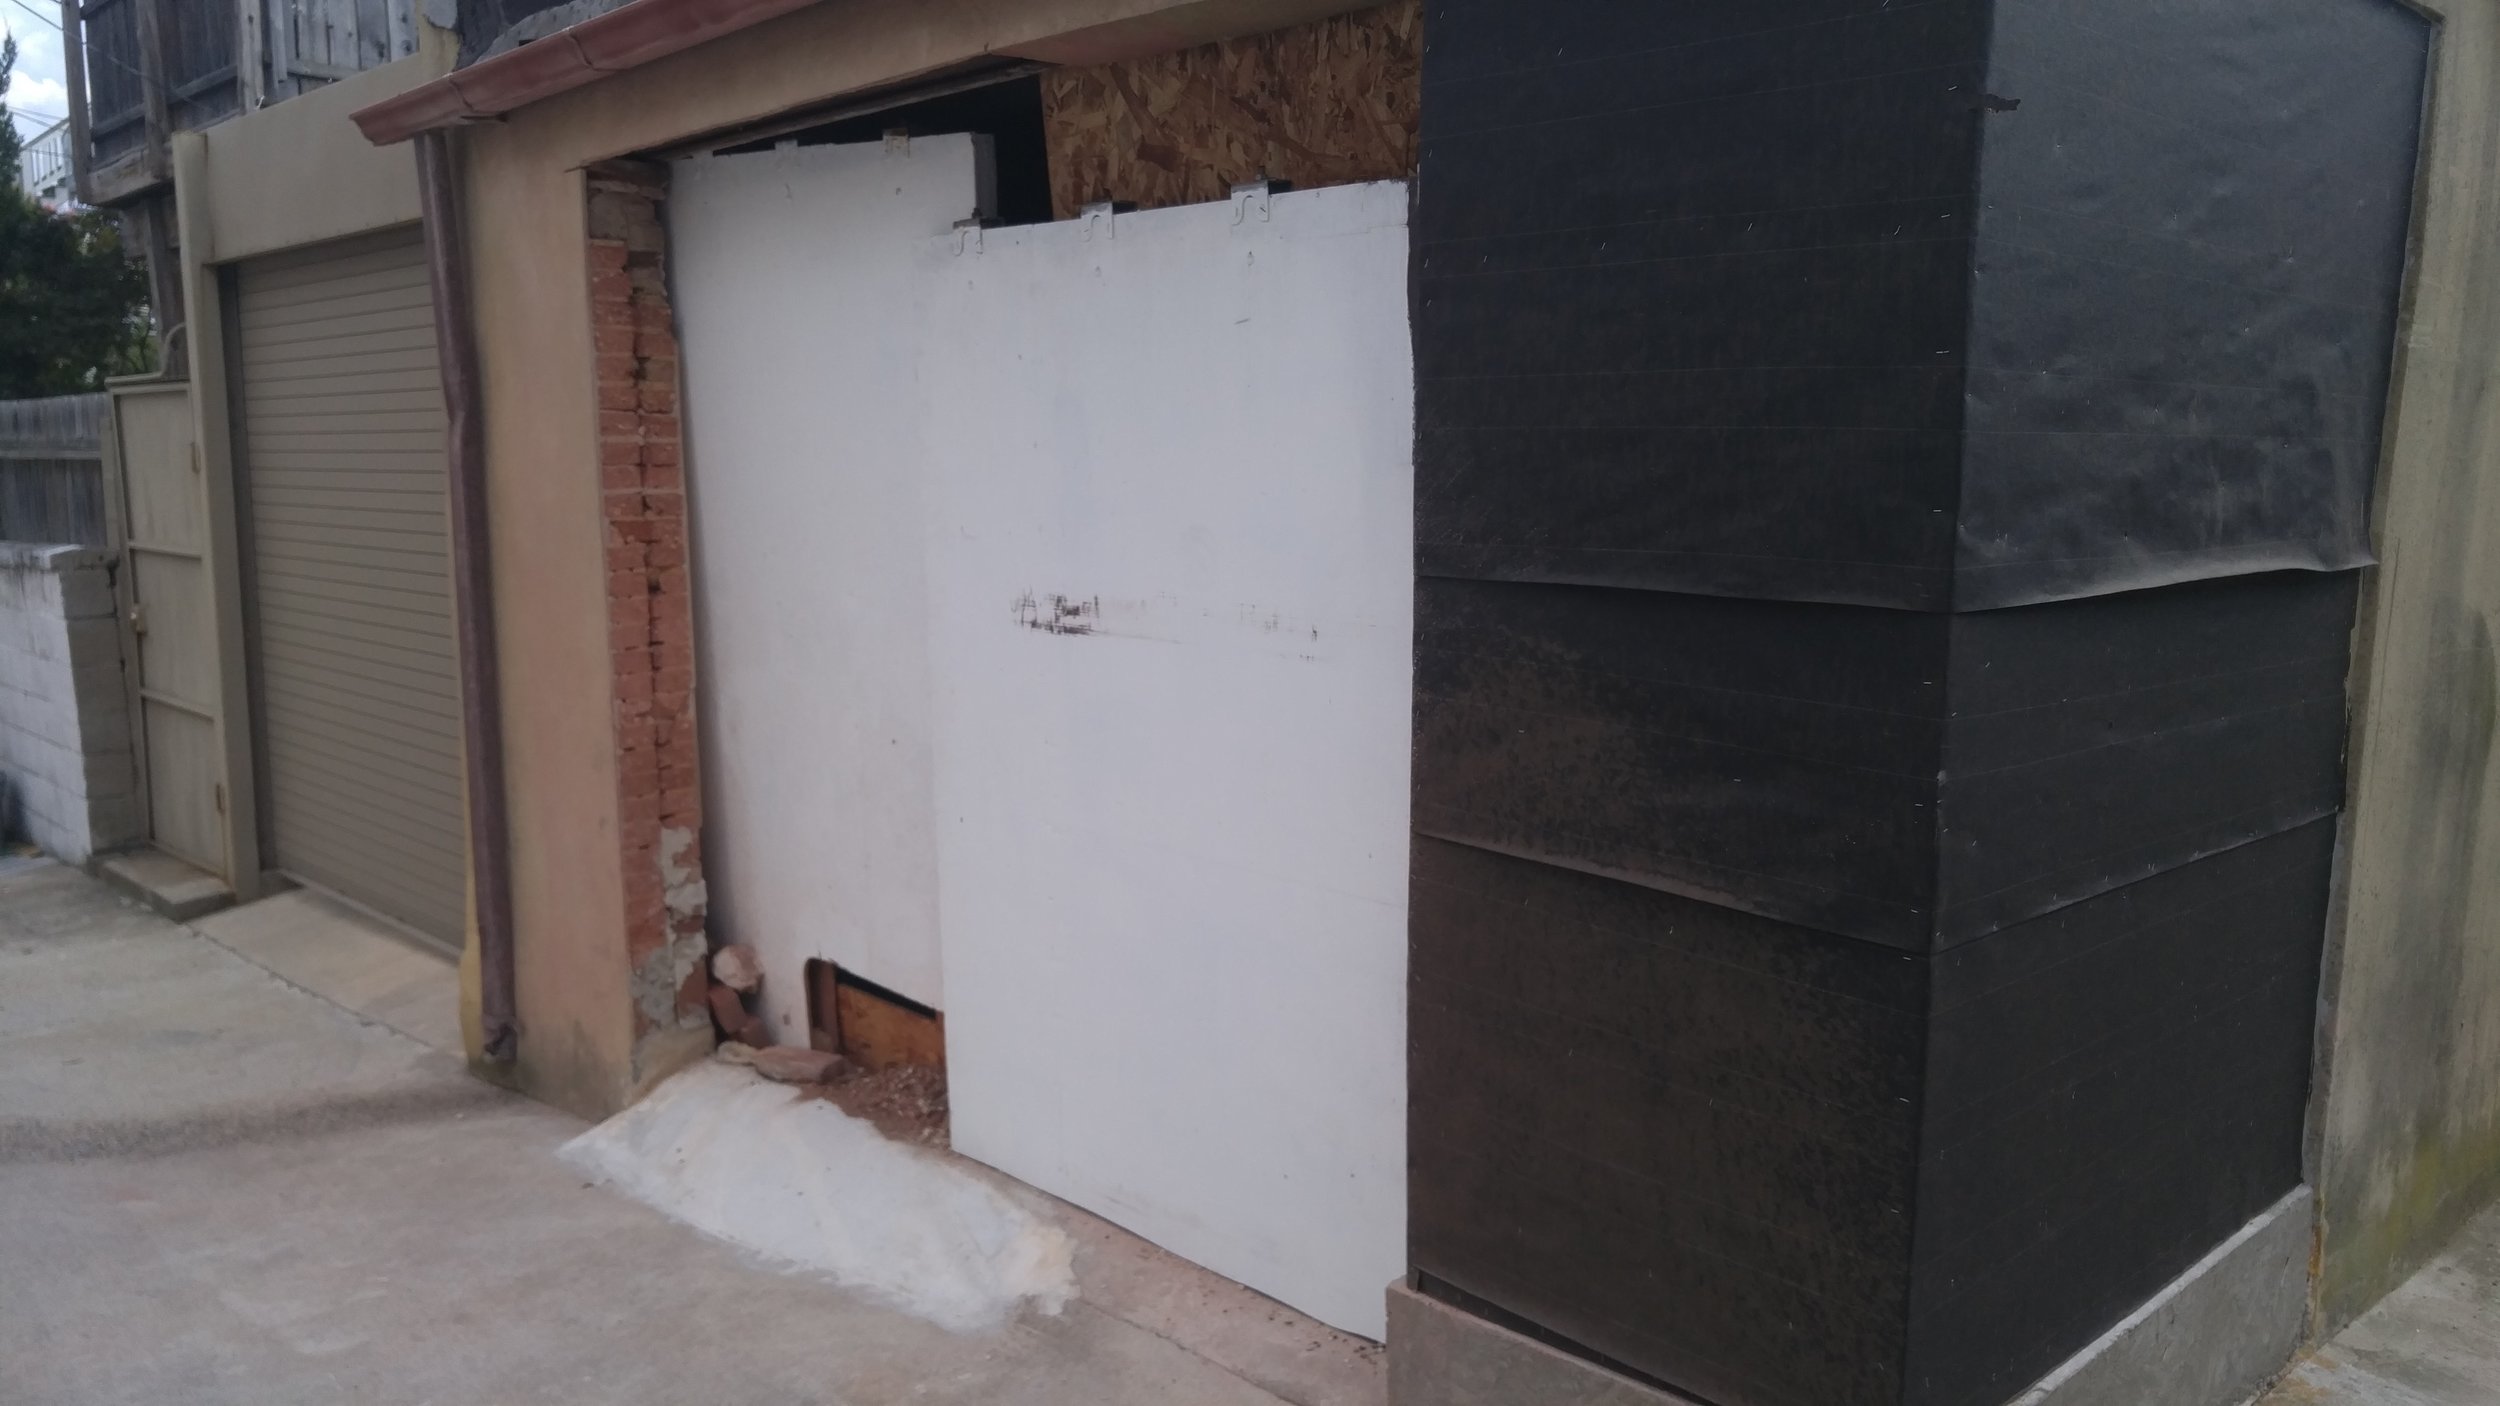
Shortly after moving in, and evicting a rat couple that was living in the garage I took this picture:

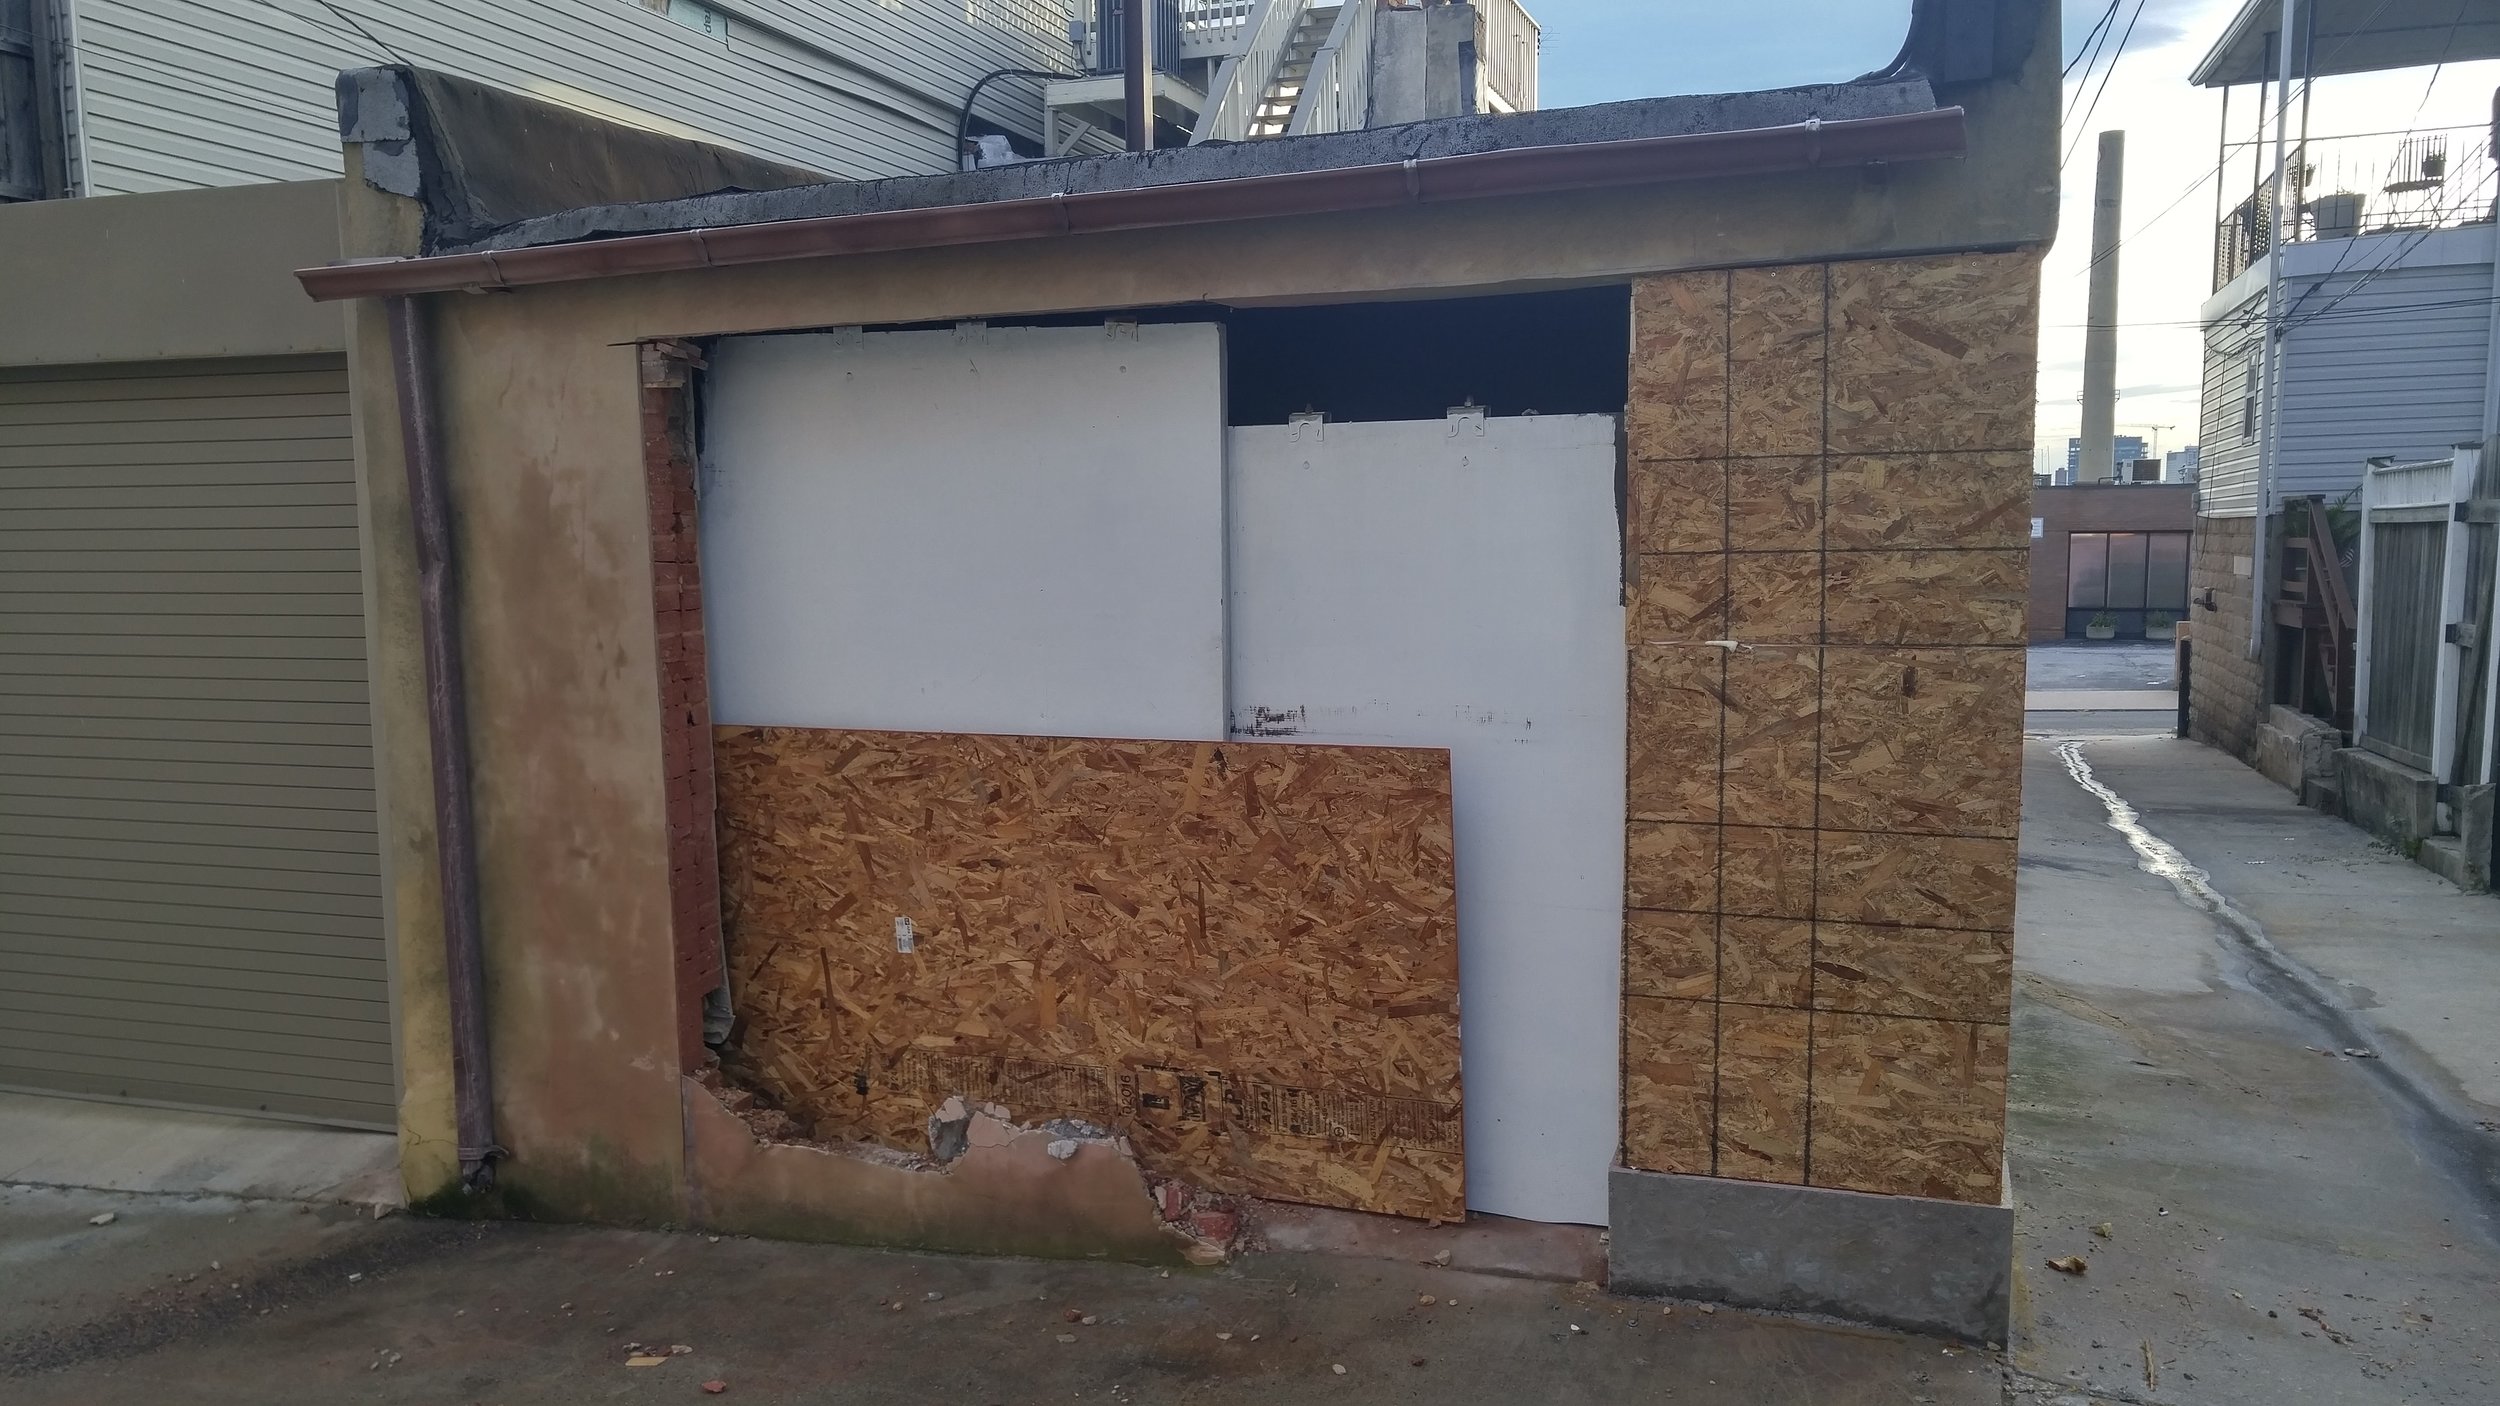
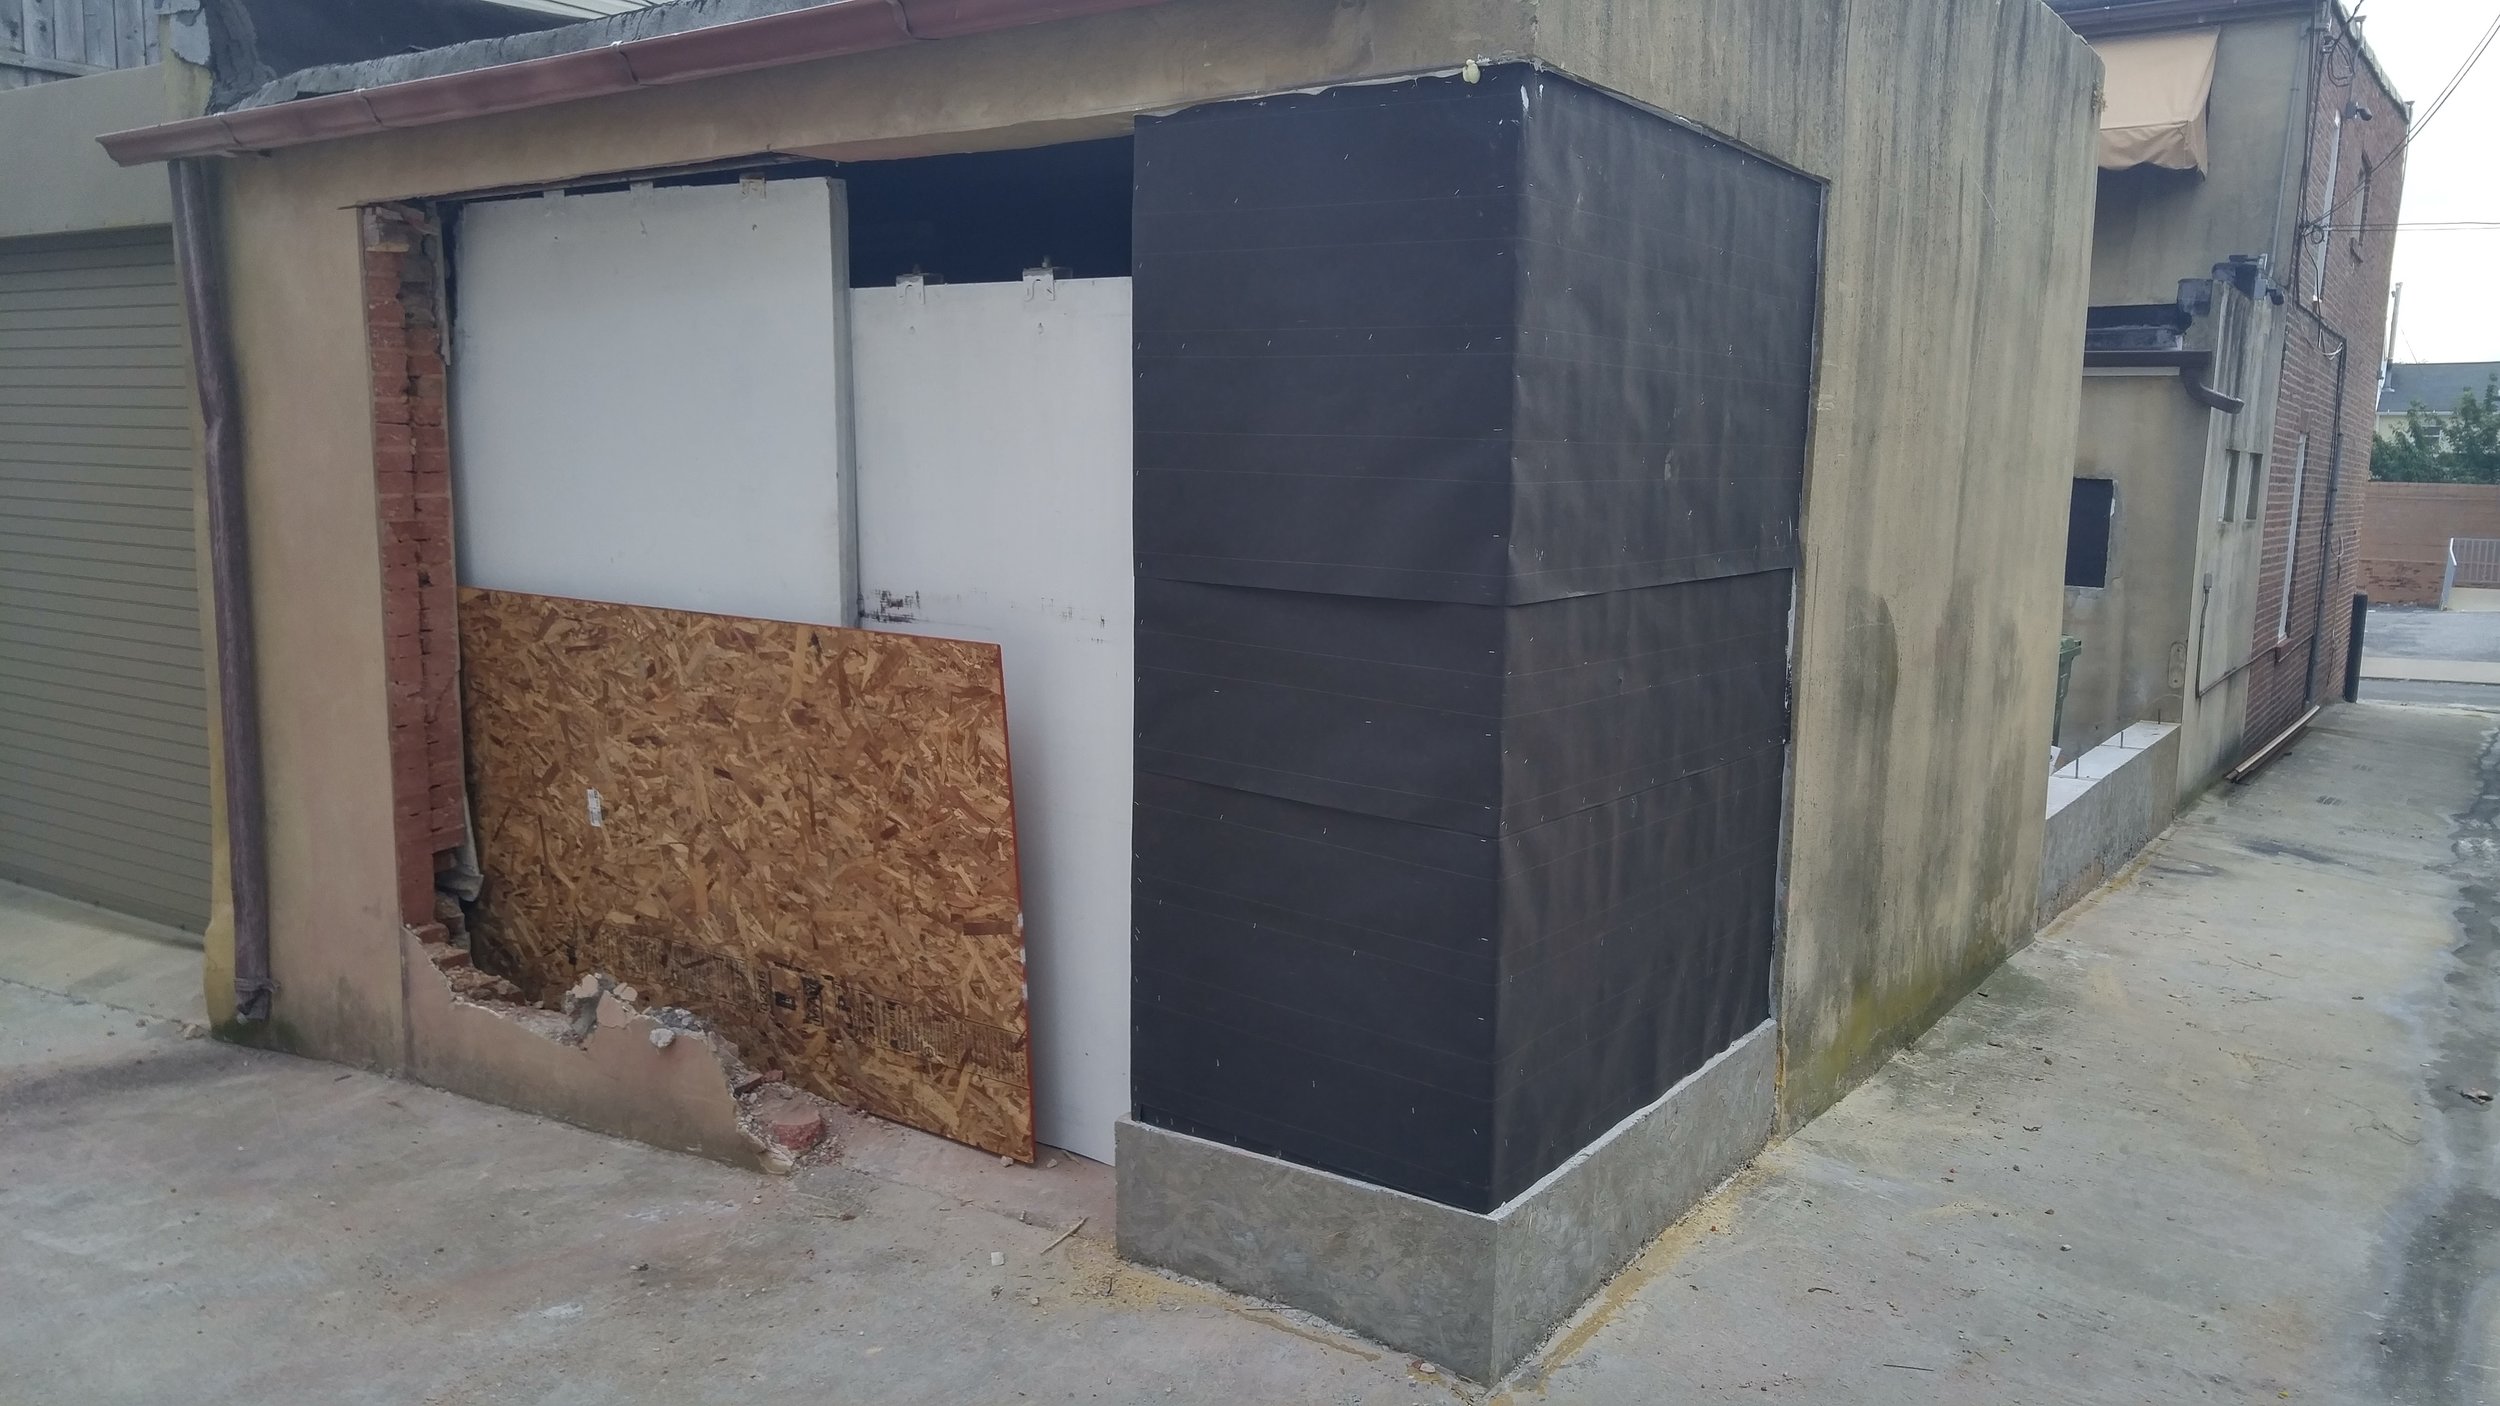
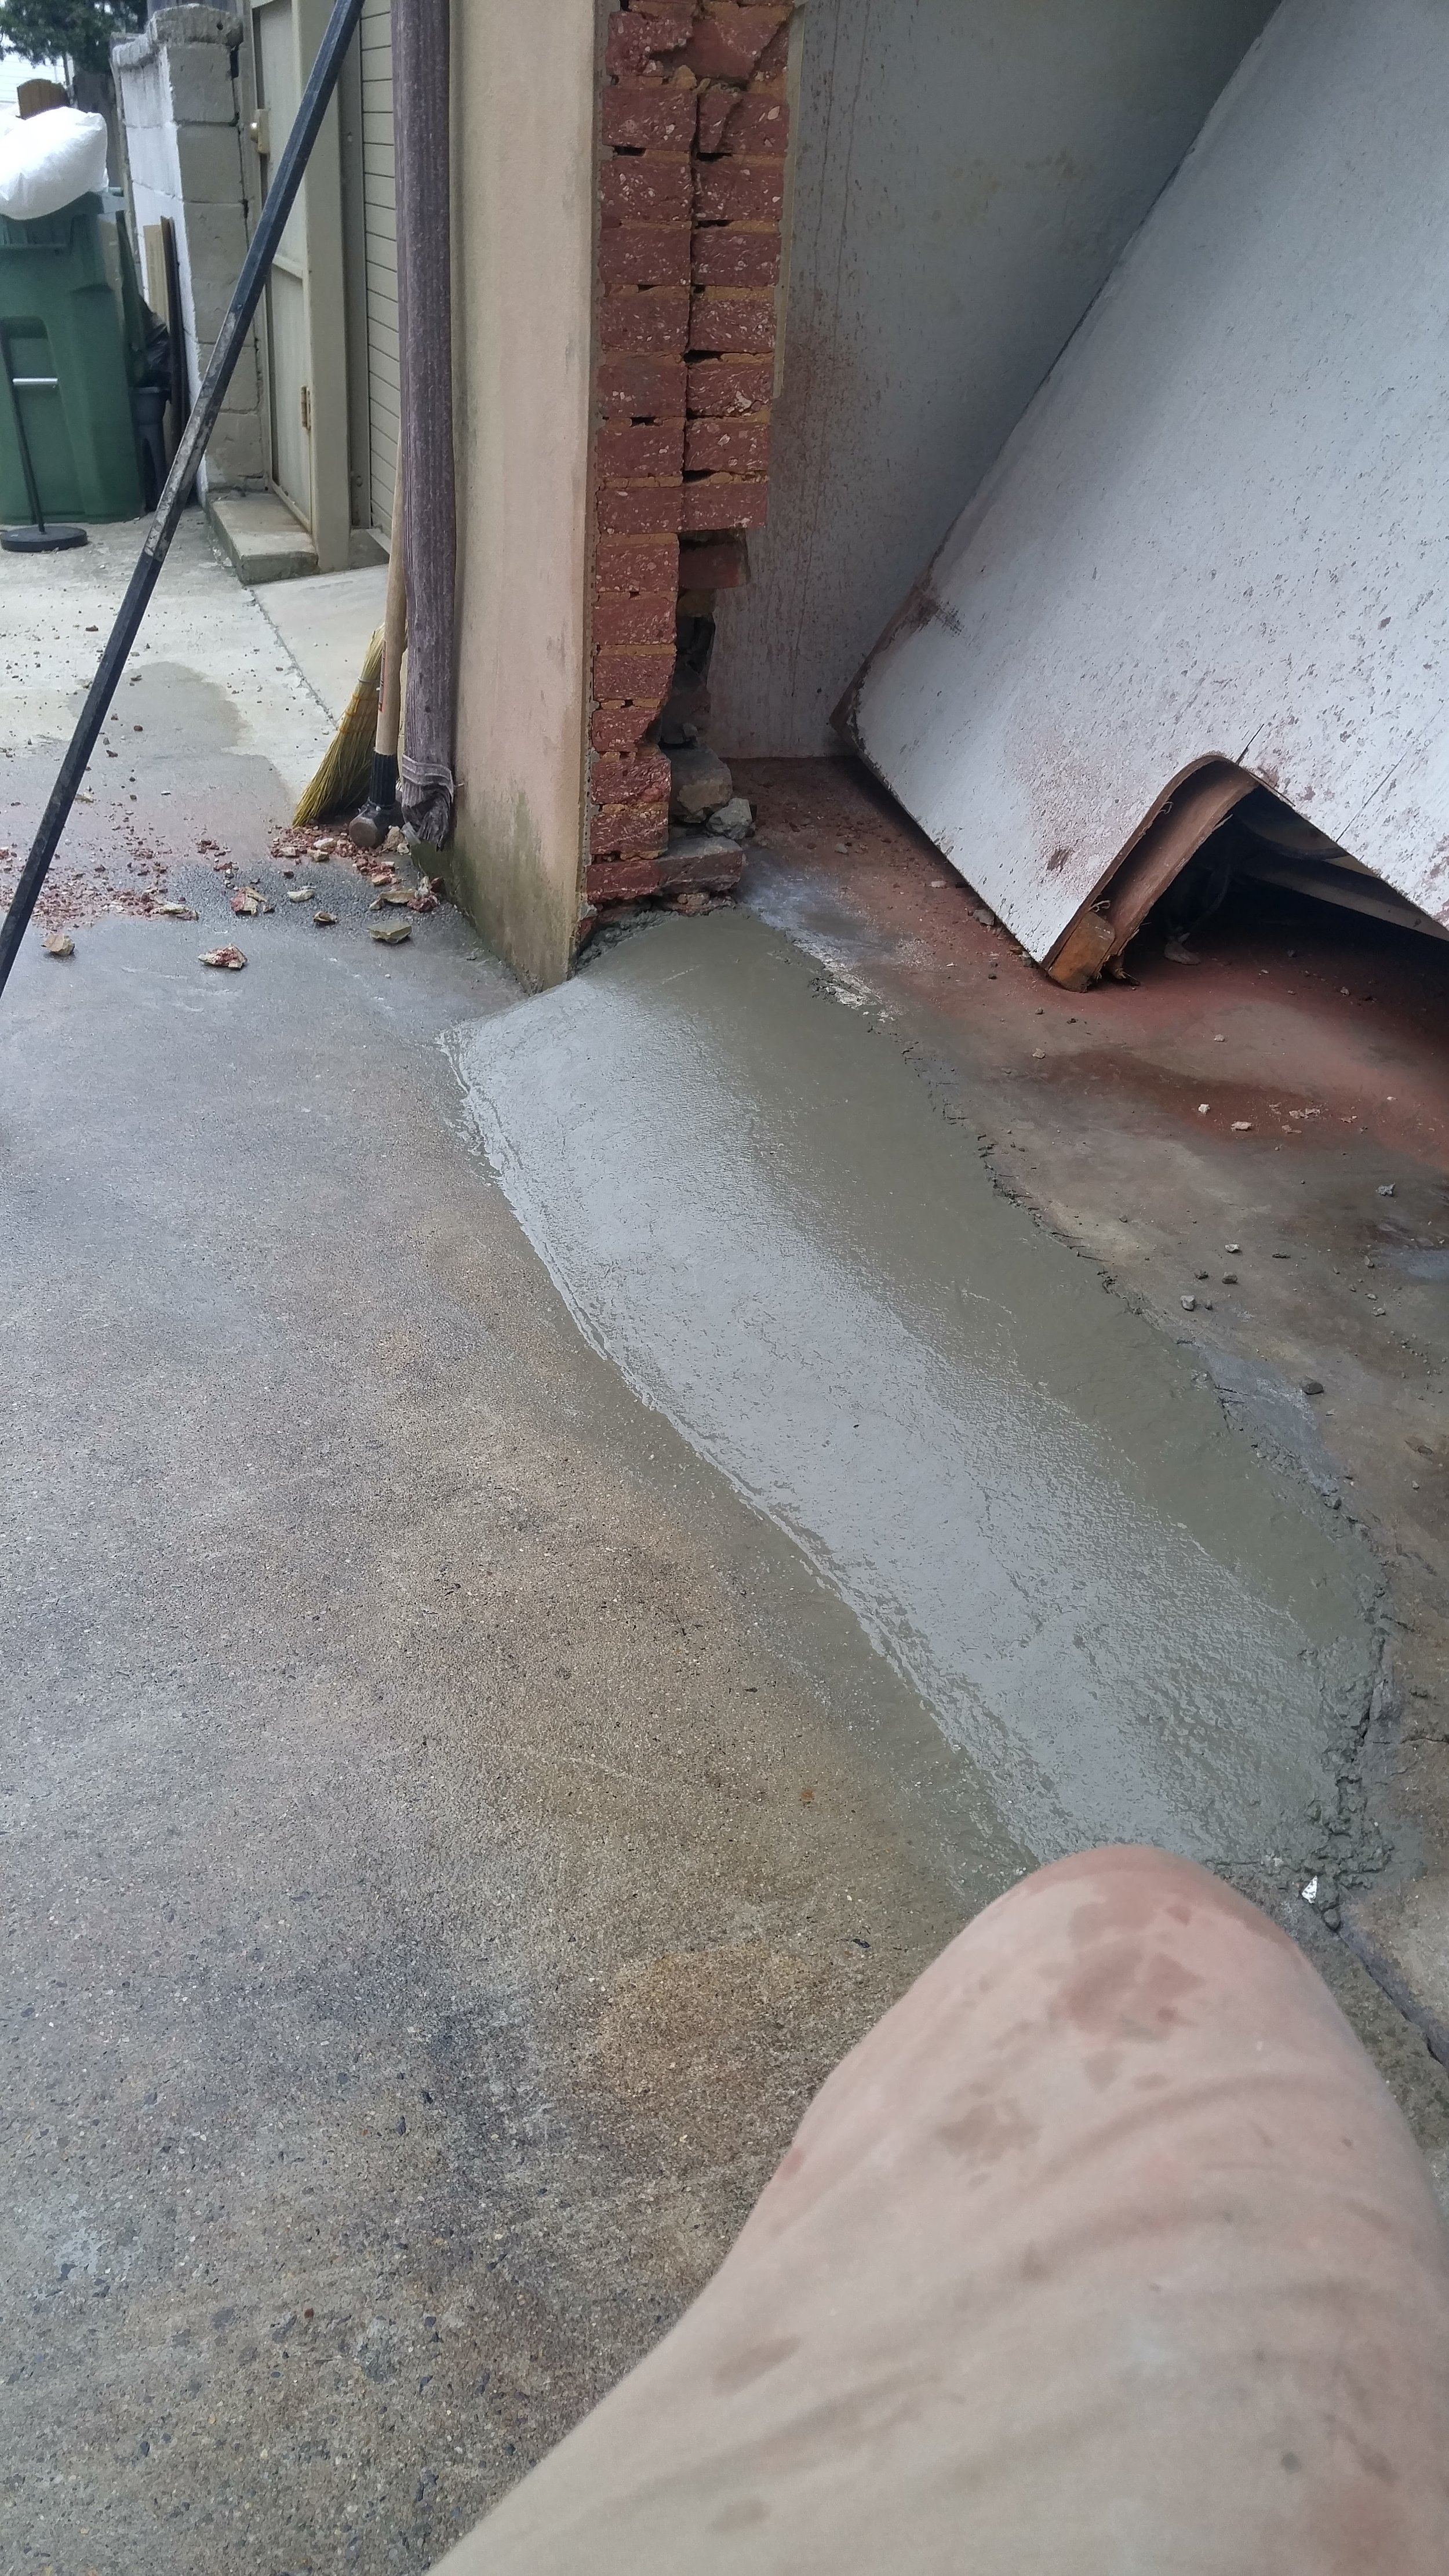
The garage had a set of sliding doors on the corner. This seemed like a solution to access from a time before the adjacent lot was developed into a new set of apartments with a large rear parking pad. With the end goal of a weather tight, insulated shop space, we needed to convert this garage into the more traditional layout. This was achieved by pouring a new footing, boxing in the corner, demolishing part of the rear facing wall and framing in a door opening.
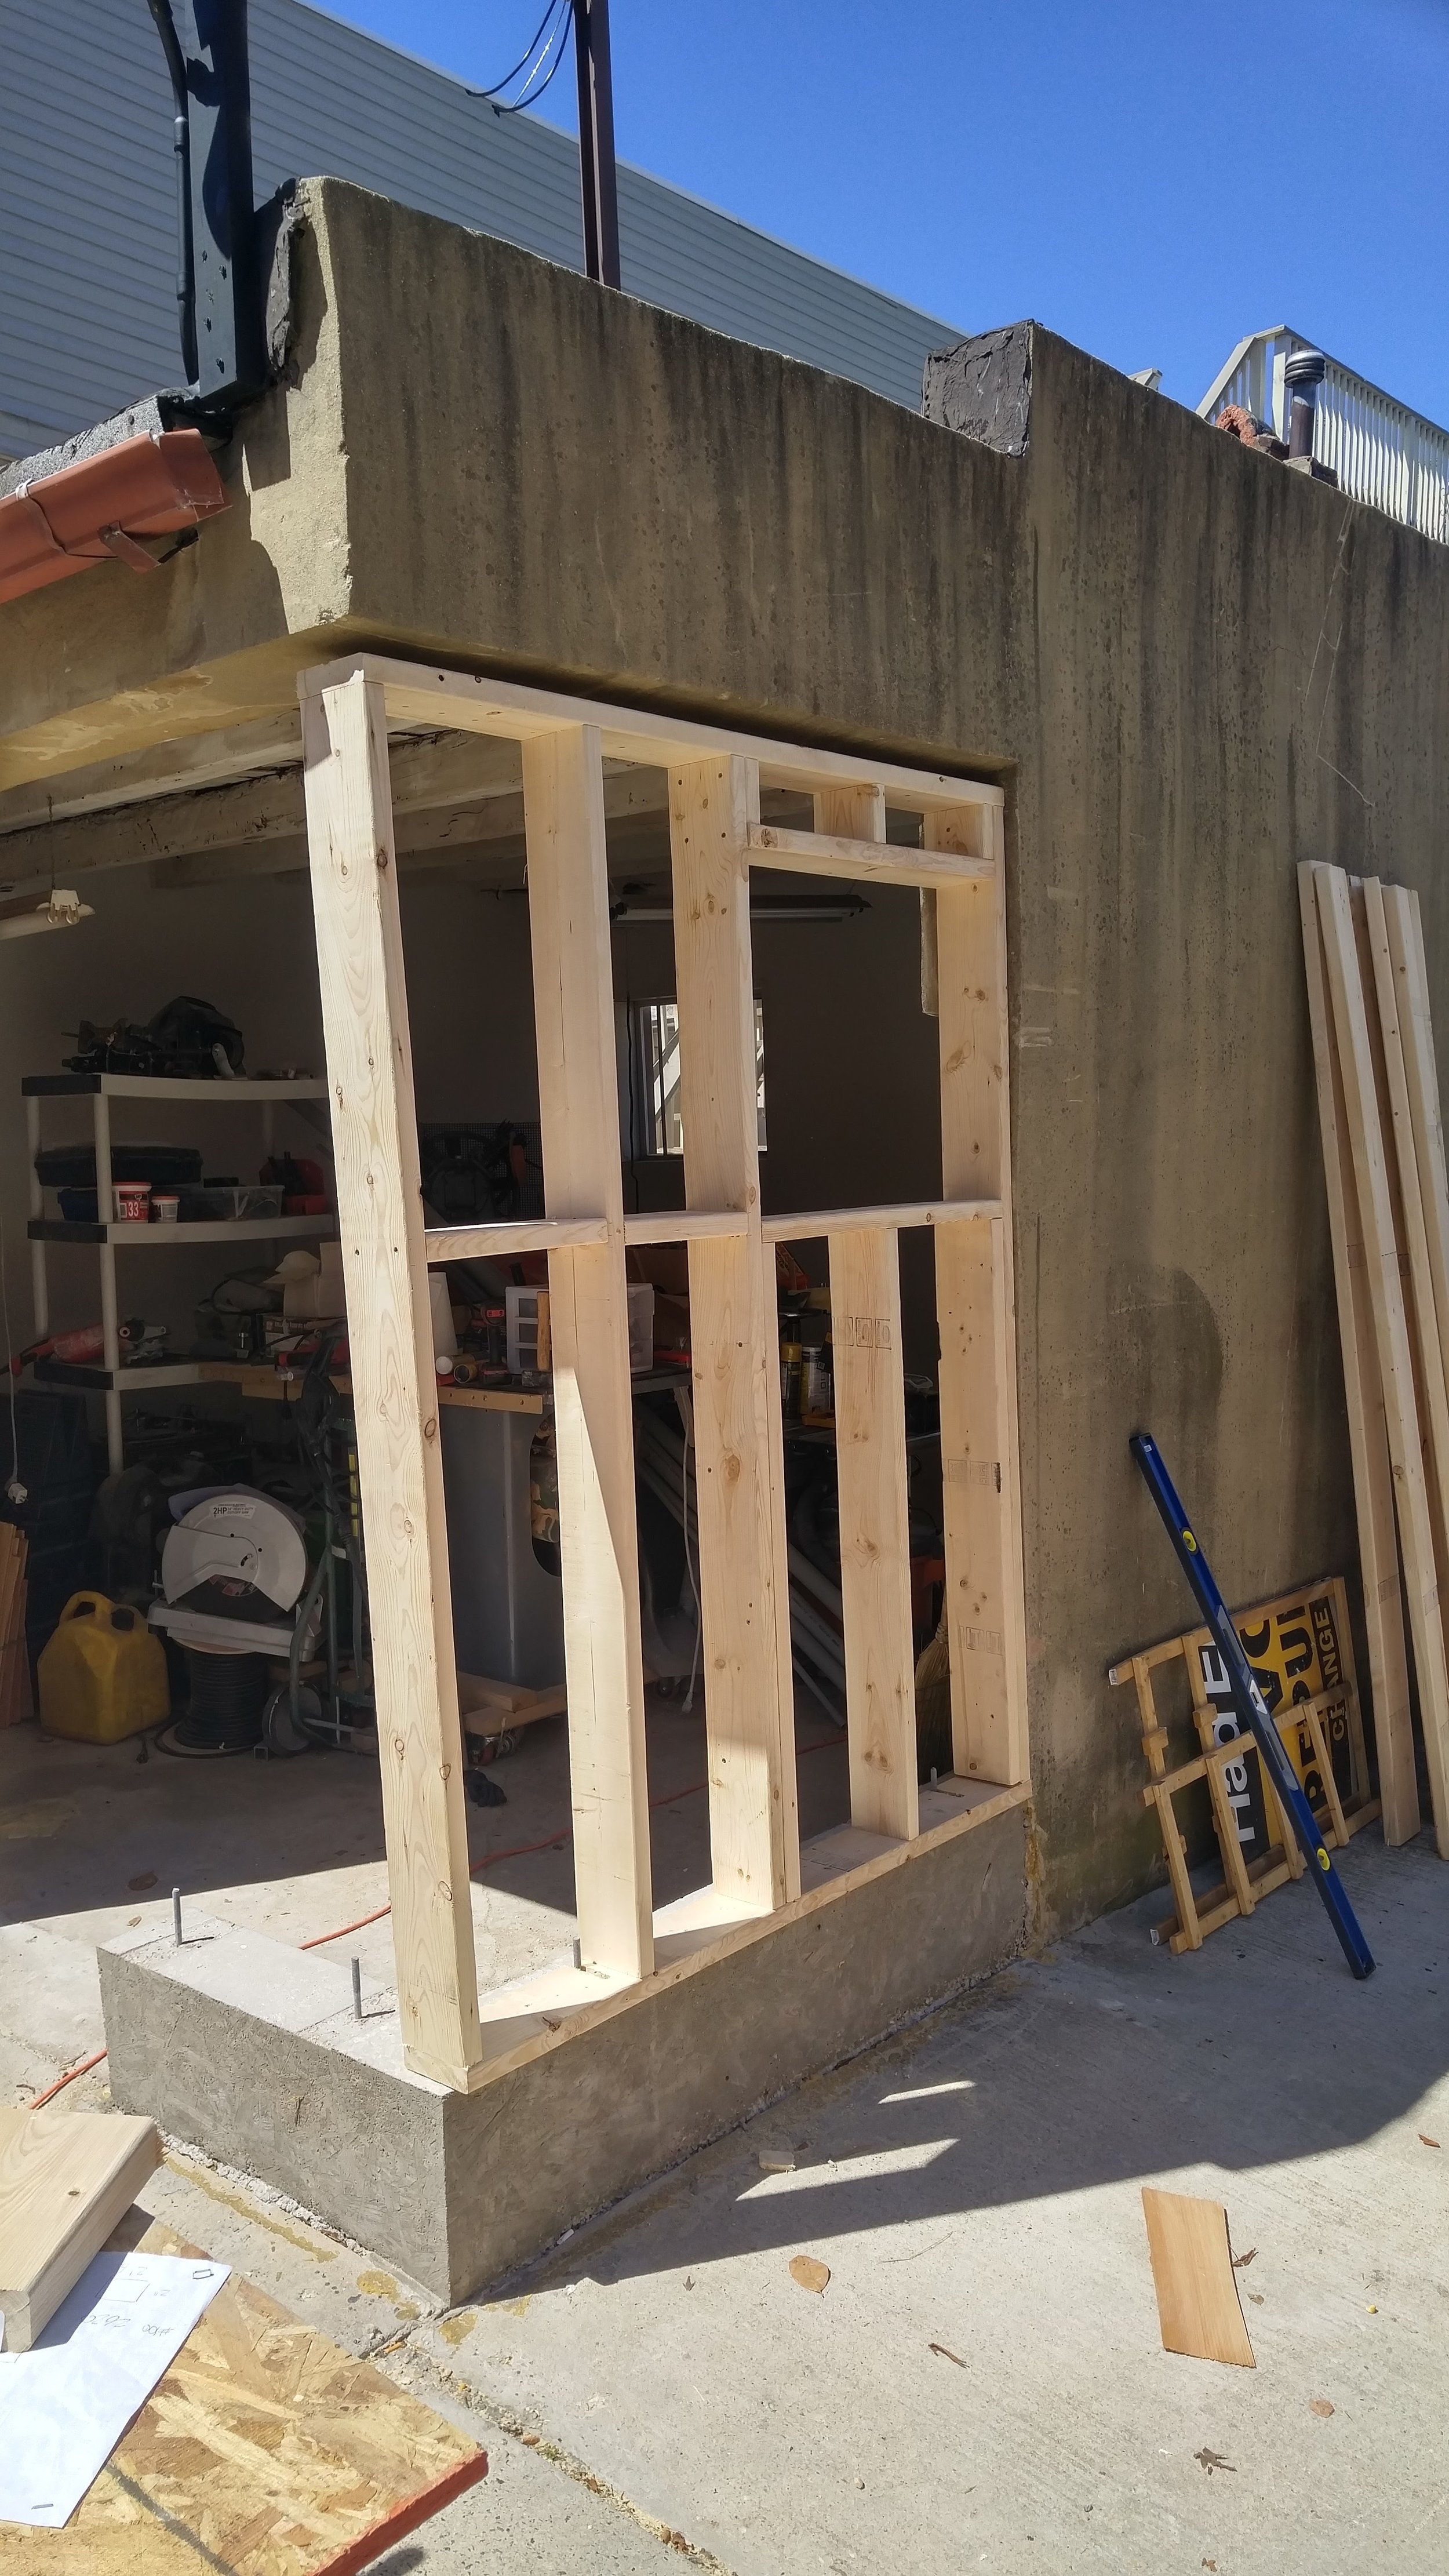
Big Doors and a Small Shed
To enclose the shop, a set of huge castle doors were built and then installed in the rough opening. More details on the doors can be found on their project page. They were made substantially to act as a wall when closed, incorporating rigid insulation.

Installing the doors large, steel frame. On this frame are the hinge pins. Once this frame was shimmed square and plumb, the doors were installed, shimmed and finally attached to the hinges.

The doors have exteriors which have been charred then oiled. This process is a natural way to waterproof wood. The hinges were inspired by those on the gate to Himeji castle, Japan.
While building out this shop, it became clear that space would be an issue. Furthermore, I knew from experience that having a dust collector and compressor inside the work space was both loud and dusty. The logical solution would be to place these offenders outside. To provide some shelter for them, a timber frame lean-to style shed was built on the front side of the garage, inside the courtyard. It looks good from the garden, and hides the dust collector, compressor, and various outdoor tools, freeing up floor-space in the shop. More info on the shed can be found here.

Inspired by Japanese design, this lean-to shed povides some cover to the entrance and extra storage.

Hidden behind the wall is a cyclone dust collector, a 30-gallon air compressor, and various garden tools.
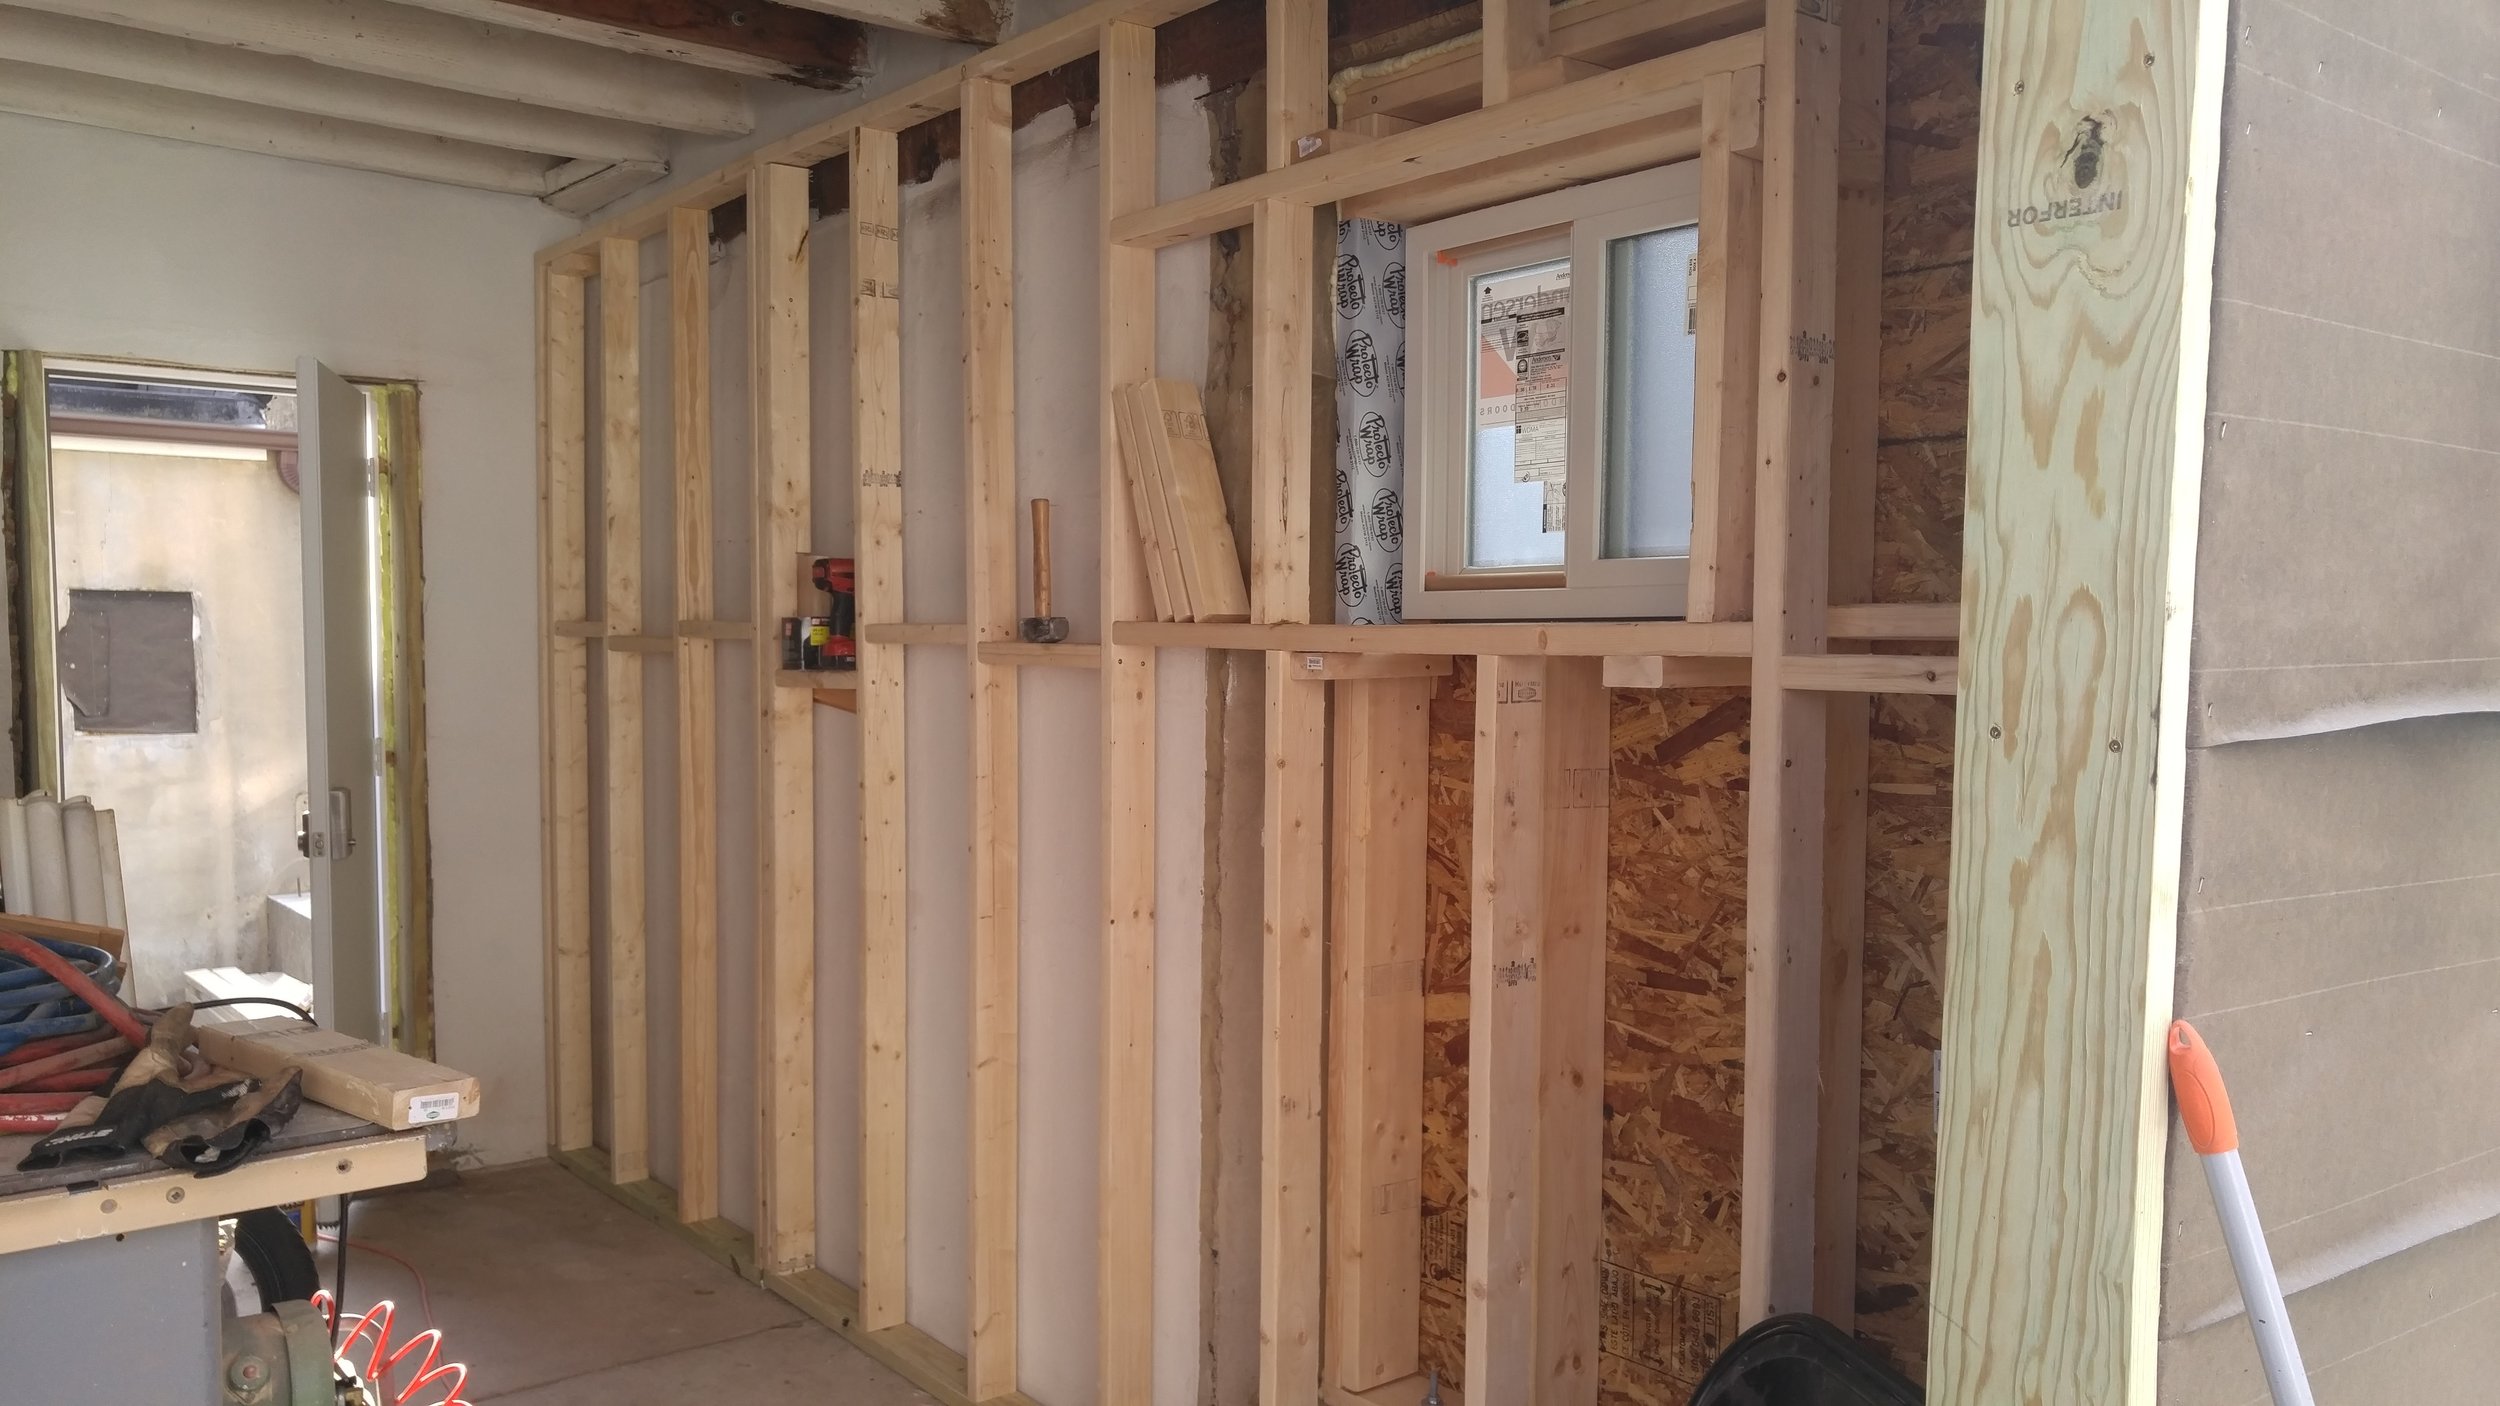
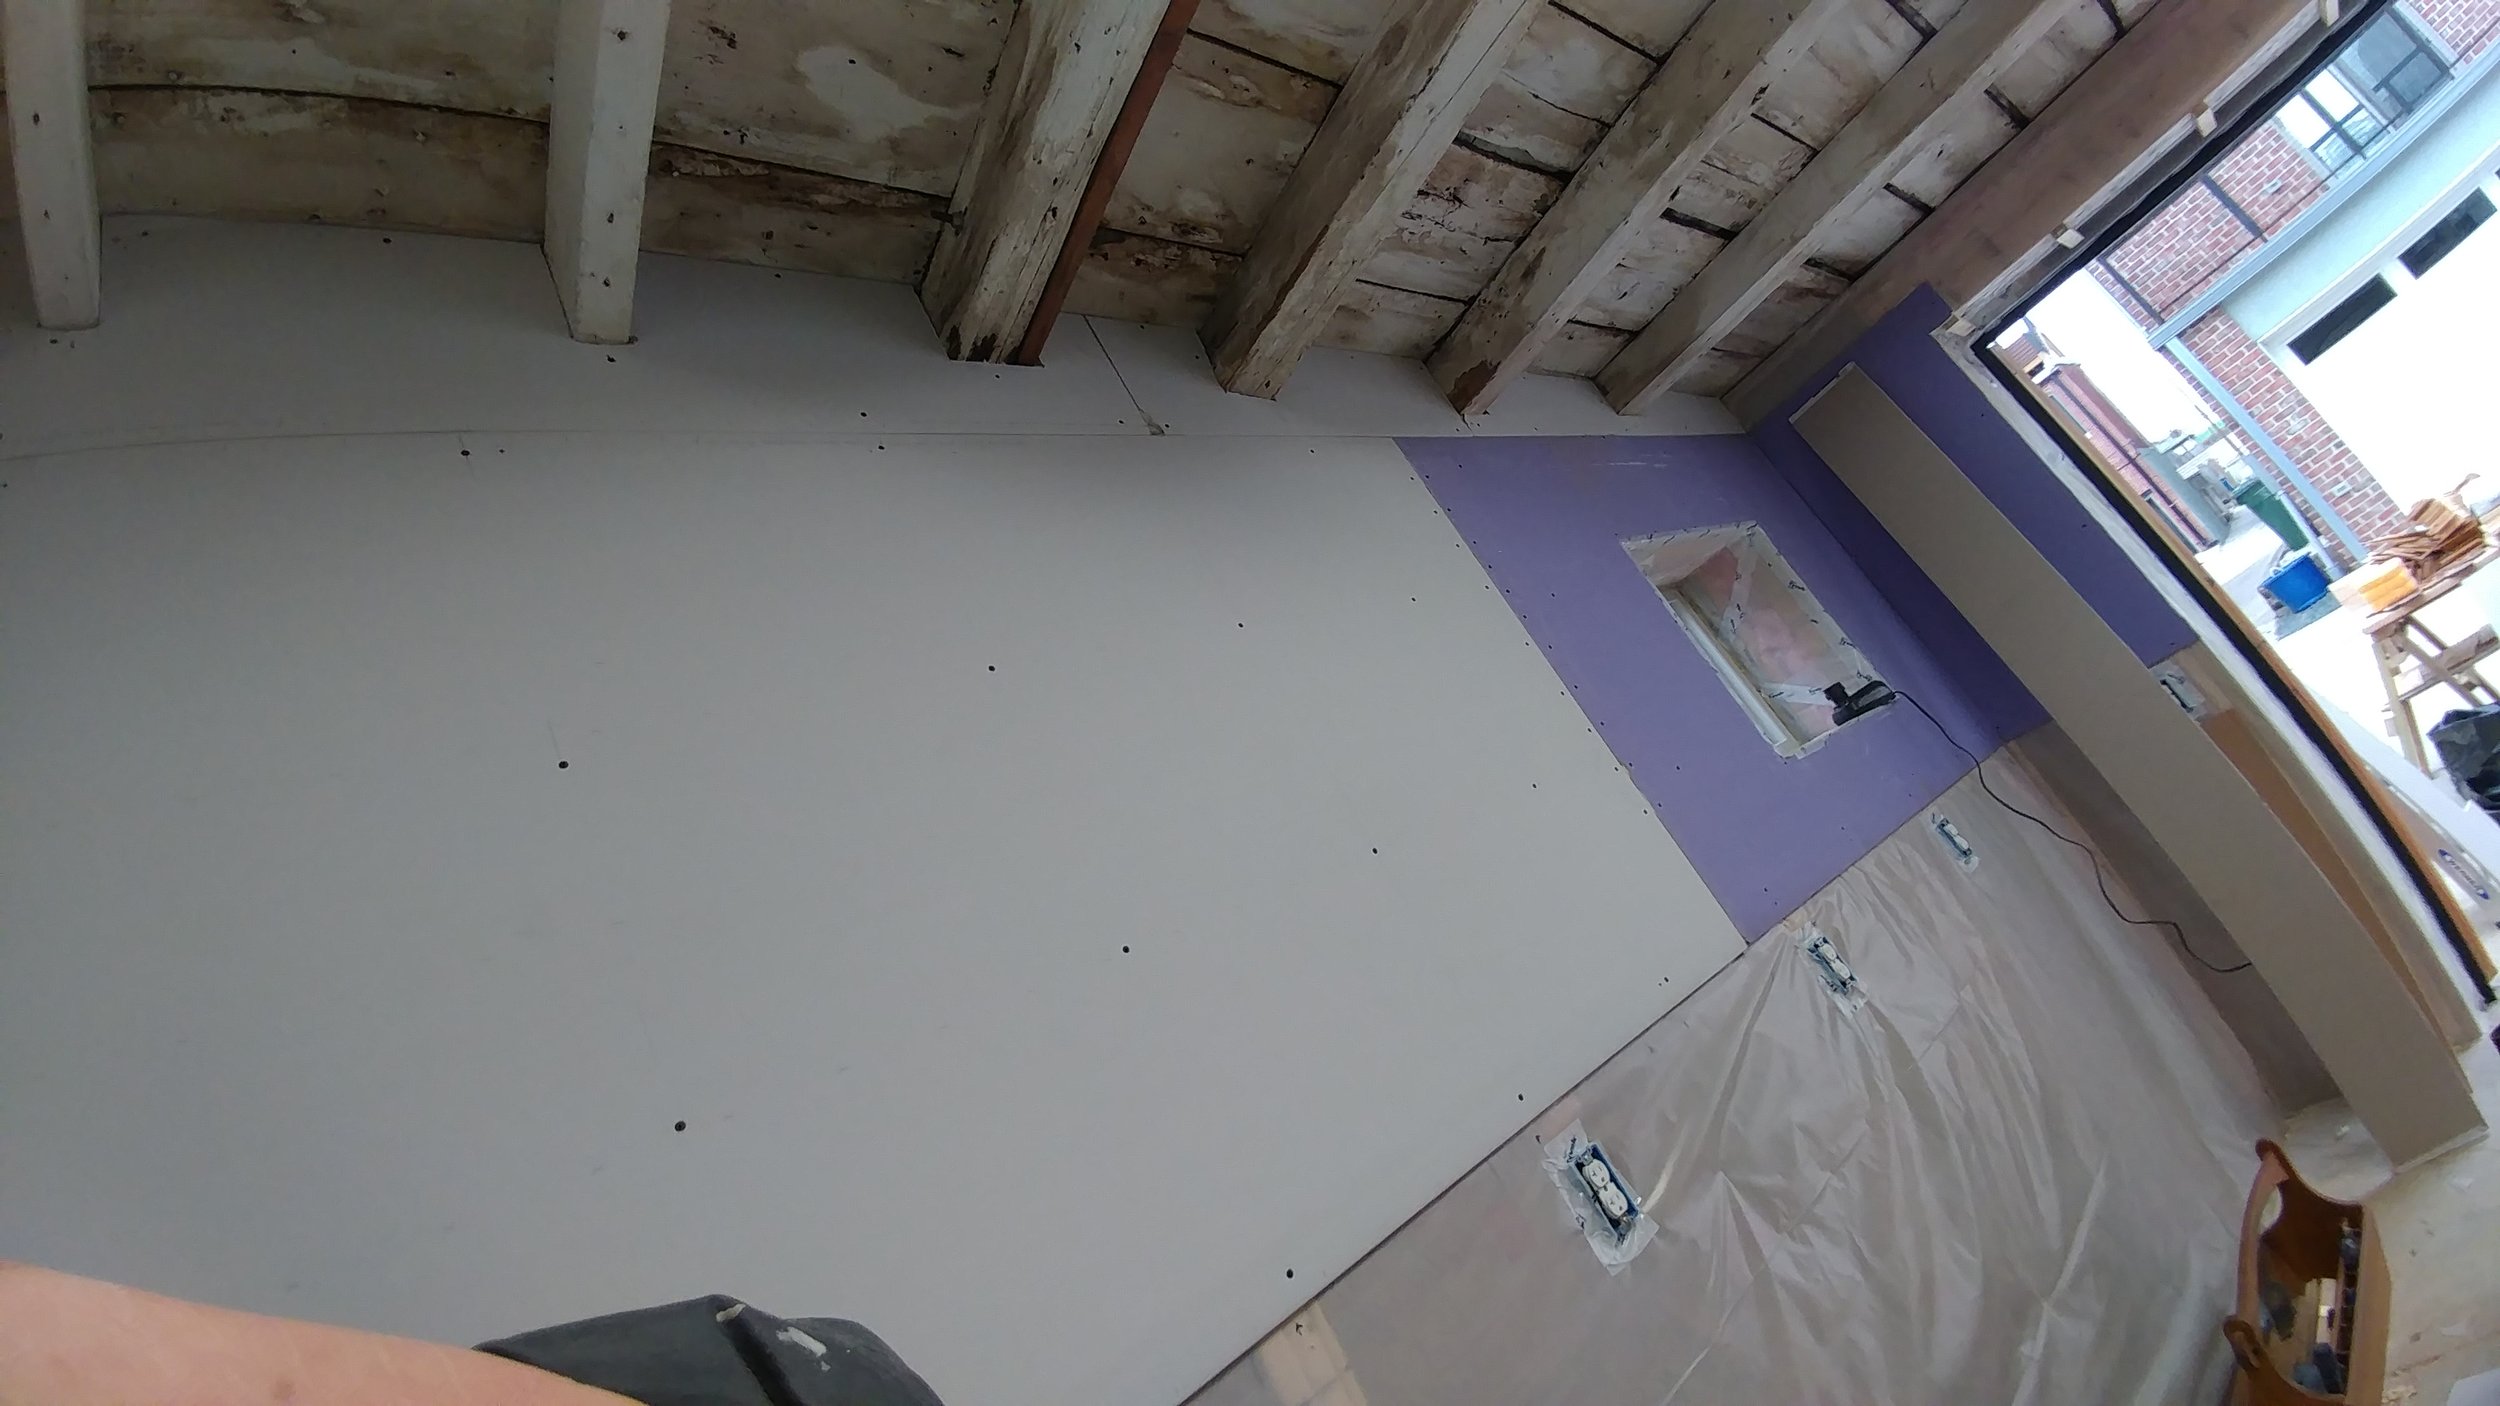
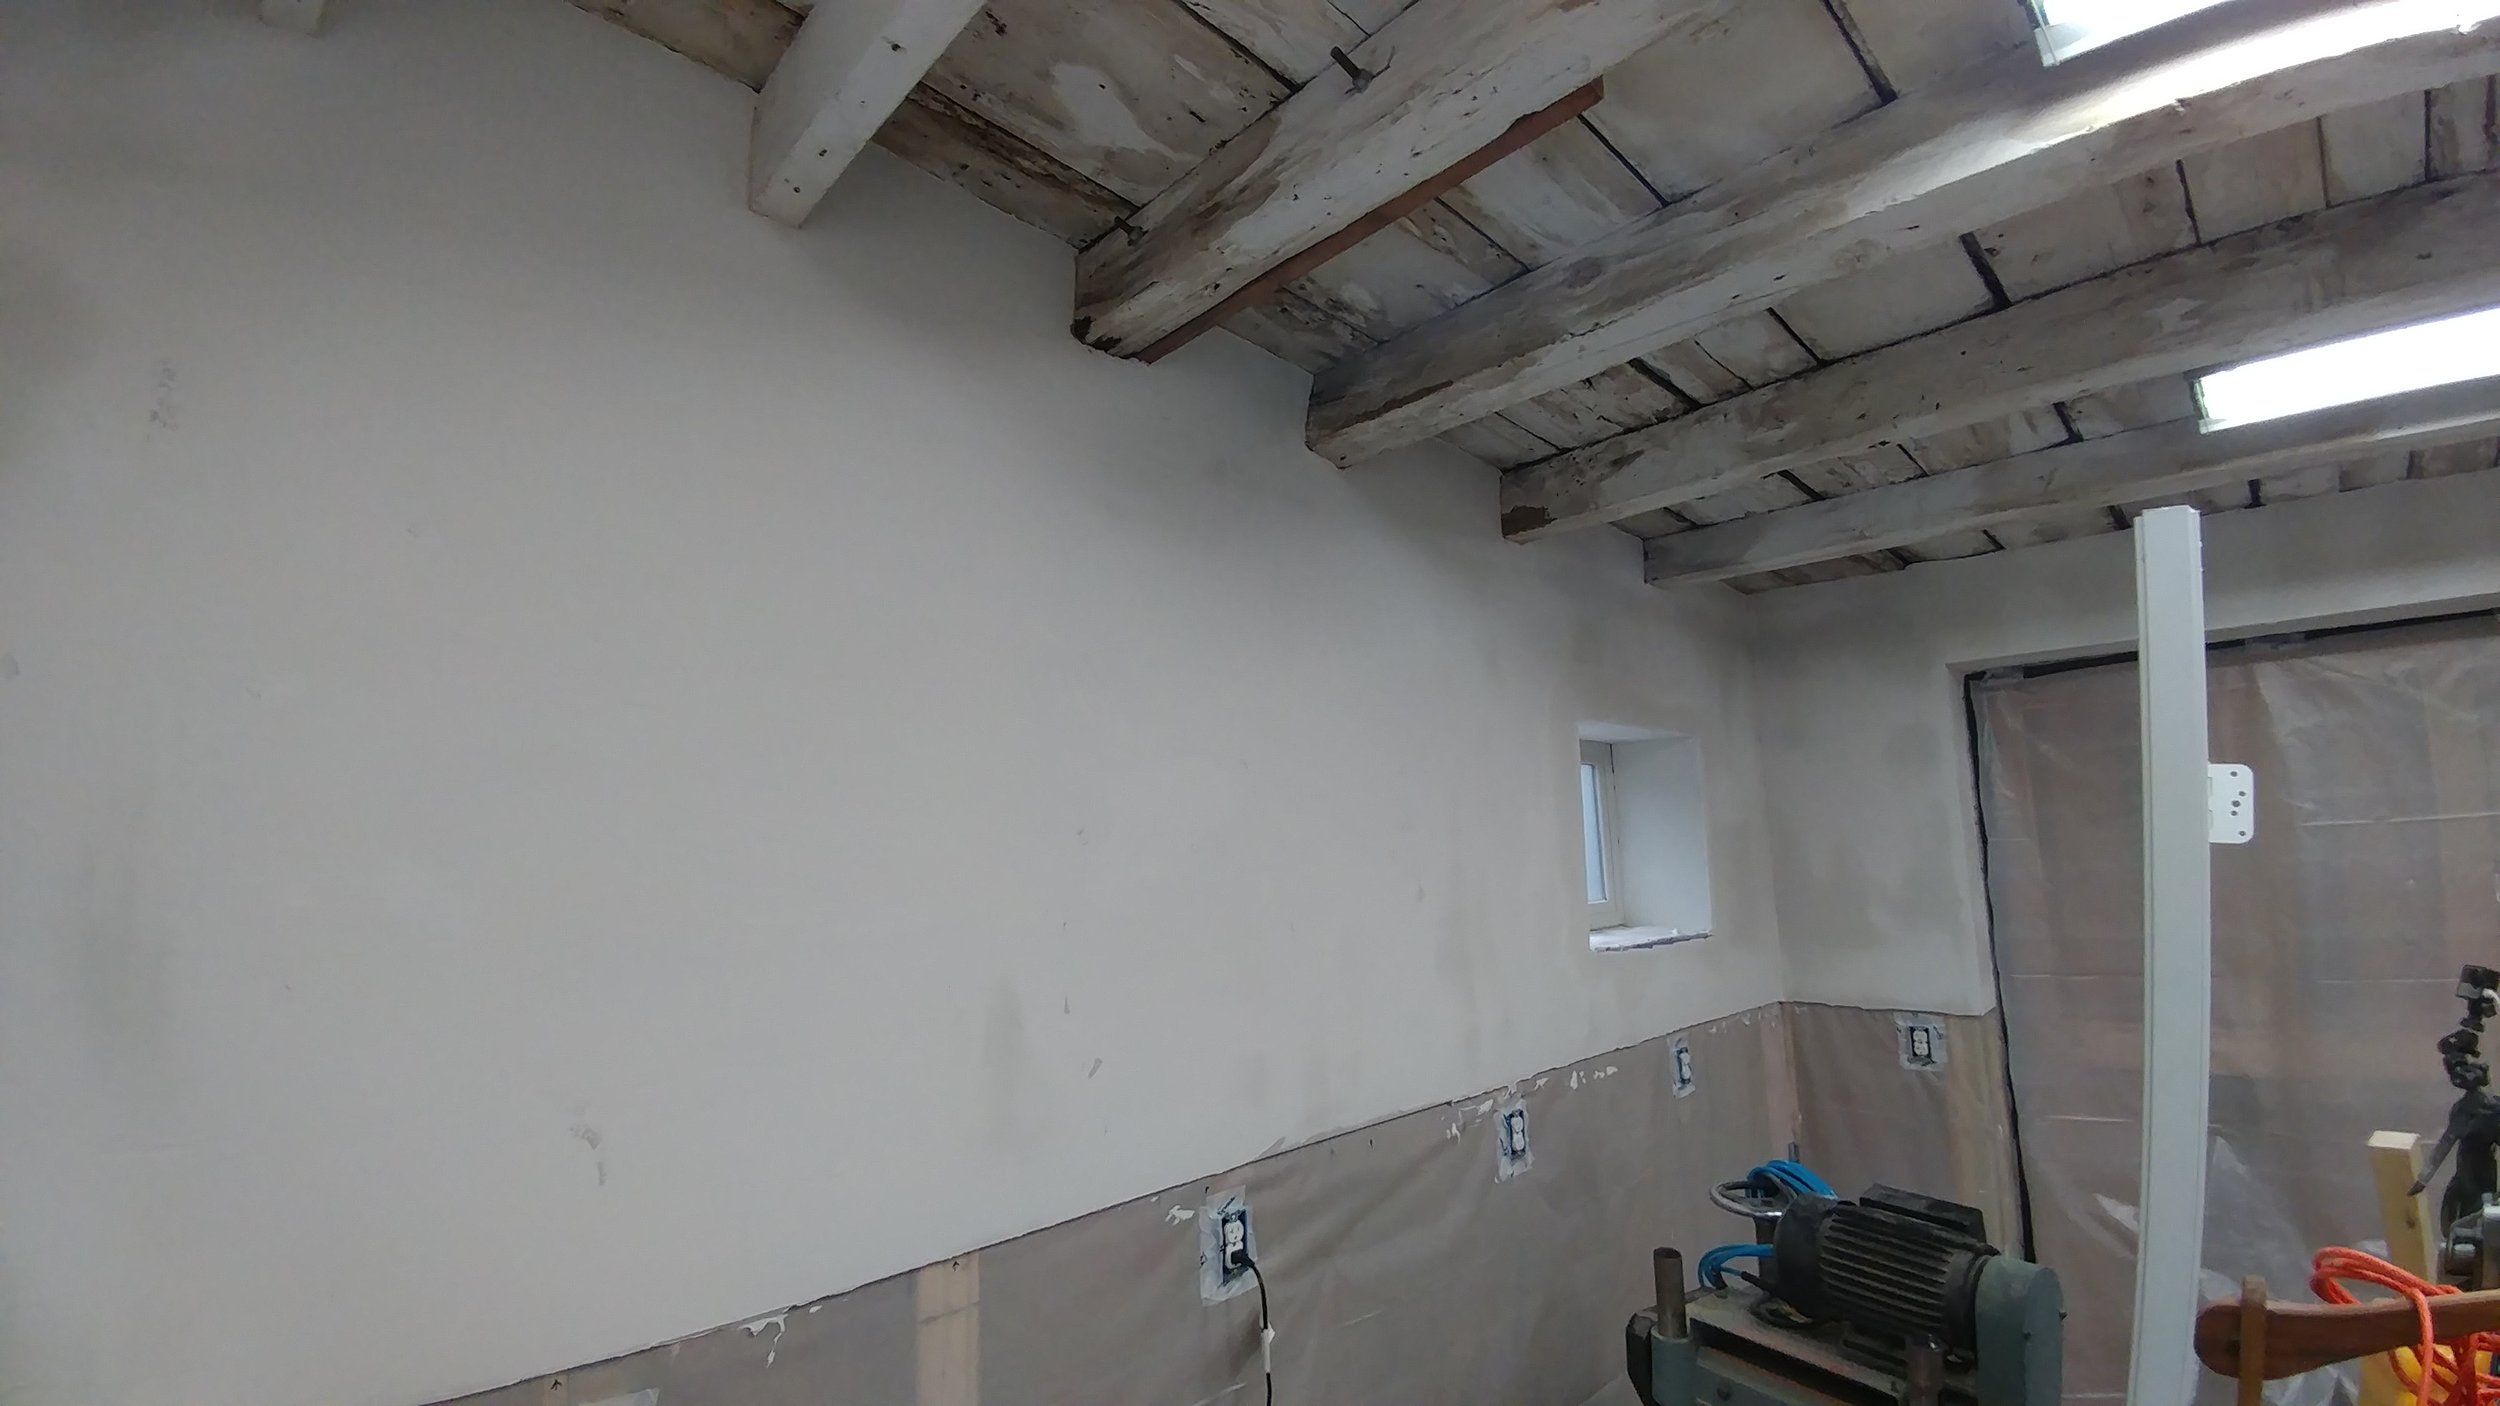
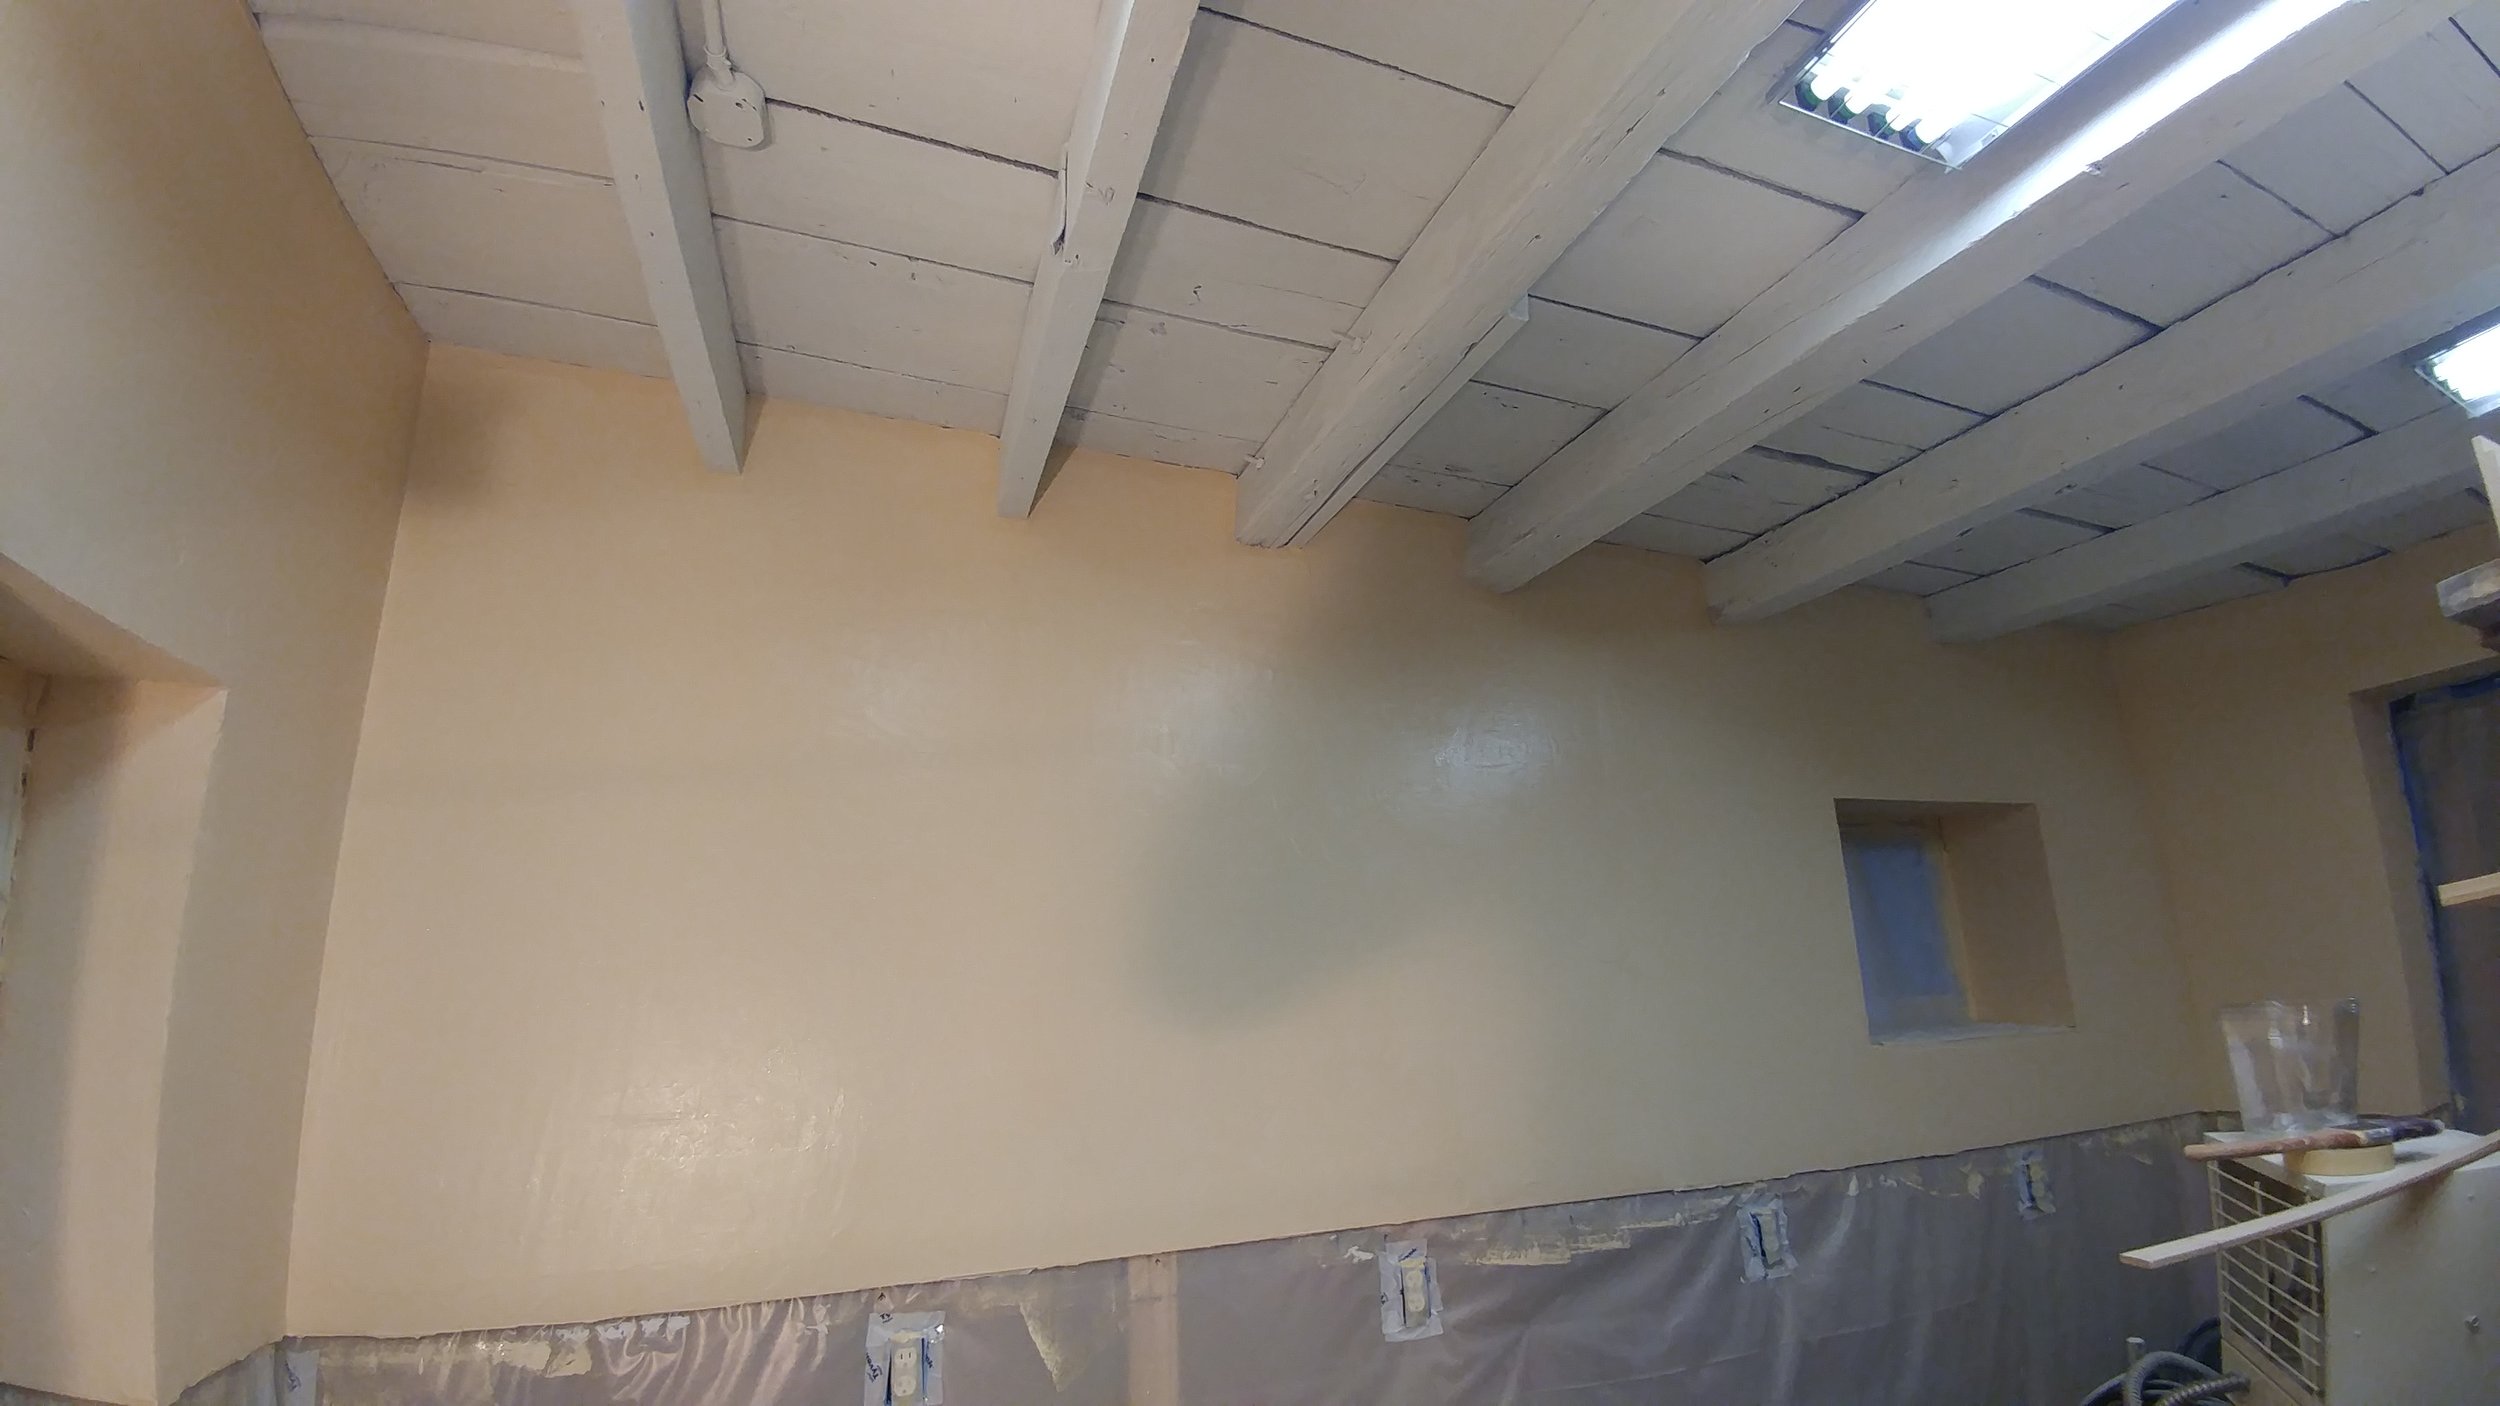
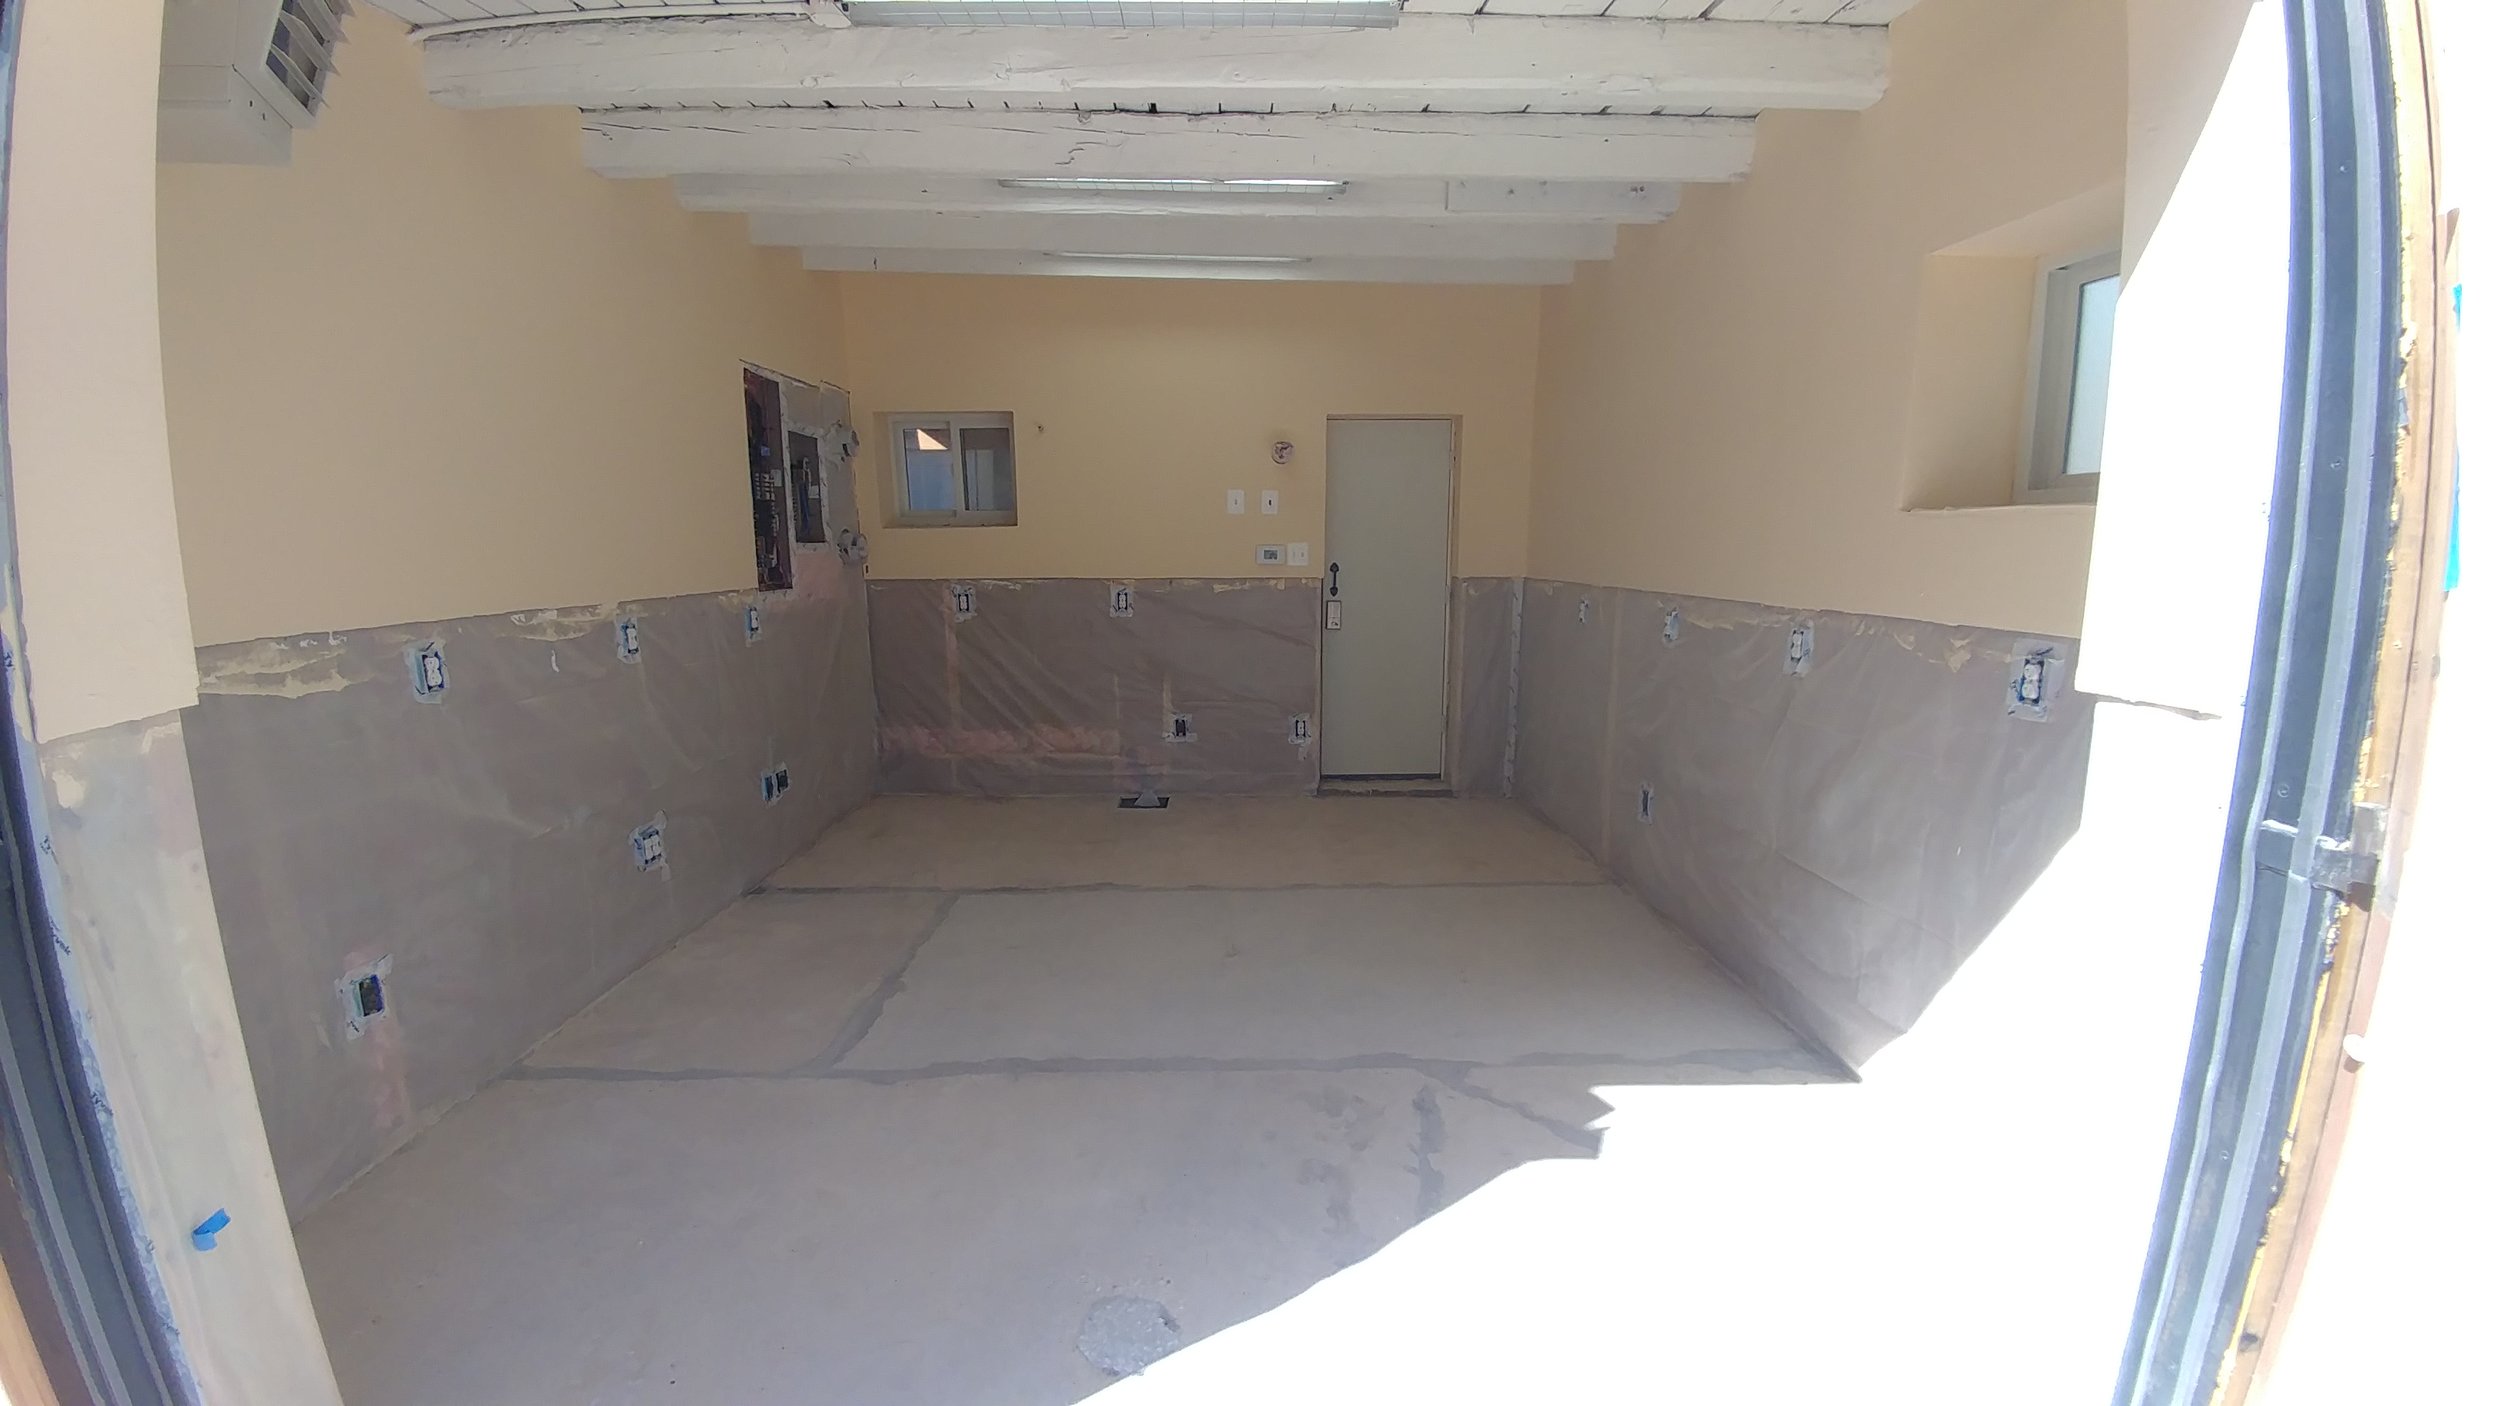
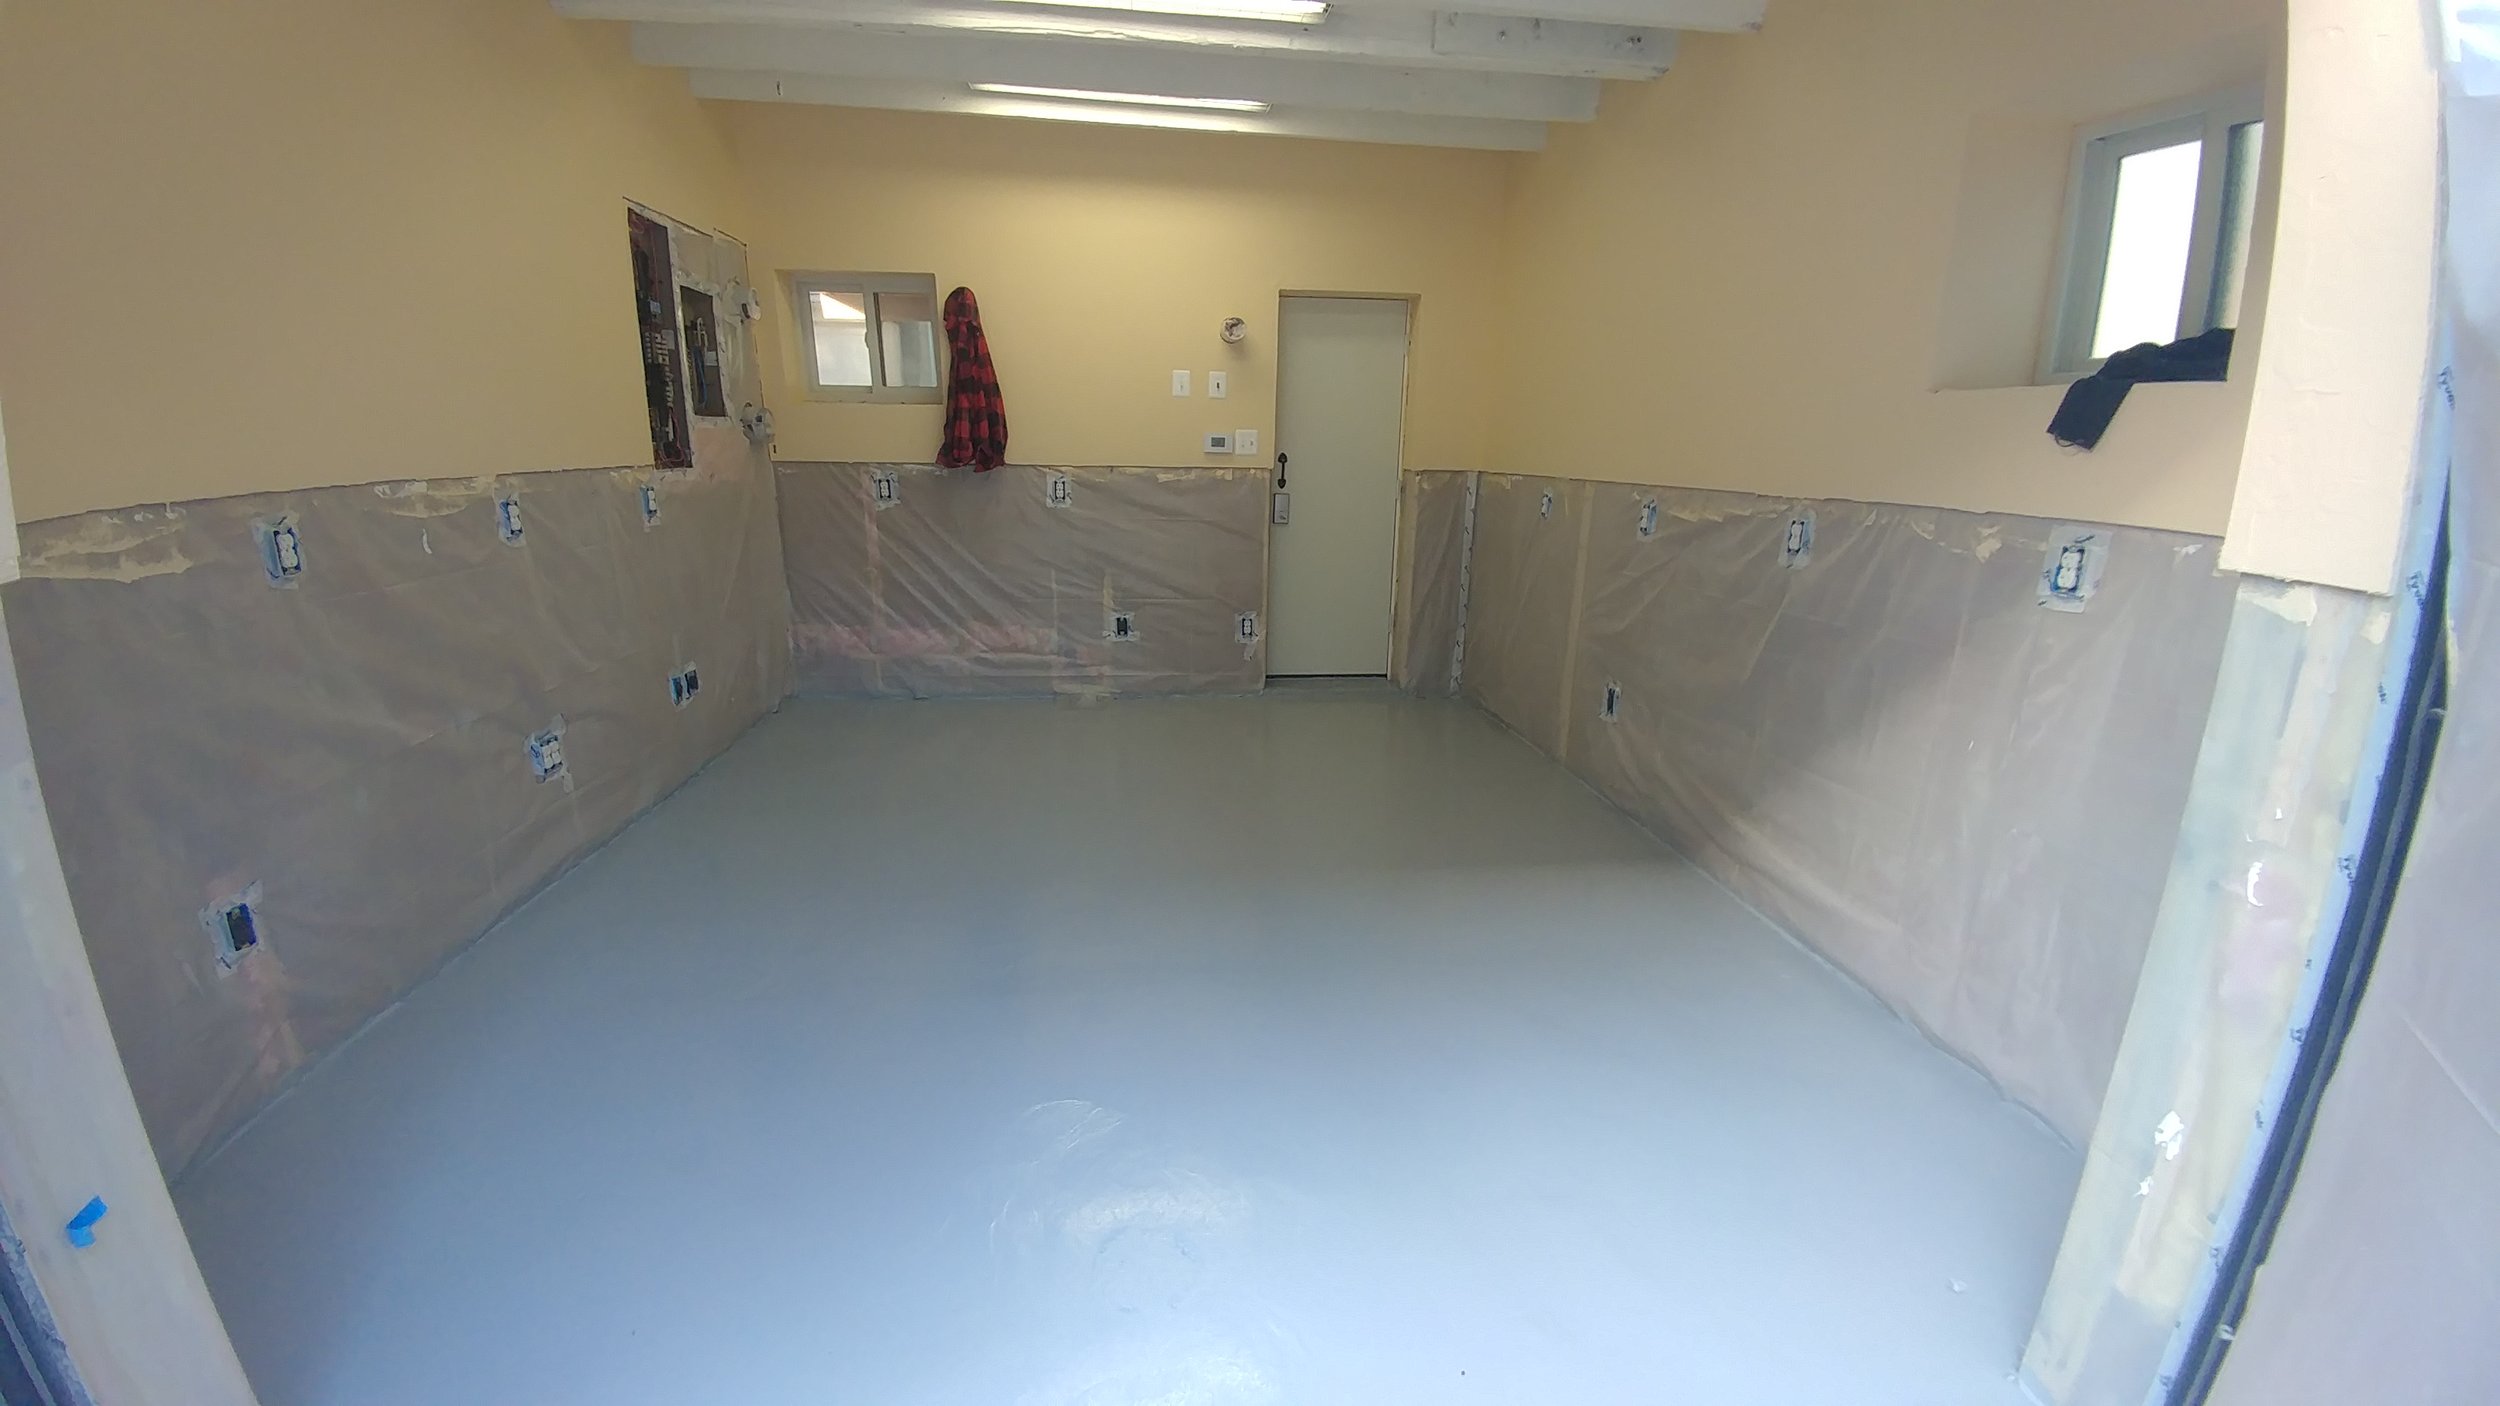
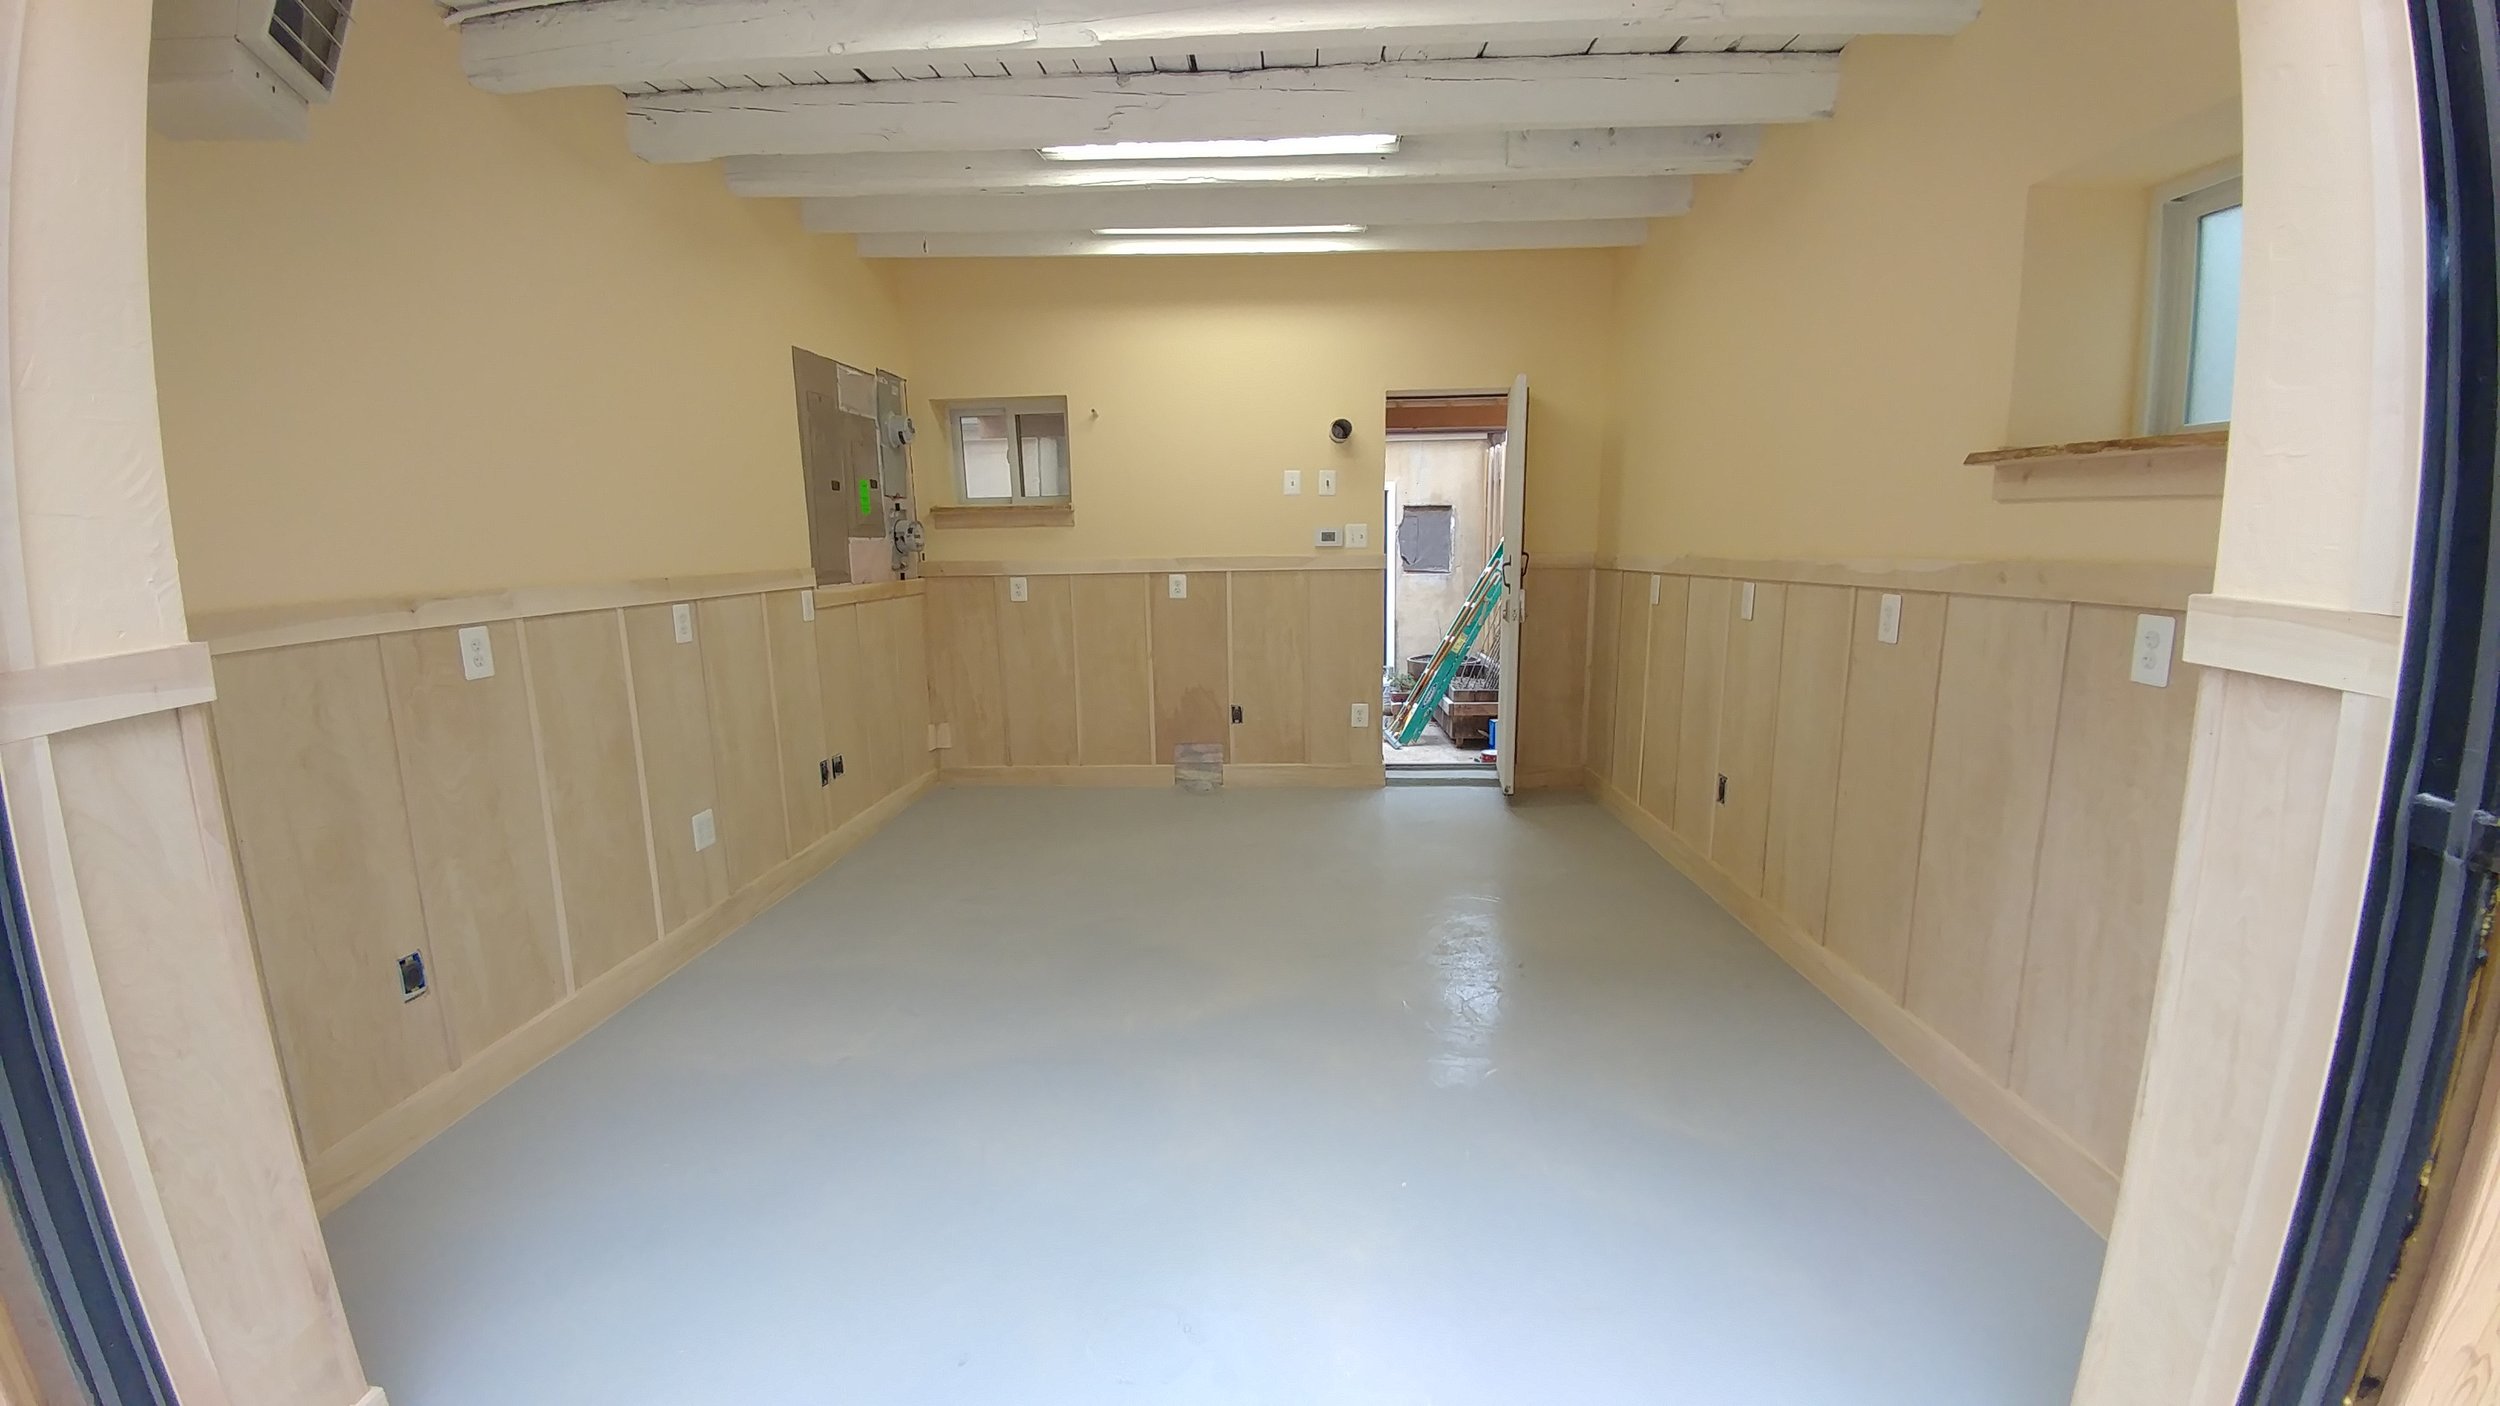
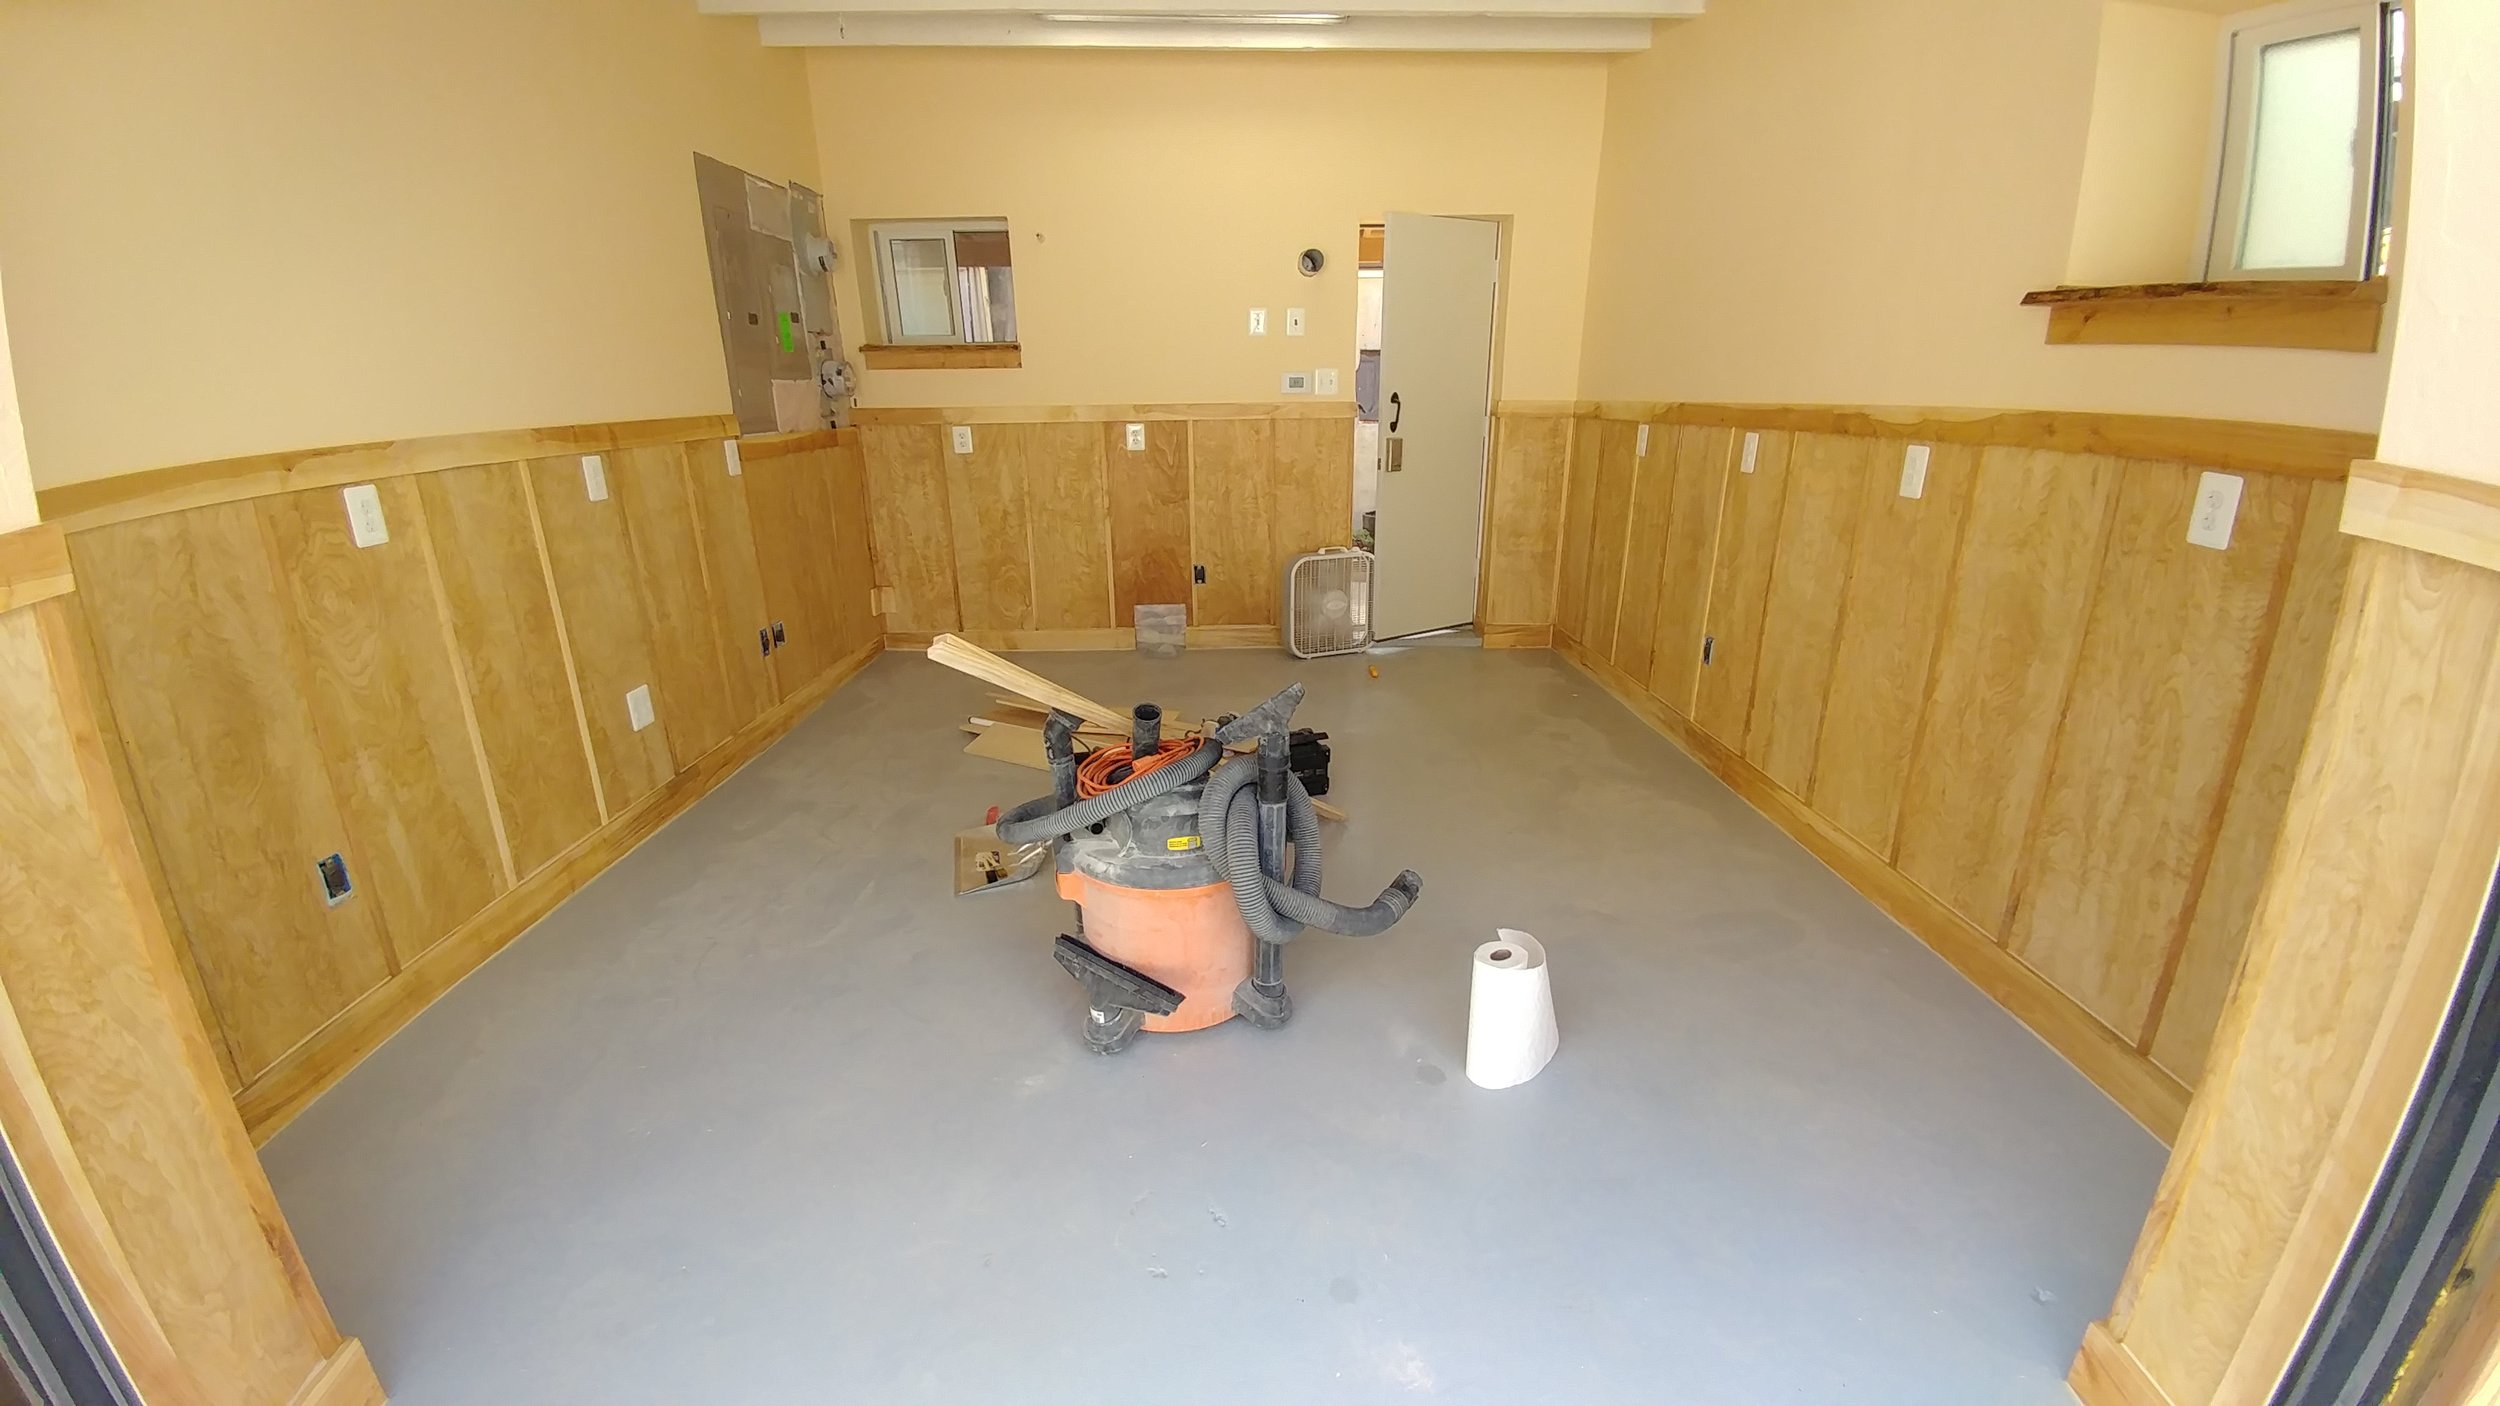
Interior Finishing
The interior of the shop was finished by first framing out an interior wall to hold insulation and electrical, then installing sub-systems, insulation and wall covering. The space went from dark and dingy to bright and comfortable.
Moving In
My least favorite part of working on this shop was probably the installation of the fiberglass insulation. On the other hand, likely my most favorite was moving in; bringing in all of my gear and several new tools and setting up things just so. It took a long time and lots of hard work. Finishing this shop was very rewarding and taught me much about working with existing spaces. Check out the shop tour video below for a full walk through. Thanks for reading!