Building a Wooden Hammer by Hand
Author’s Note! This article has been imported from my previous website. I wanted to preserve all of the old content as many people have found some value in it. There may be some broken links and or formatting issues. If something isn’t right, please let me know and I’ll do my best to make an update.
I was really excited to try out my new Japanese style plane (Kanna), saw and use some better chisels. While painstakingly setting up the plane (I highly recommend this series of videos, this Lumberjocks article, and finally this other blog post for information on how to set up the Kanna), I ended up using my cheap Harbor Freight orange dead blow hammer. Something just felt wrong about hand-tuning a simple plane, that hasn’t changed for centuries (made of simple wood and a steel blade), with a plastic, Chinese-made, mass-produced hammer.
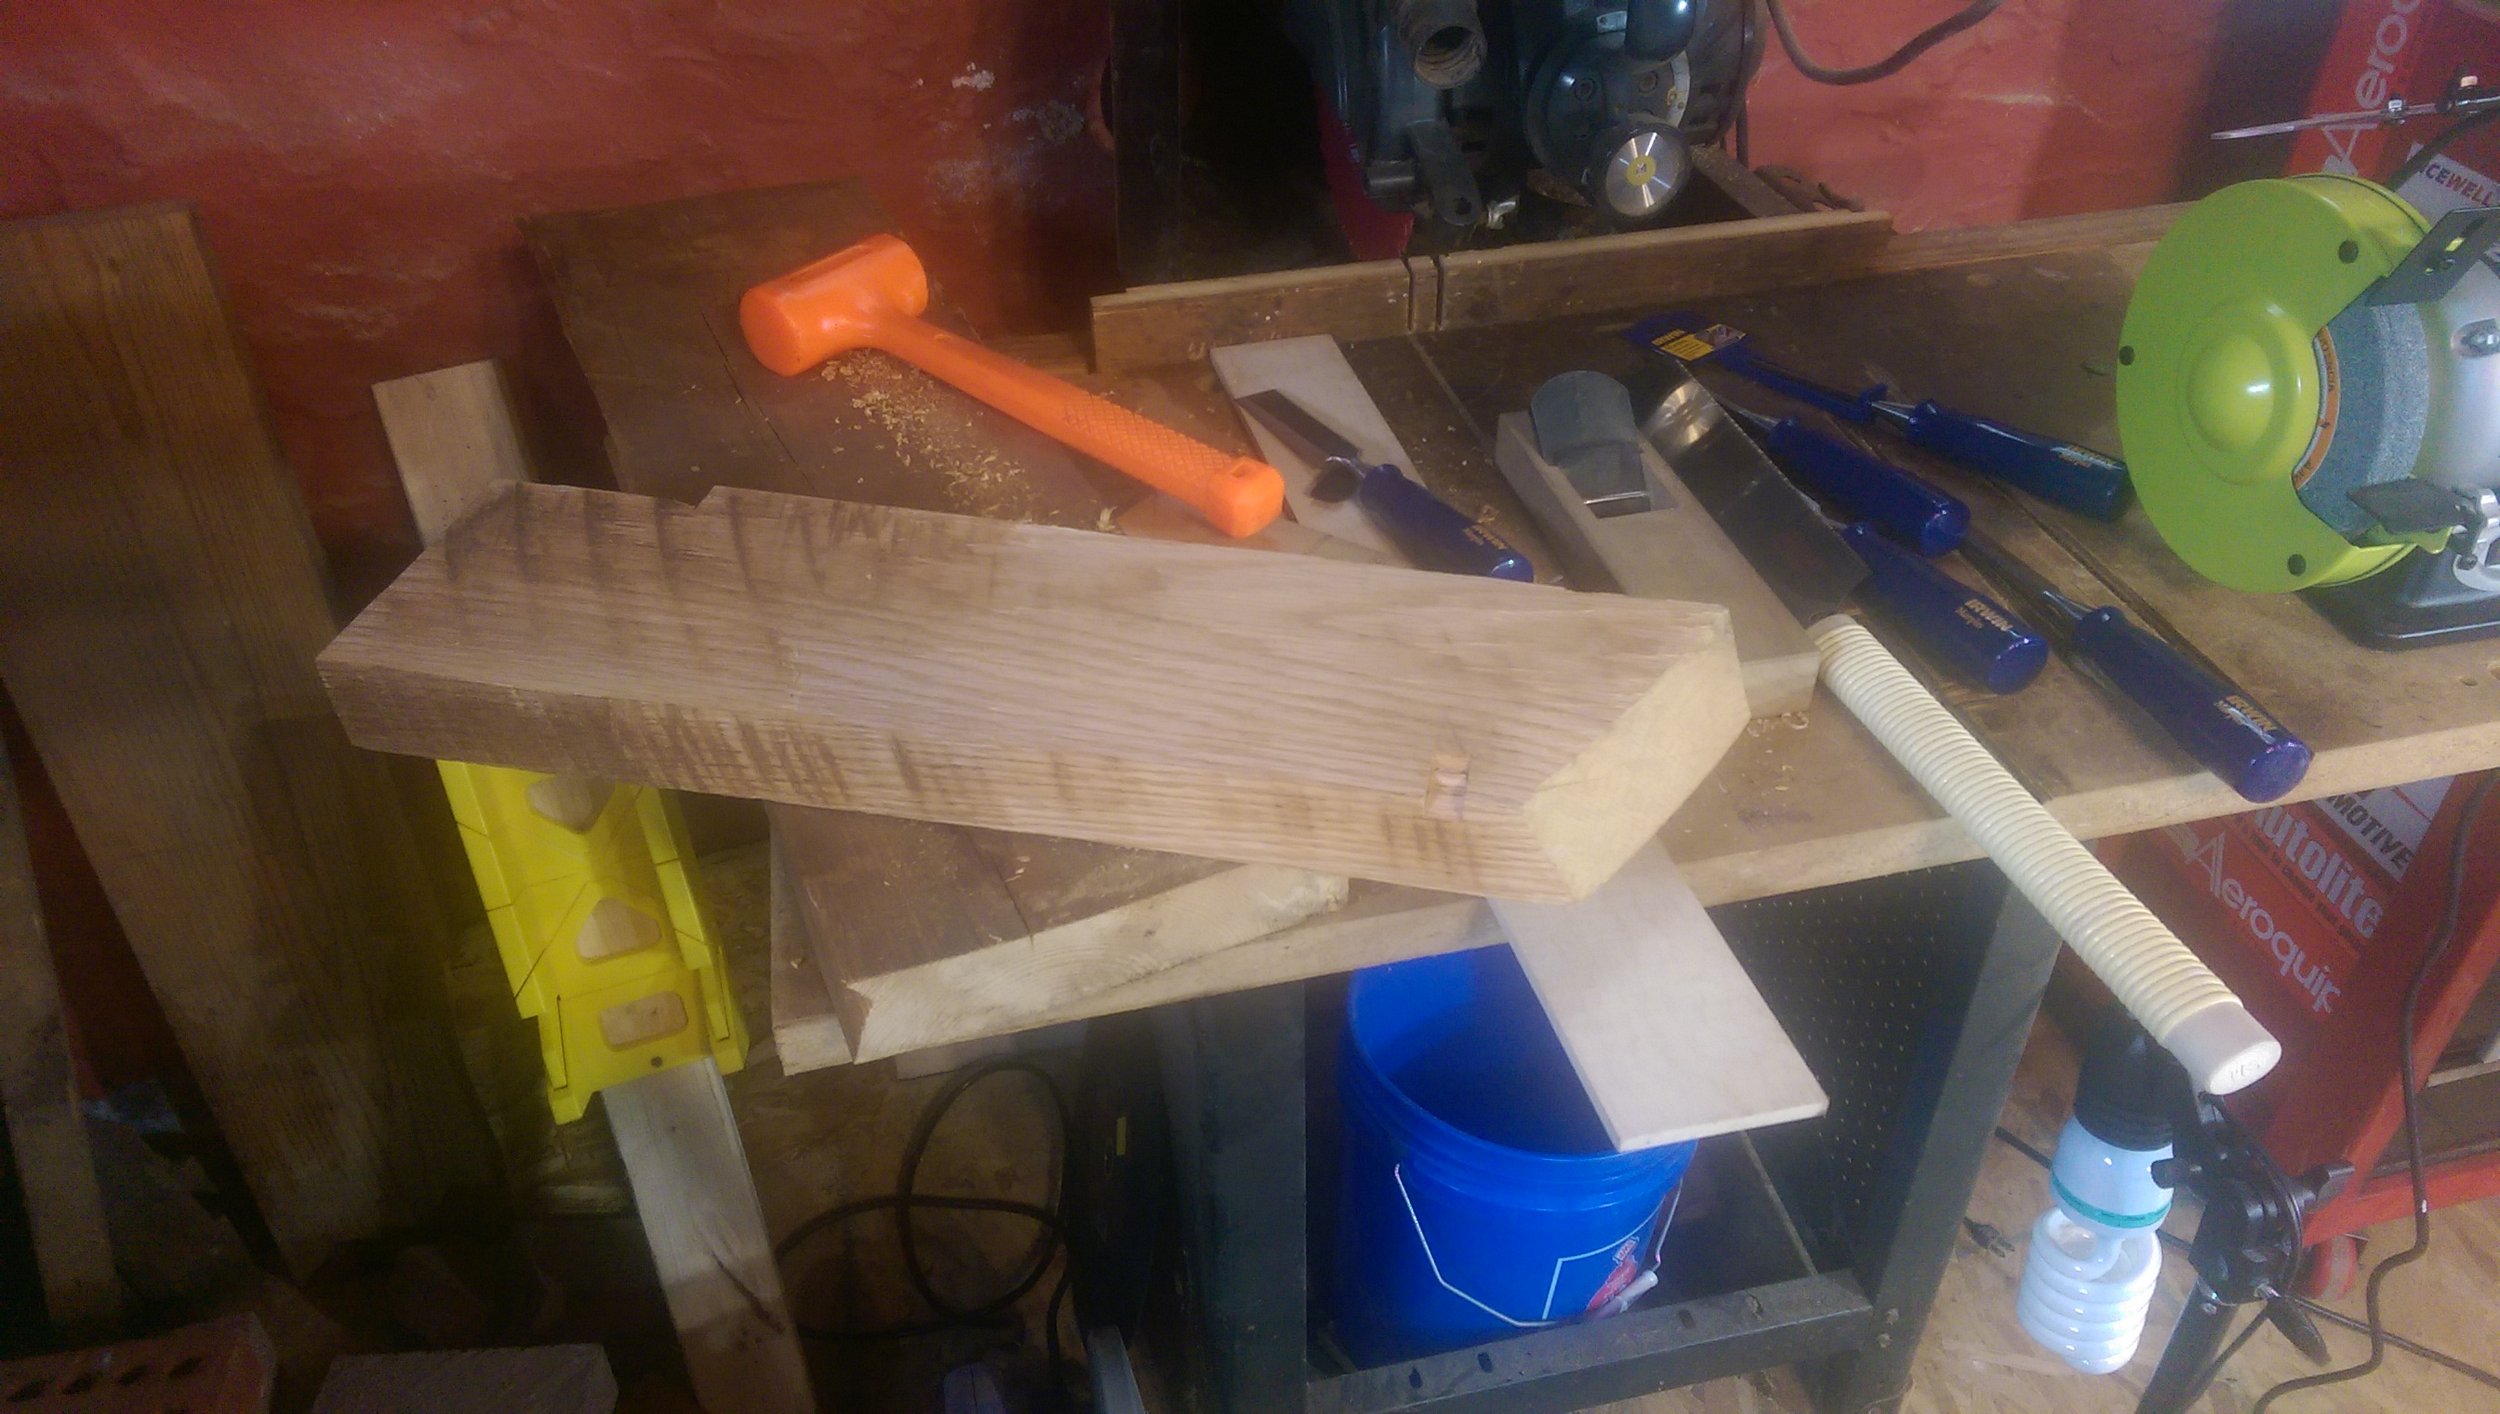
I thought it would be better to use a wooden hammer, so it seemed like a great project to get started with using these tools. Plus, I had some scrap that would be perfect for it! Here, you can see the offending hammer in the background:
Rouging the Blanks
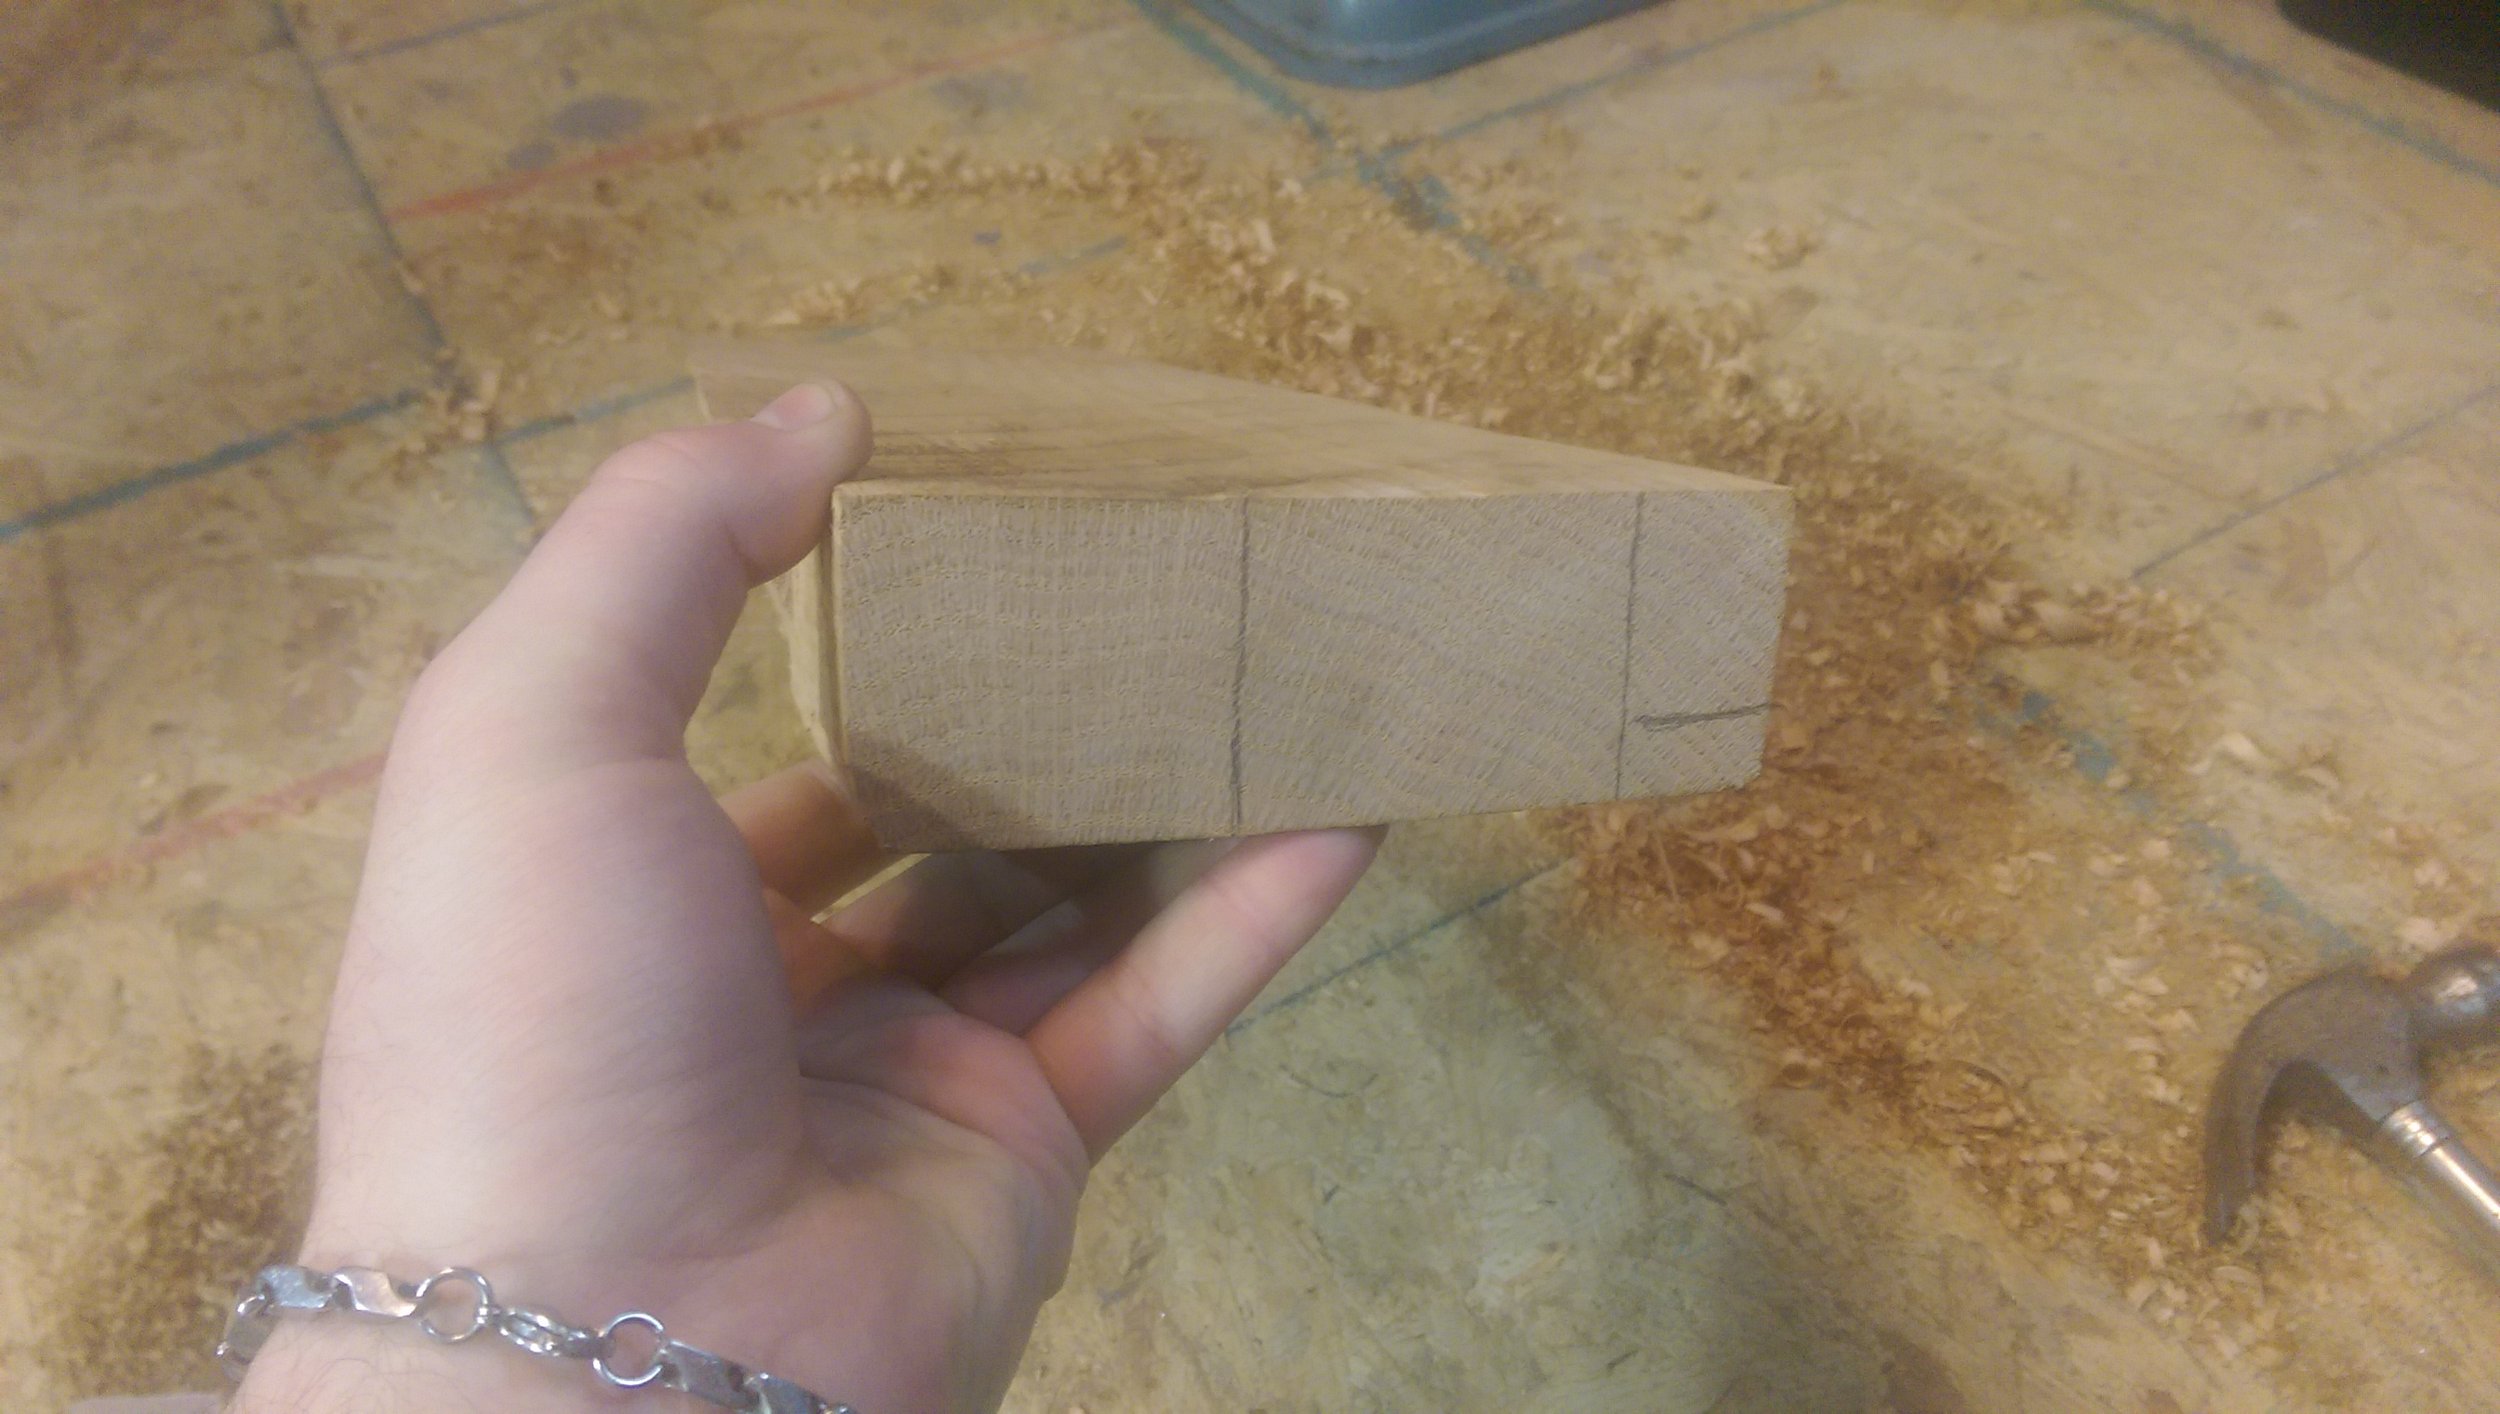
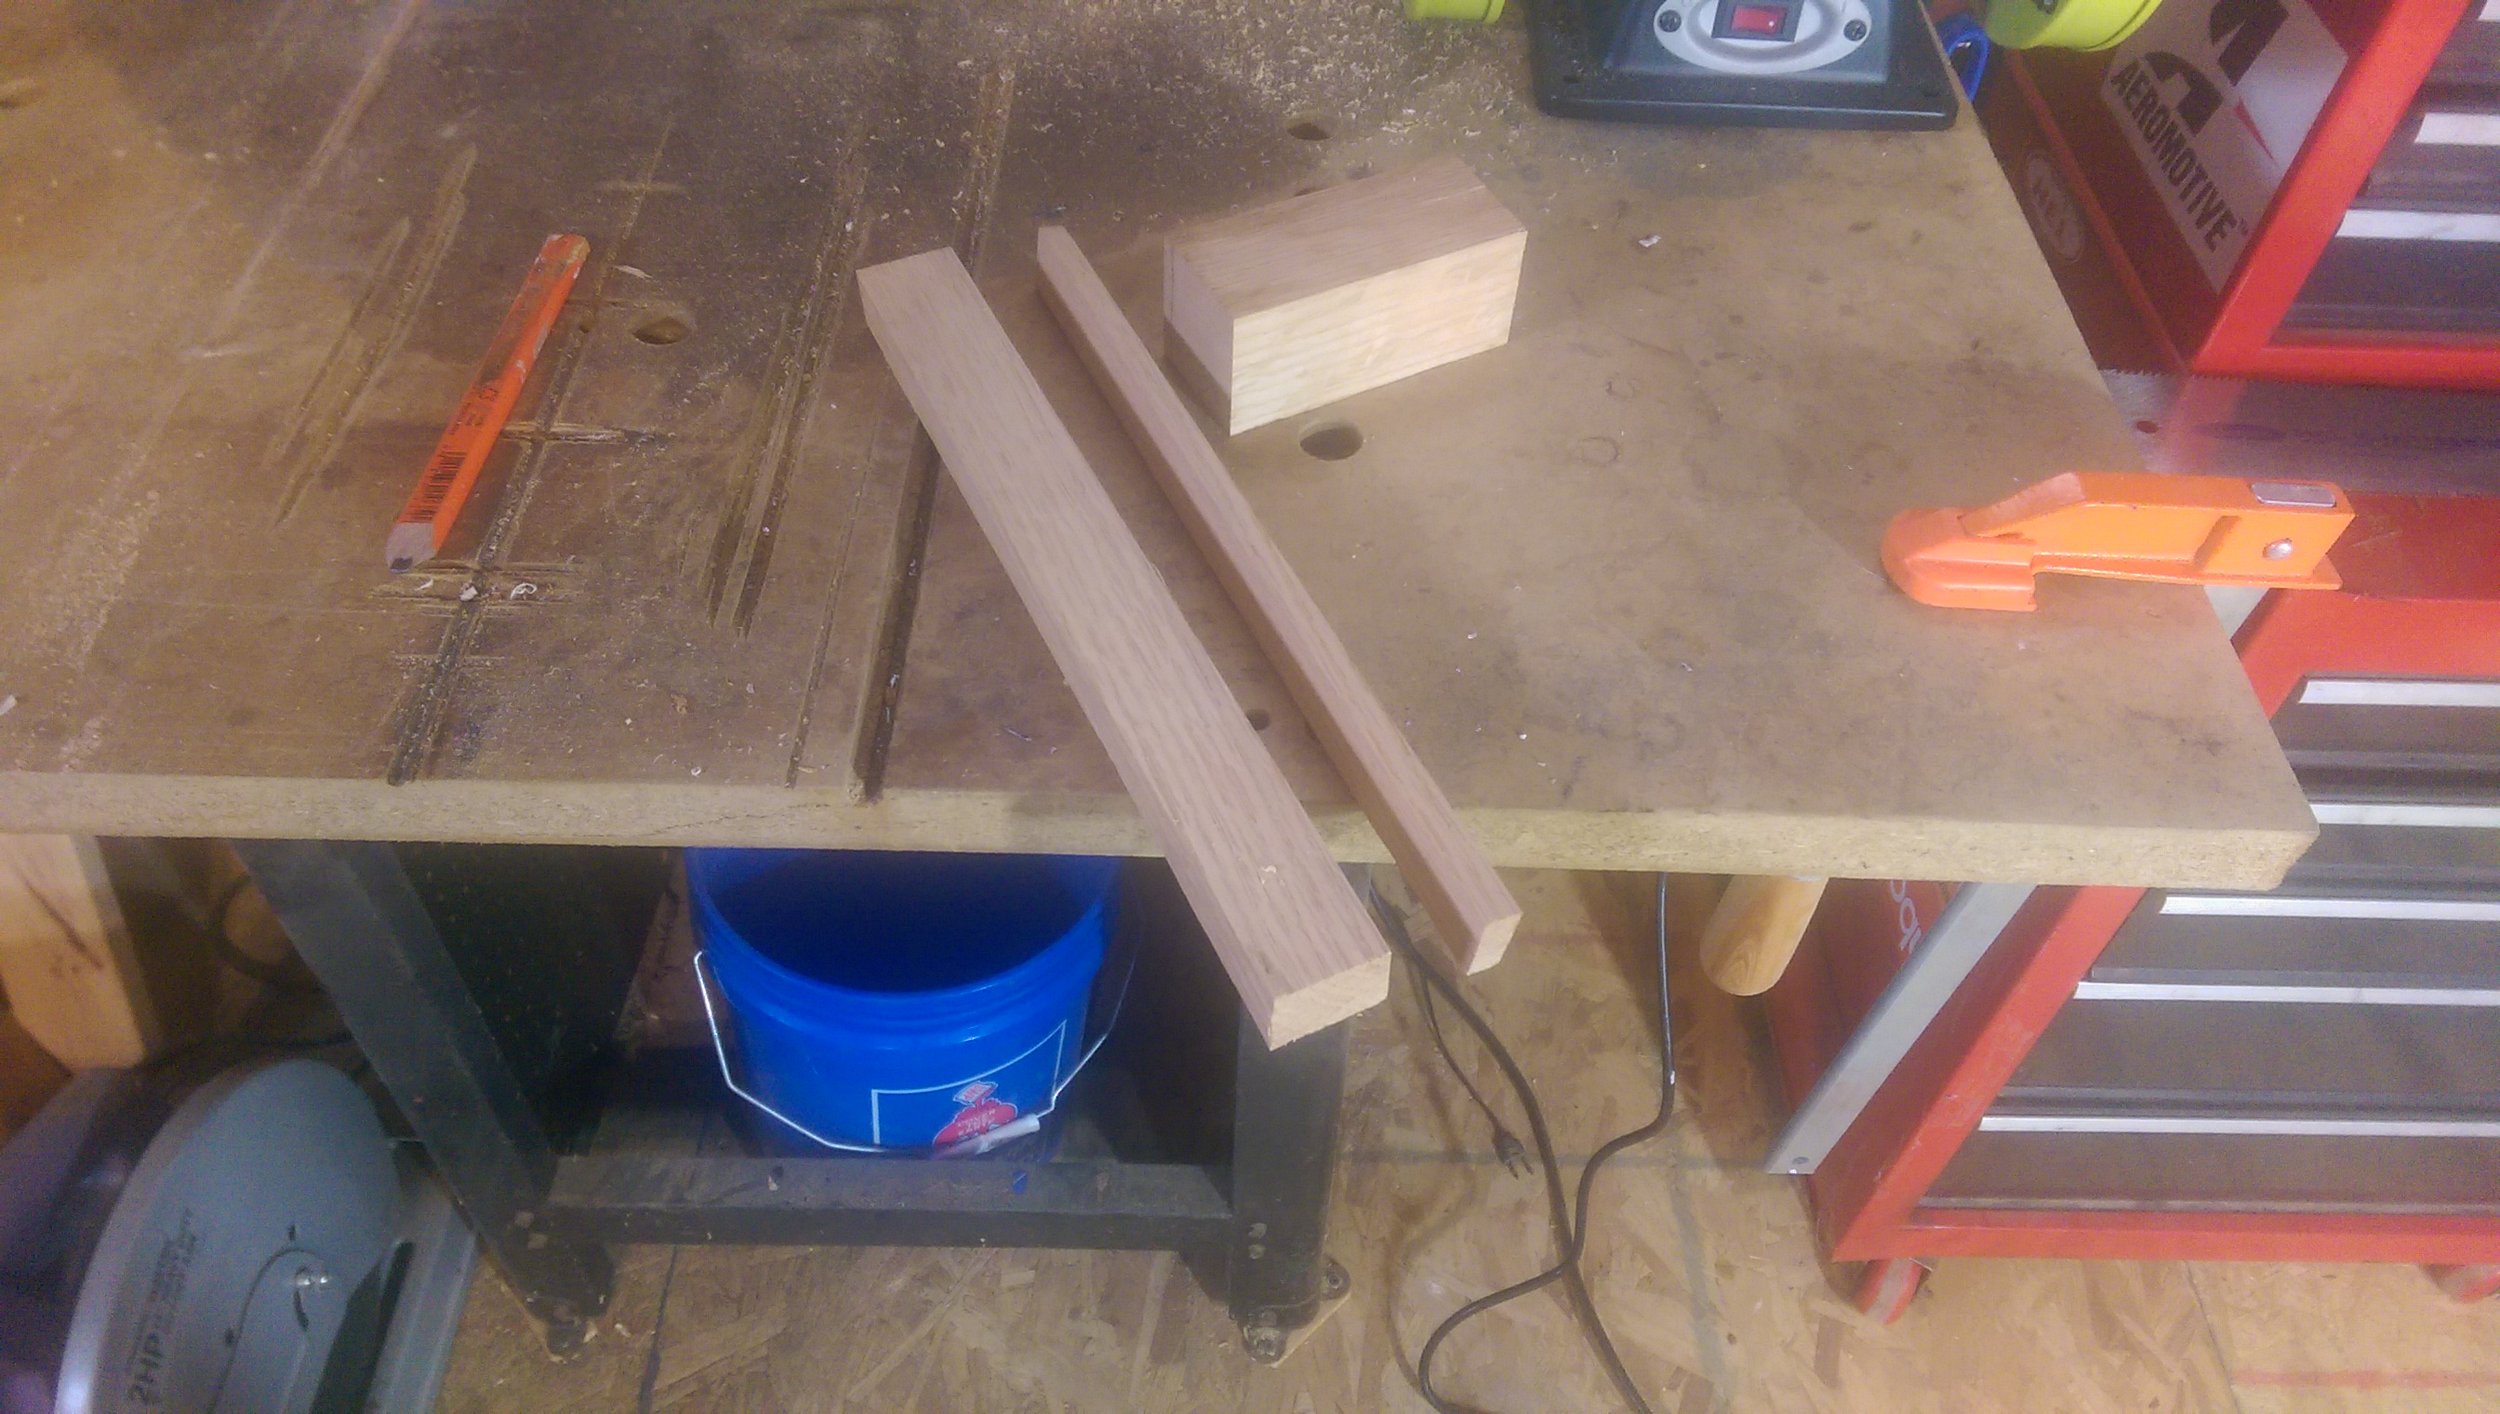
First, I rough planed the Oak scrap wood to get a reasonably true surface, and to inspect where some good grain might be. Then, I added some cut marks to the end. I made the head out of one block and the handle out of a thinner strip, cut twice:
The sharp blade on the radial arms saw came in handy as one of the few powered operations on this hammer. I don’t have a table saw yet, and this made quick work of roughing out the blanks:
Then, a few manual cross cuts to extract the blanks. Here is the basic idea for the hammer:
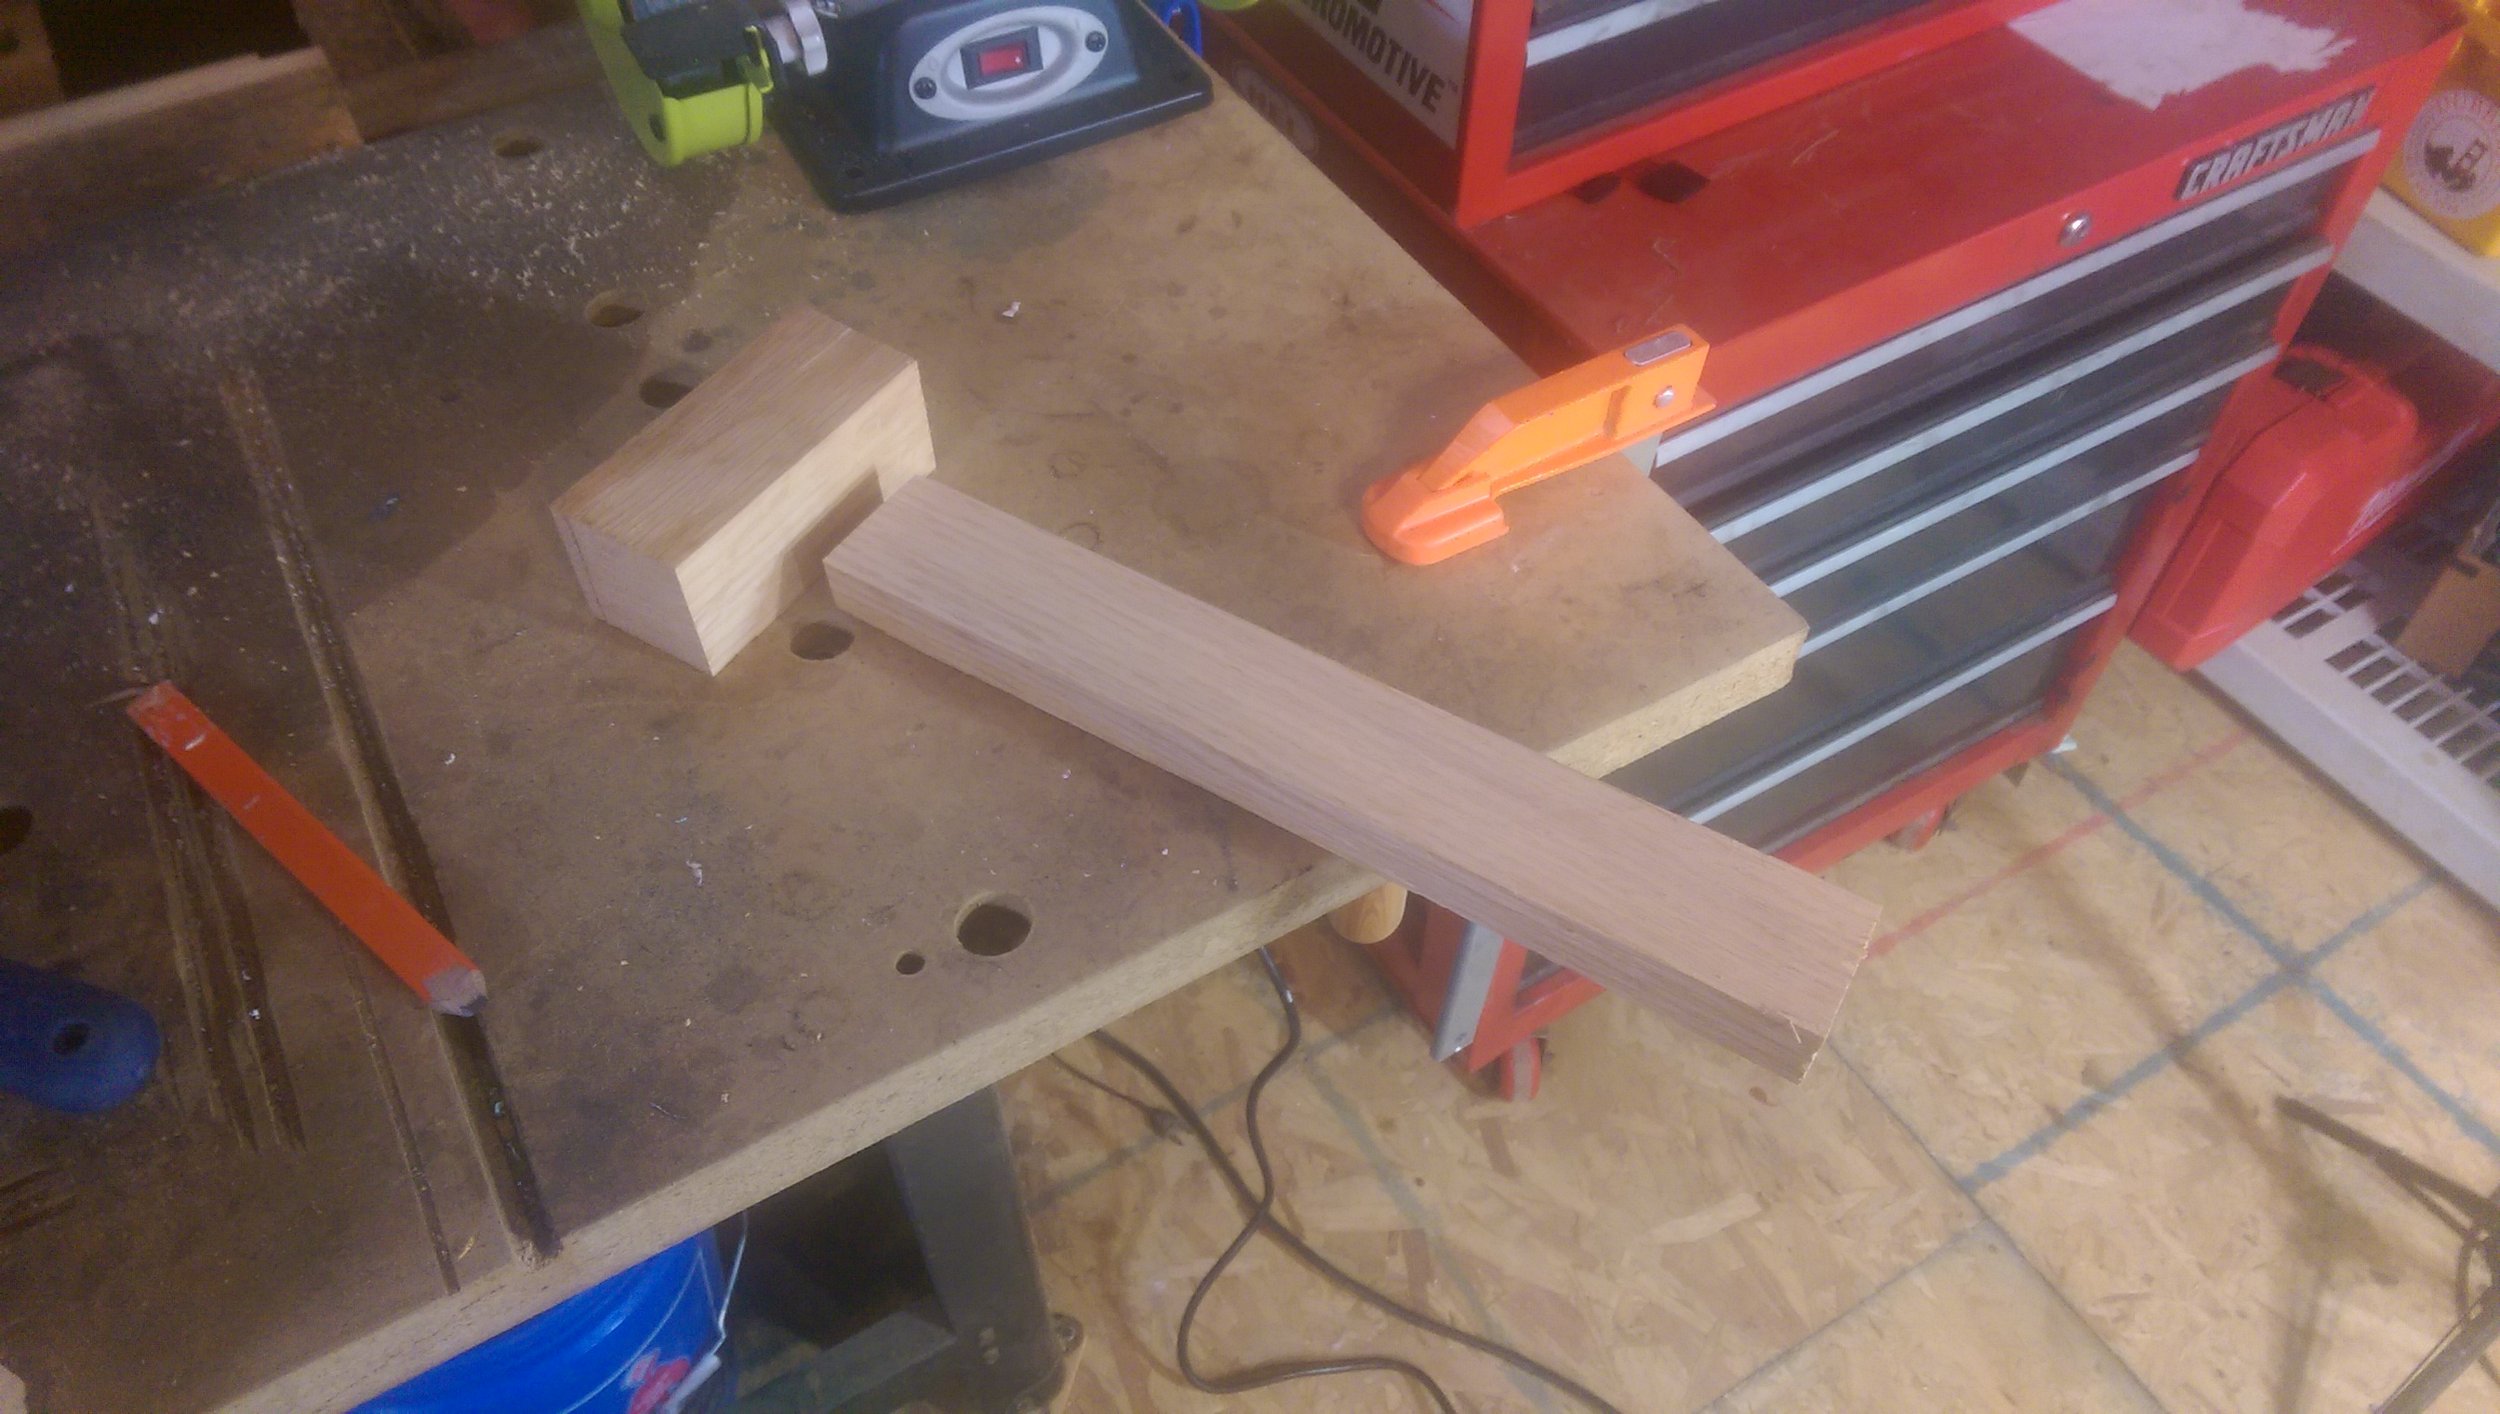
One more rip and the handle blank is ready (on the left in the picture below):
Shaping the Hammer
I saw a few designs on the internet that were appealing, and thought that it would be a nice hammer if the head was attached to the handle with small wedges of a different wood between fingers on the end of the handle. This would push out the fingers into a slightly sloped mortise, as well as add a functional detail to the top of a rather simple hammer.
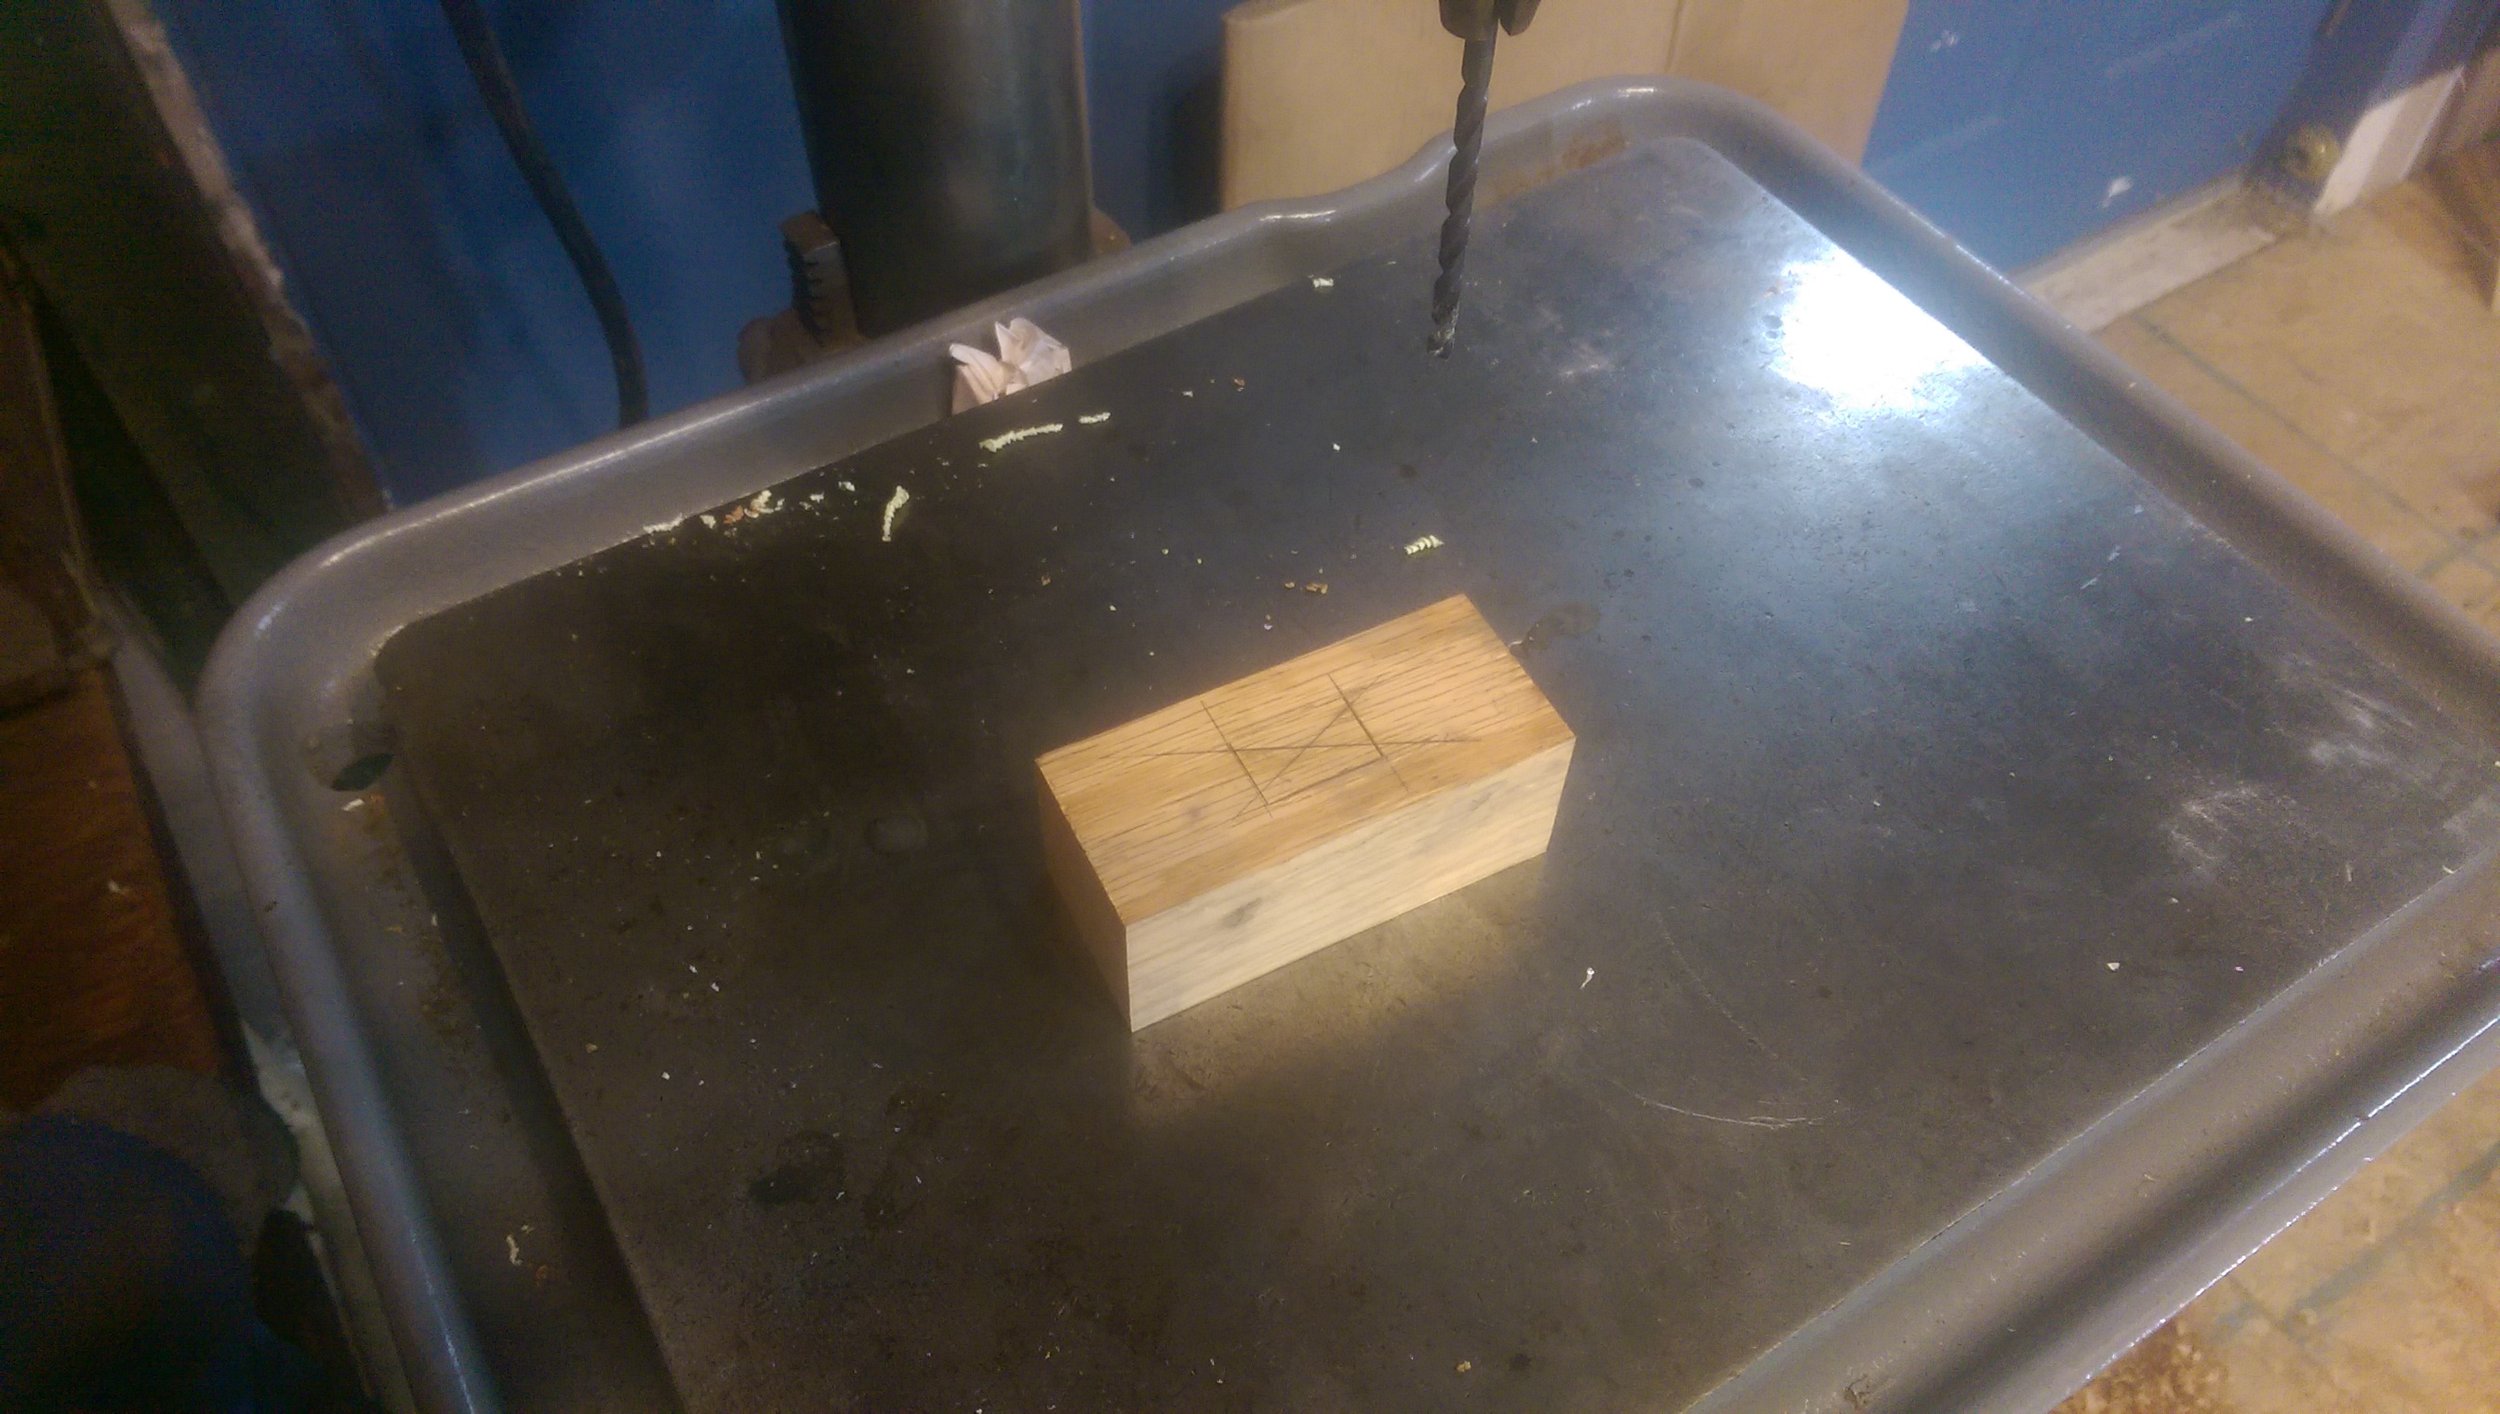
In order to create the mortise, I marked out the location, and drilled out as much excess wood as possible:
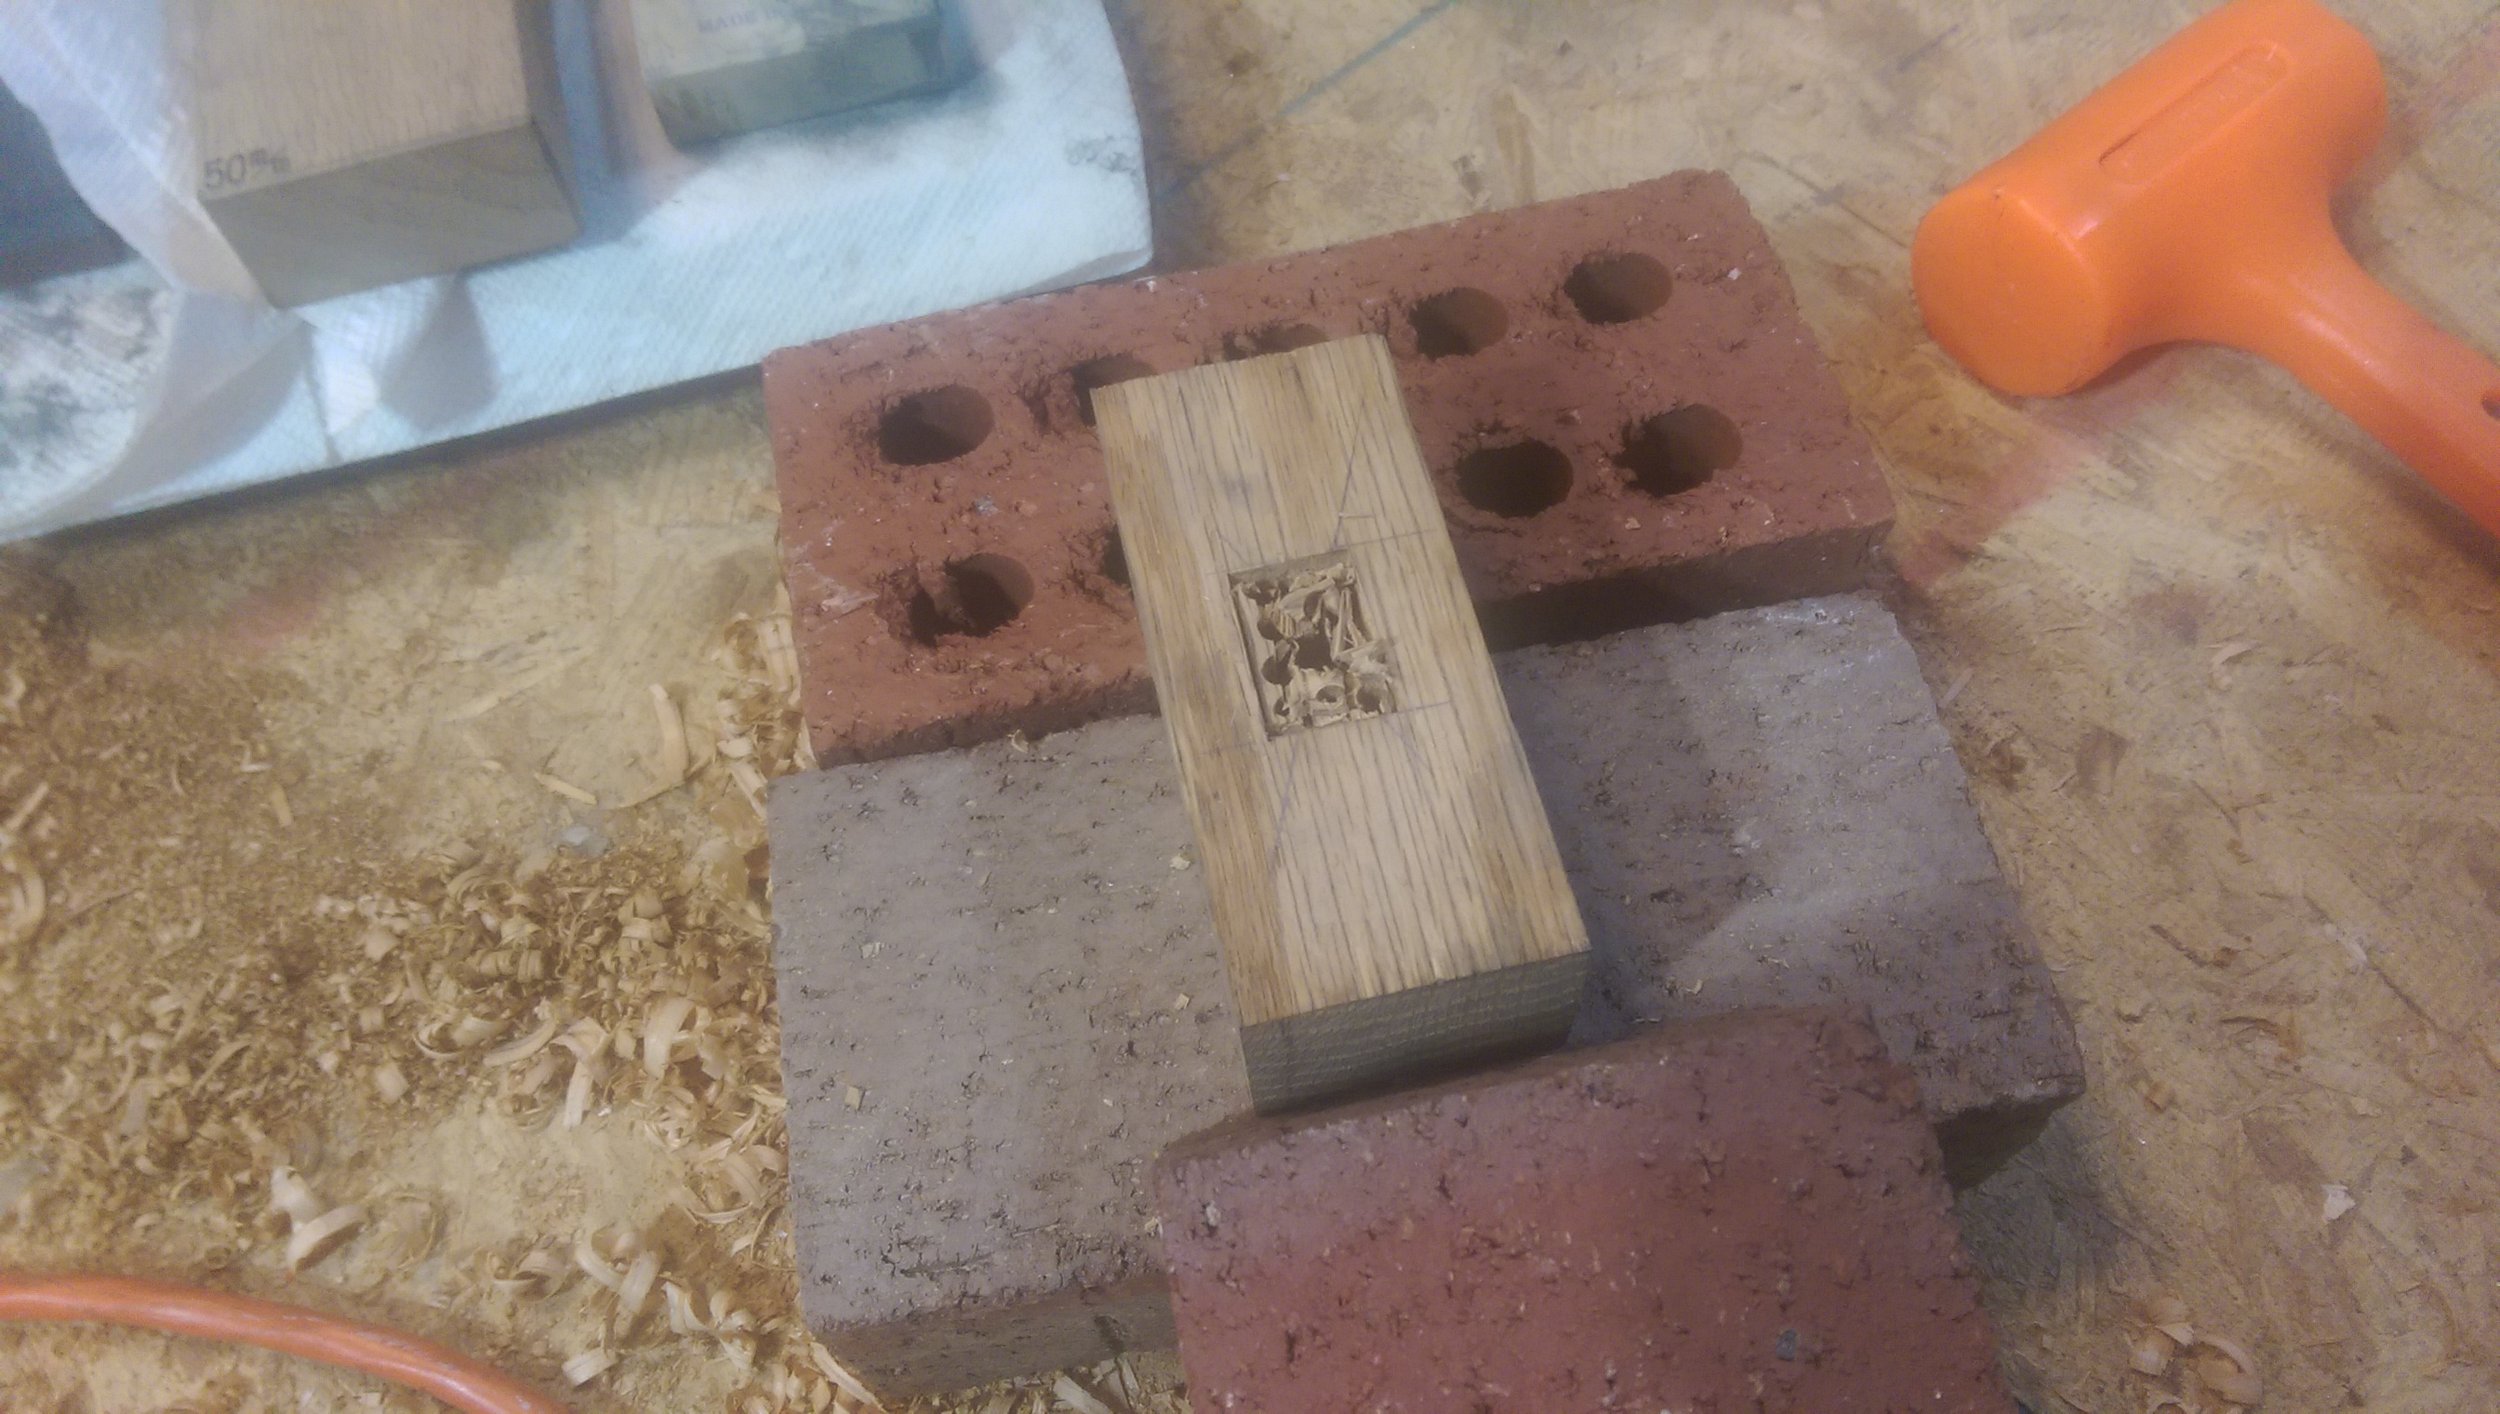
And then began the arduous process of removing the excess wood, cutting the border edge first:
Then, removing most of the interior material:
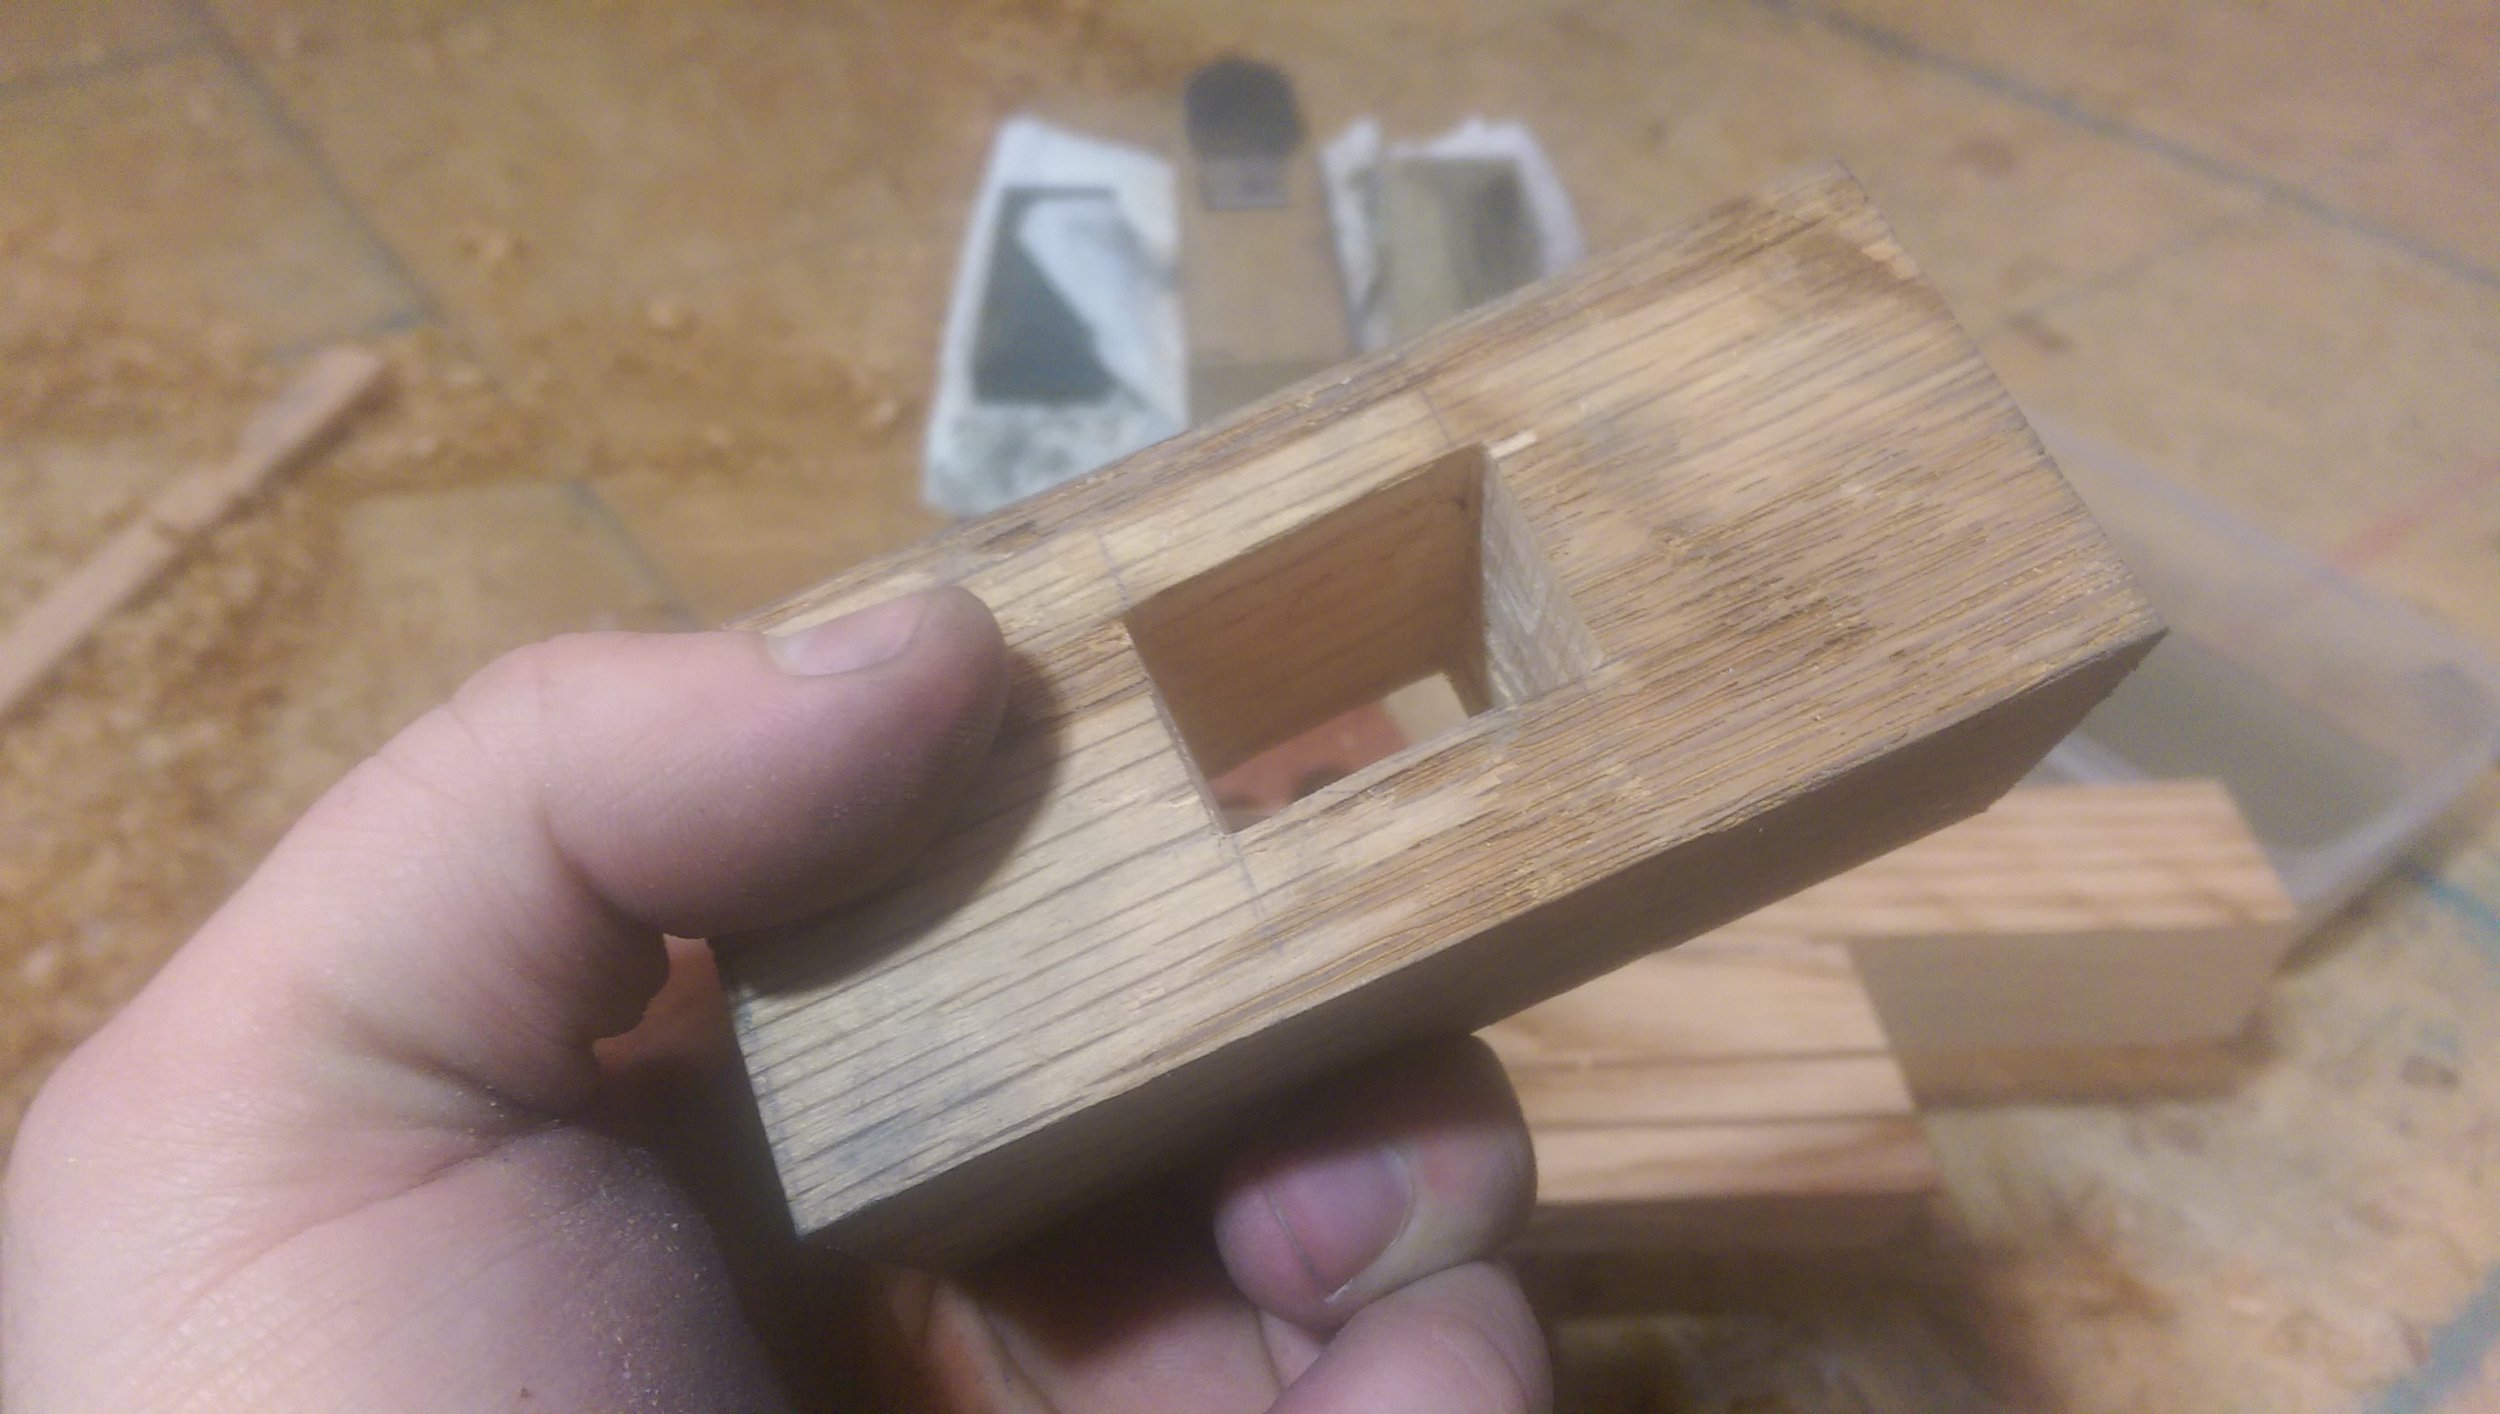
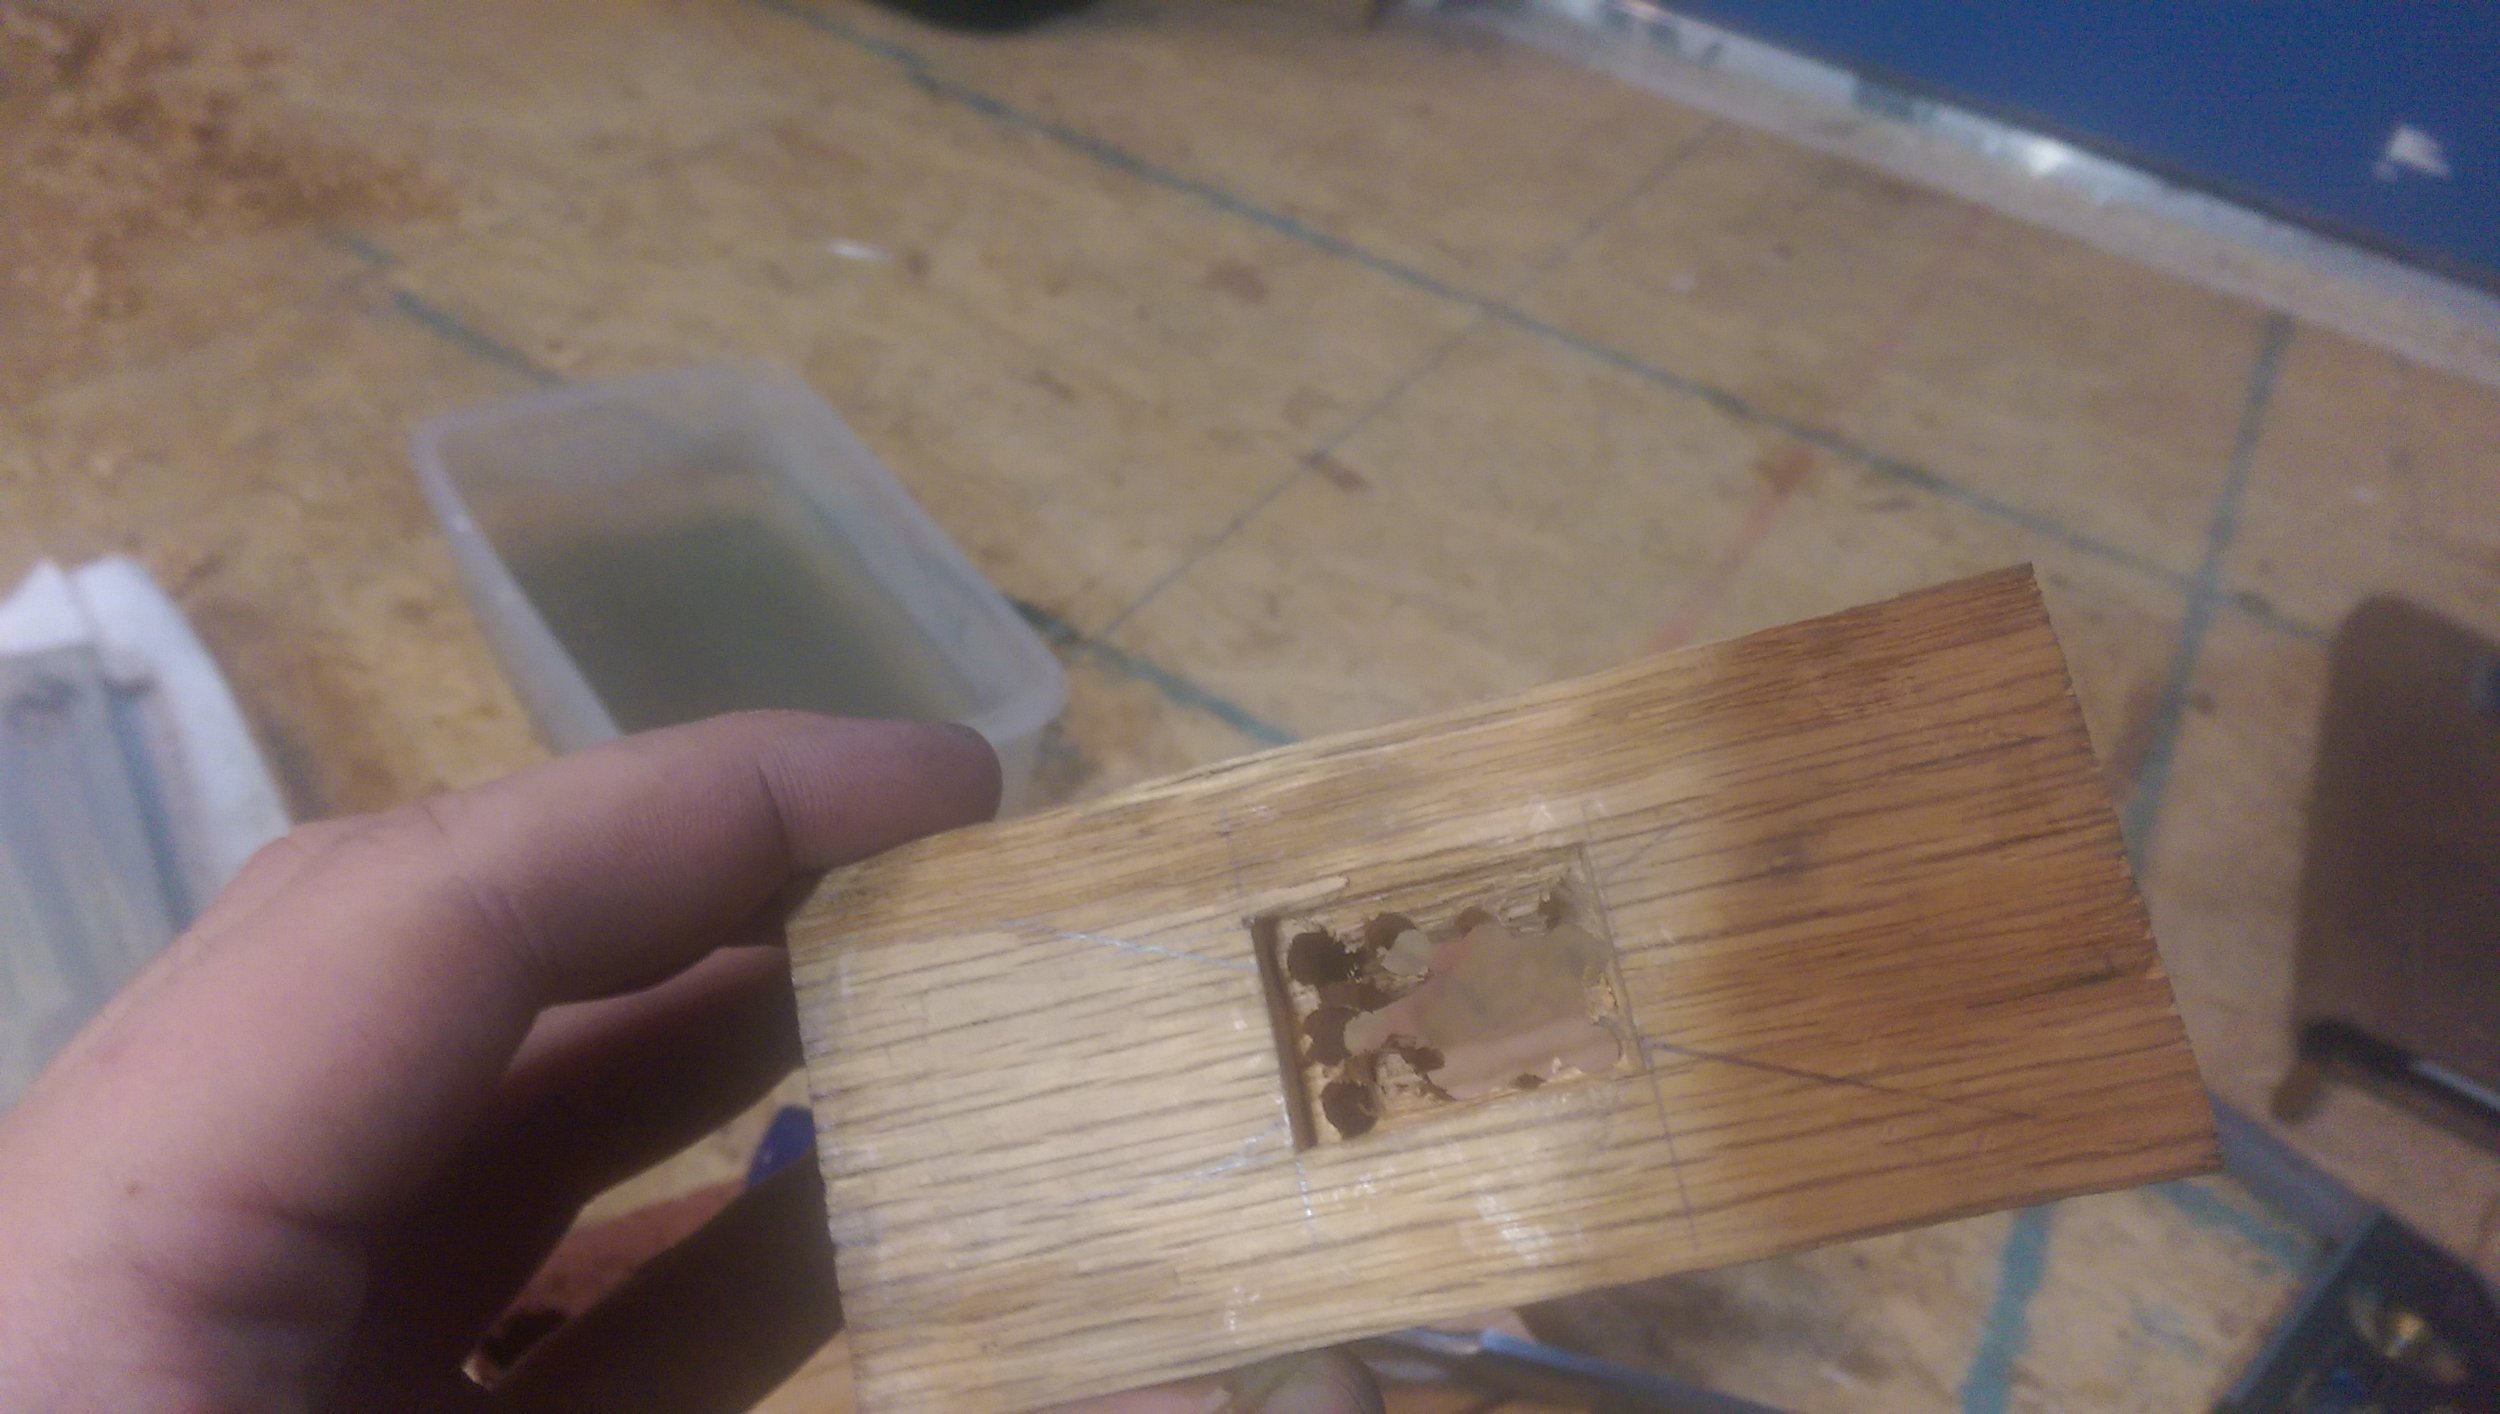
And finally, cleaning up the mortise to be a square hole, with a slight taper out, away from the handle:
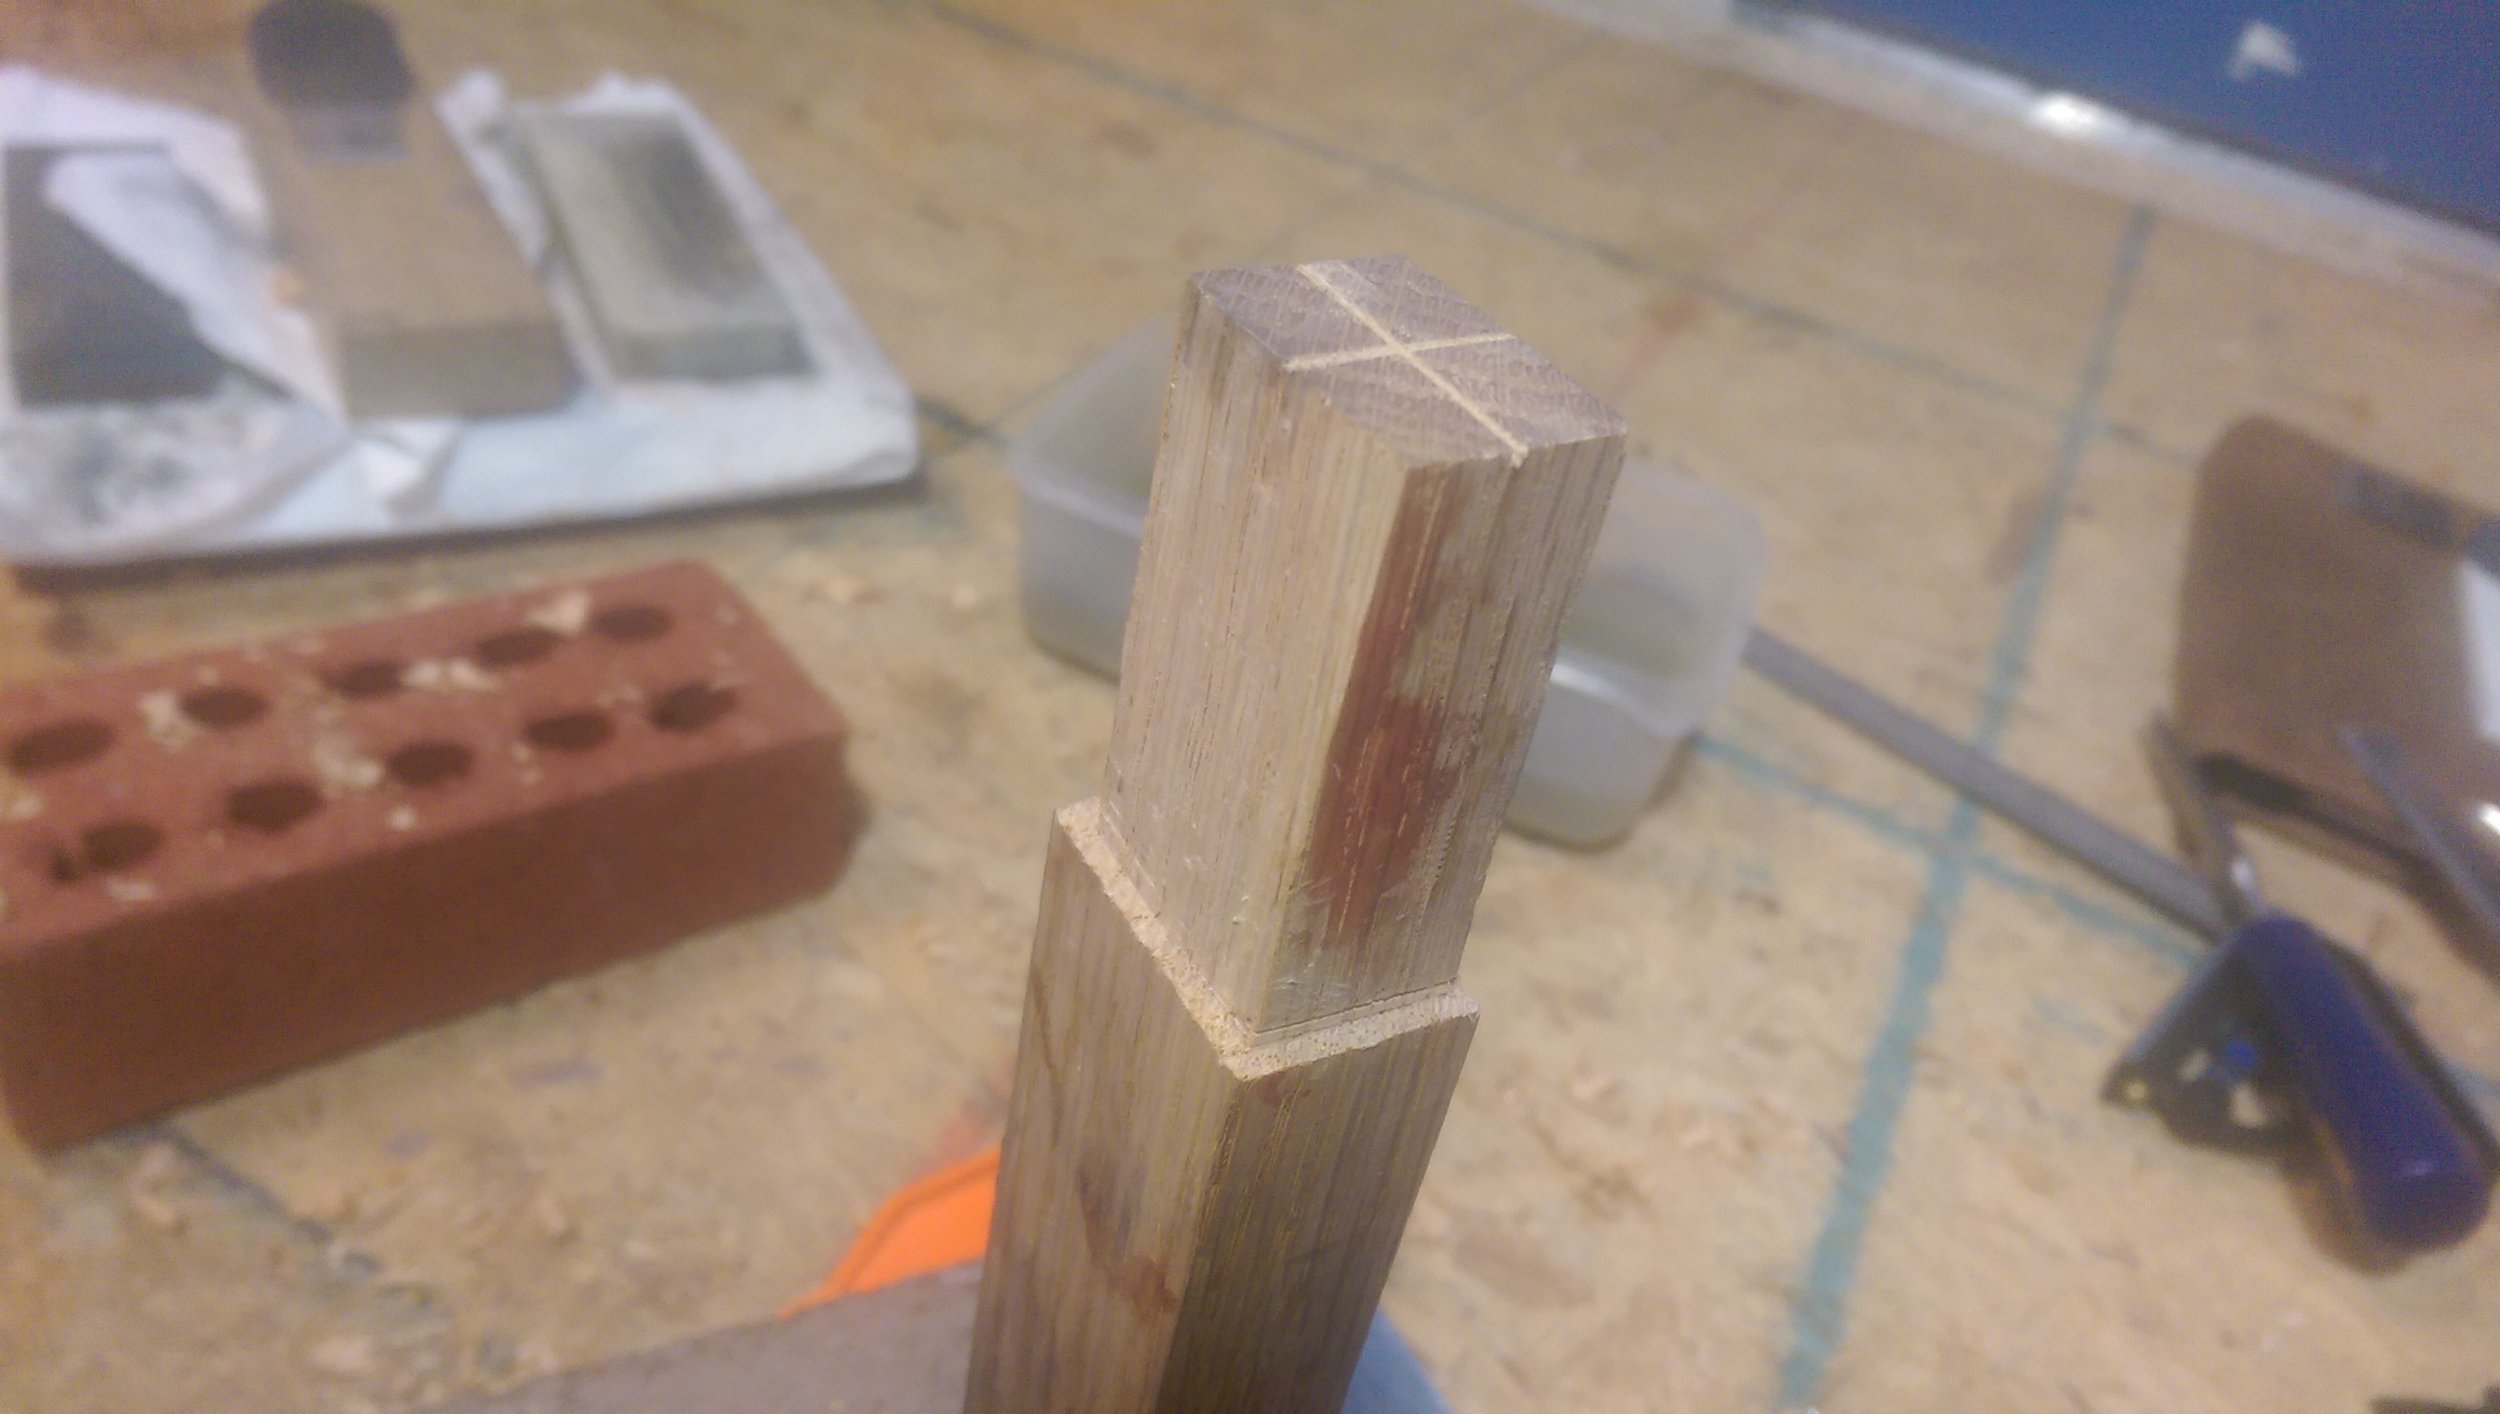
The next step was cutting a slight shoulder into the end of the handle to limit the upward position into the head. I marked where it needed to be, and cut little cross cuts to depth, and chiseled out the remaining wood. It took a little tuning, but eventually was a good fit.
Below, you can see both the shoulder and the beginnings of the finger cuts, which eventually extended nearly to the shoulder:
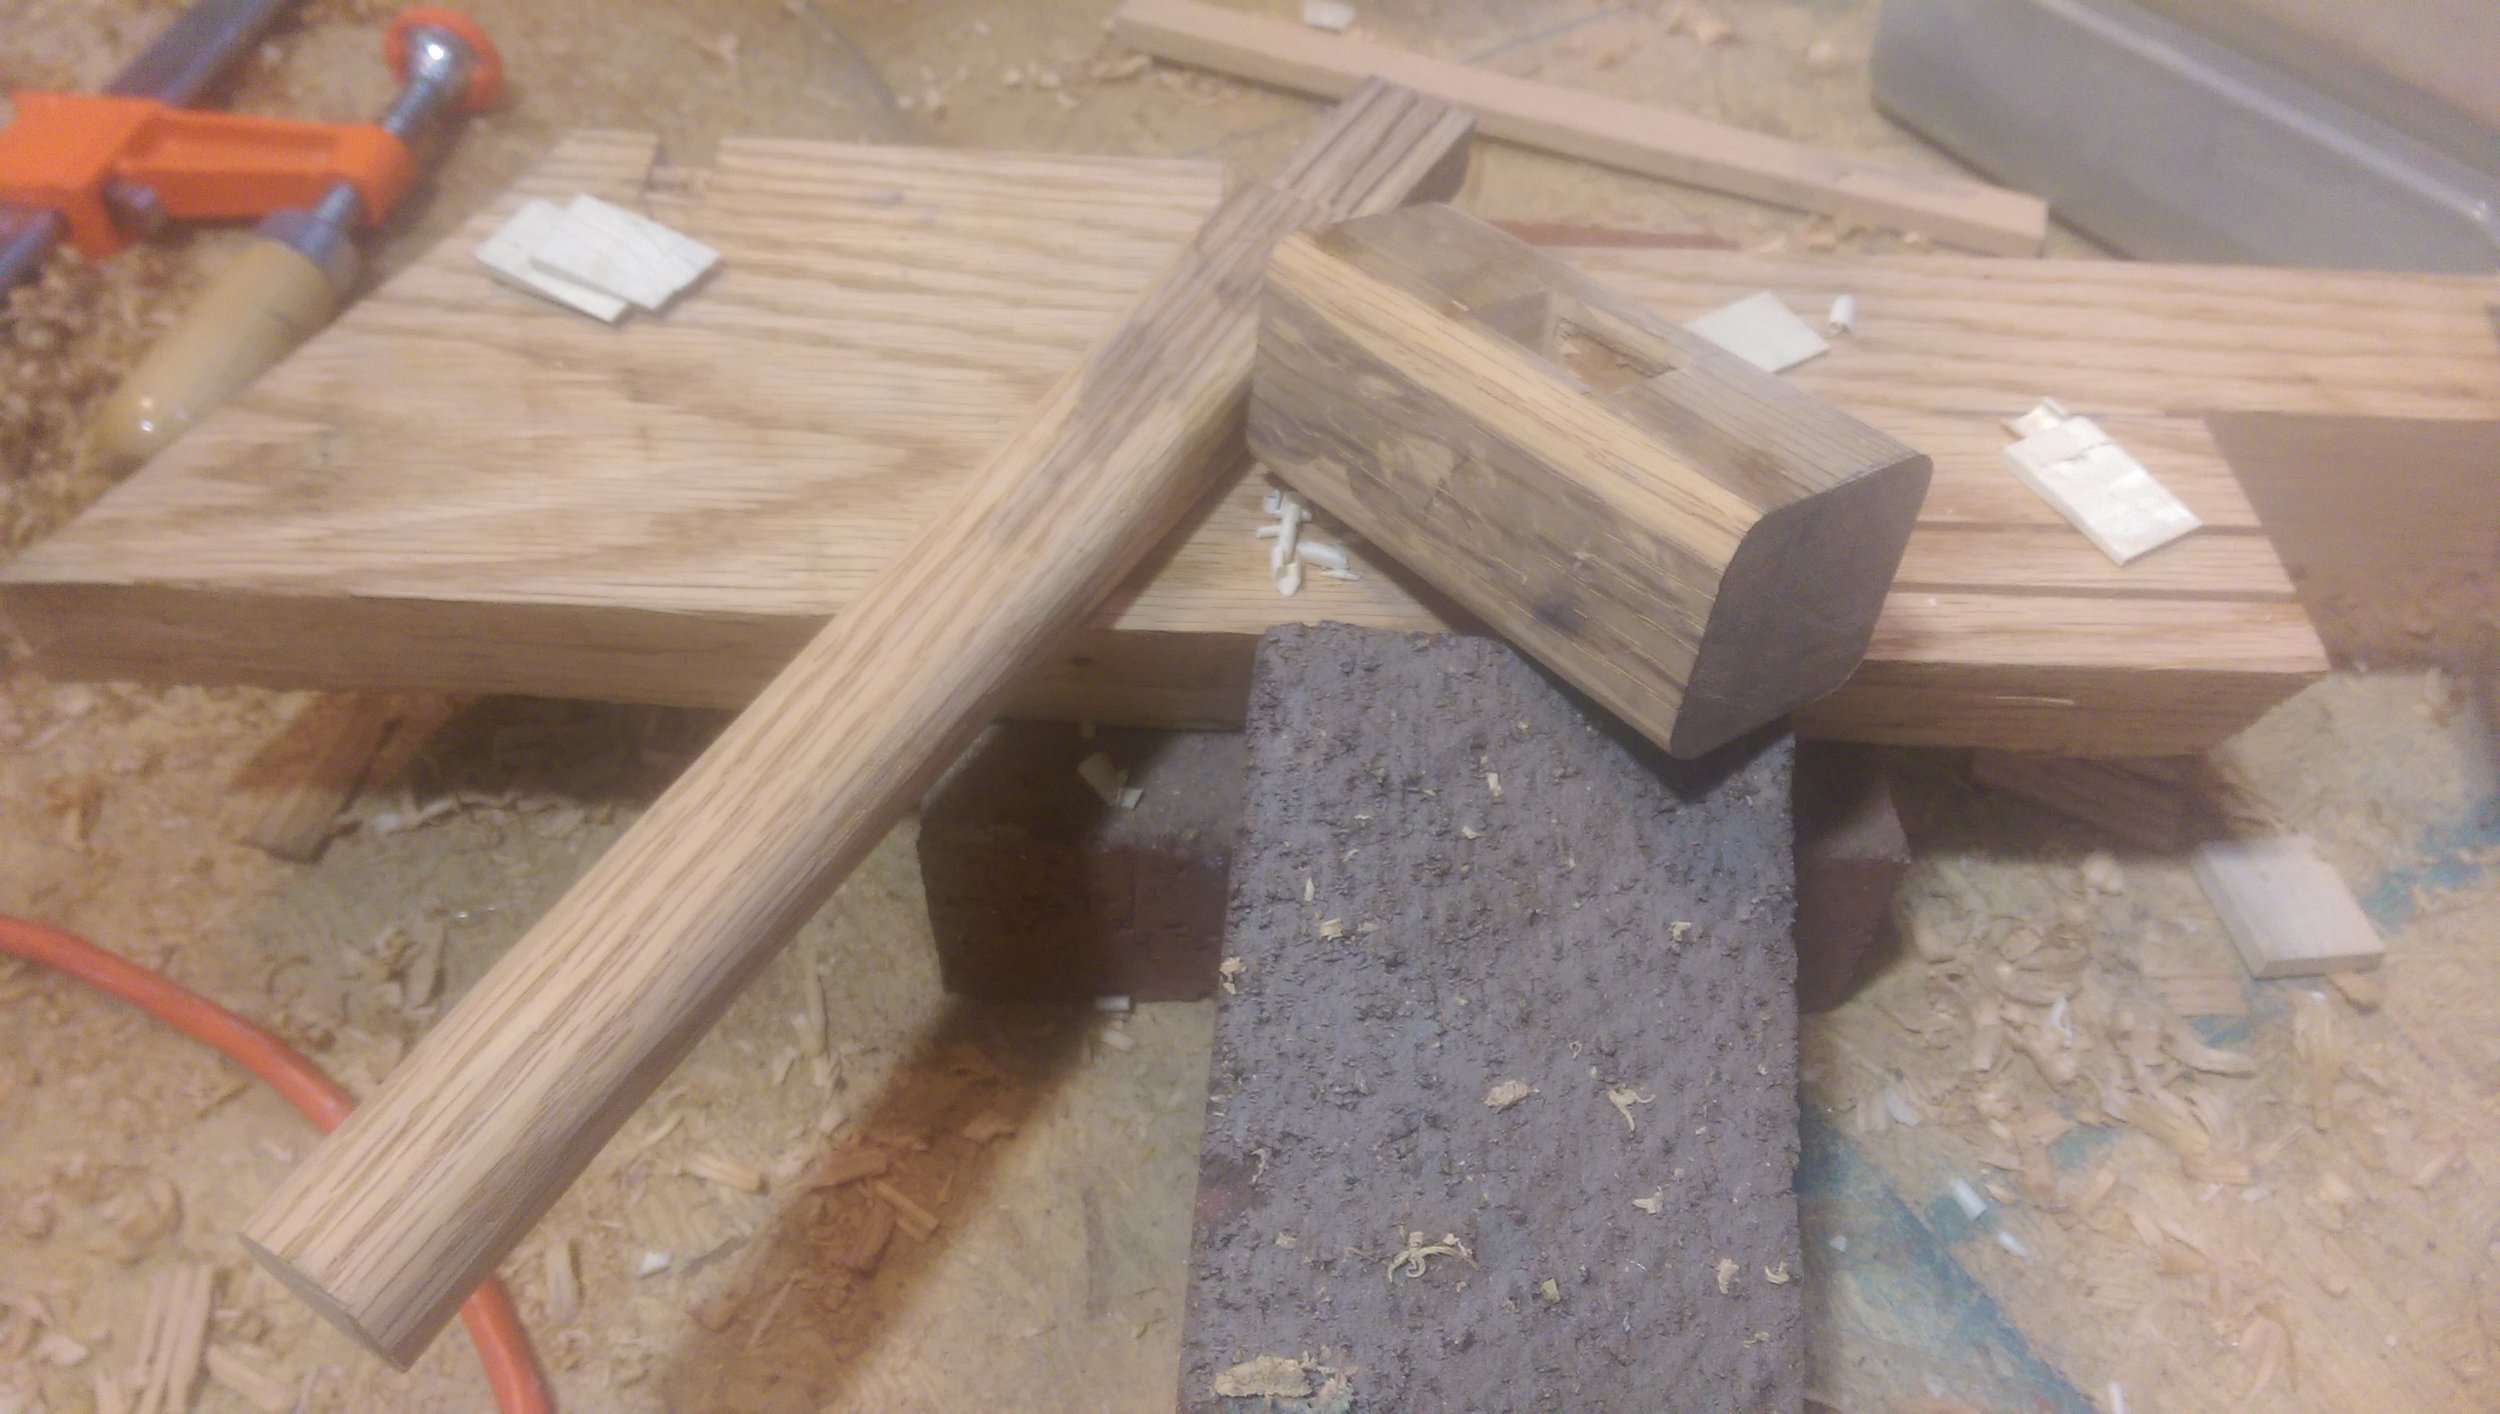
The final shaping process included shaving down the corners of the blanks to round, and doing some rough sanding and planing to make the shapes:
Assembly and Finishing
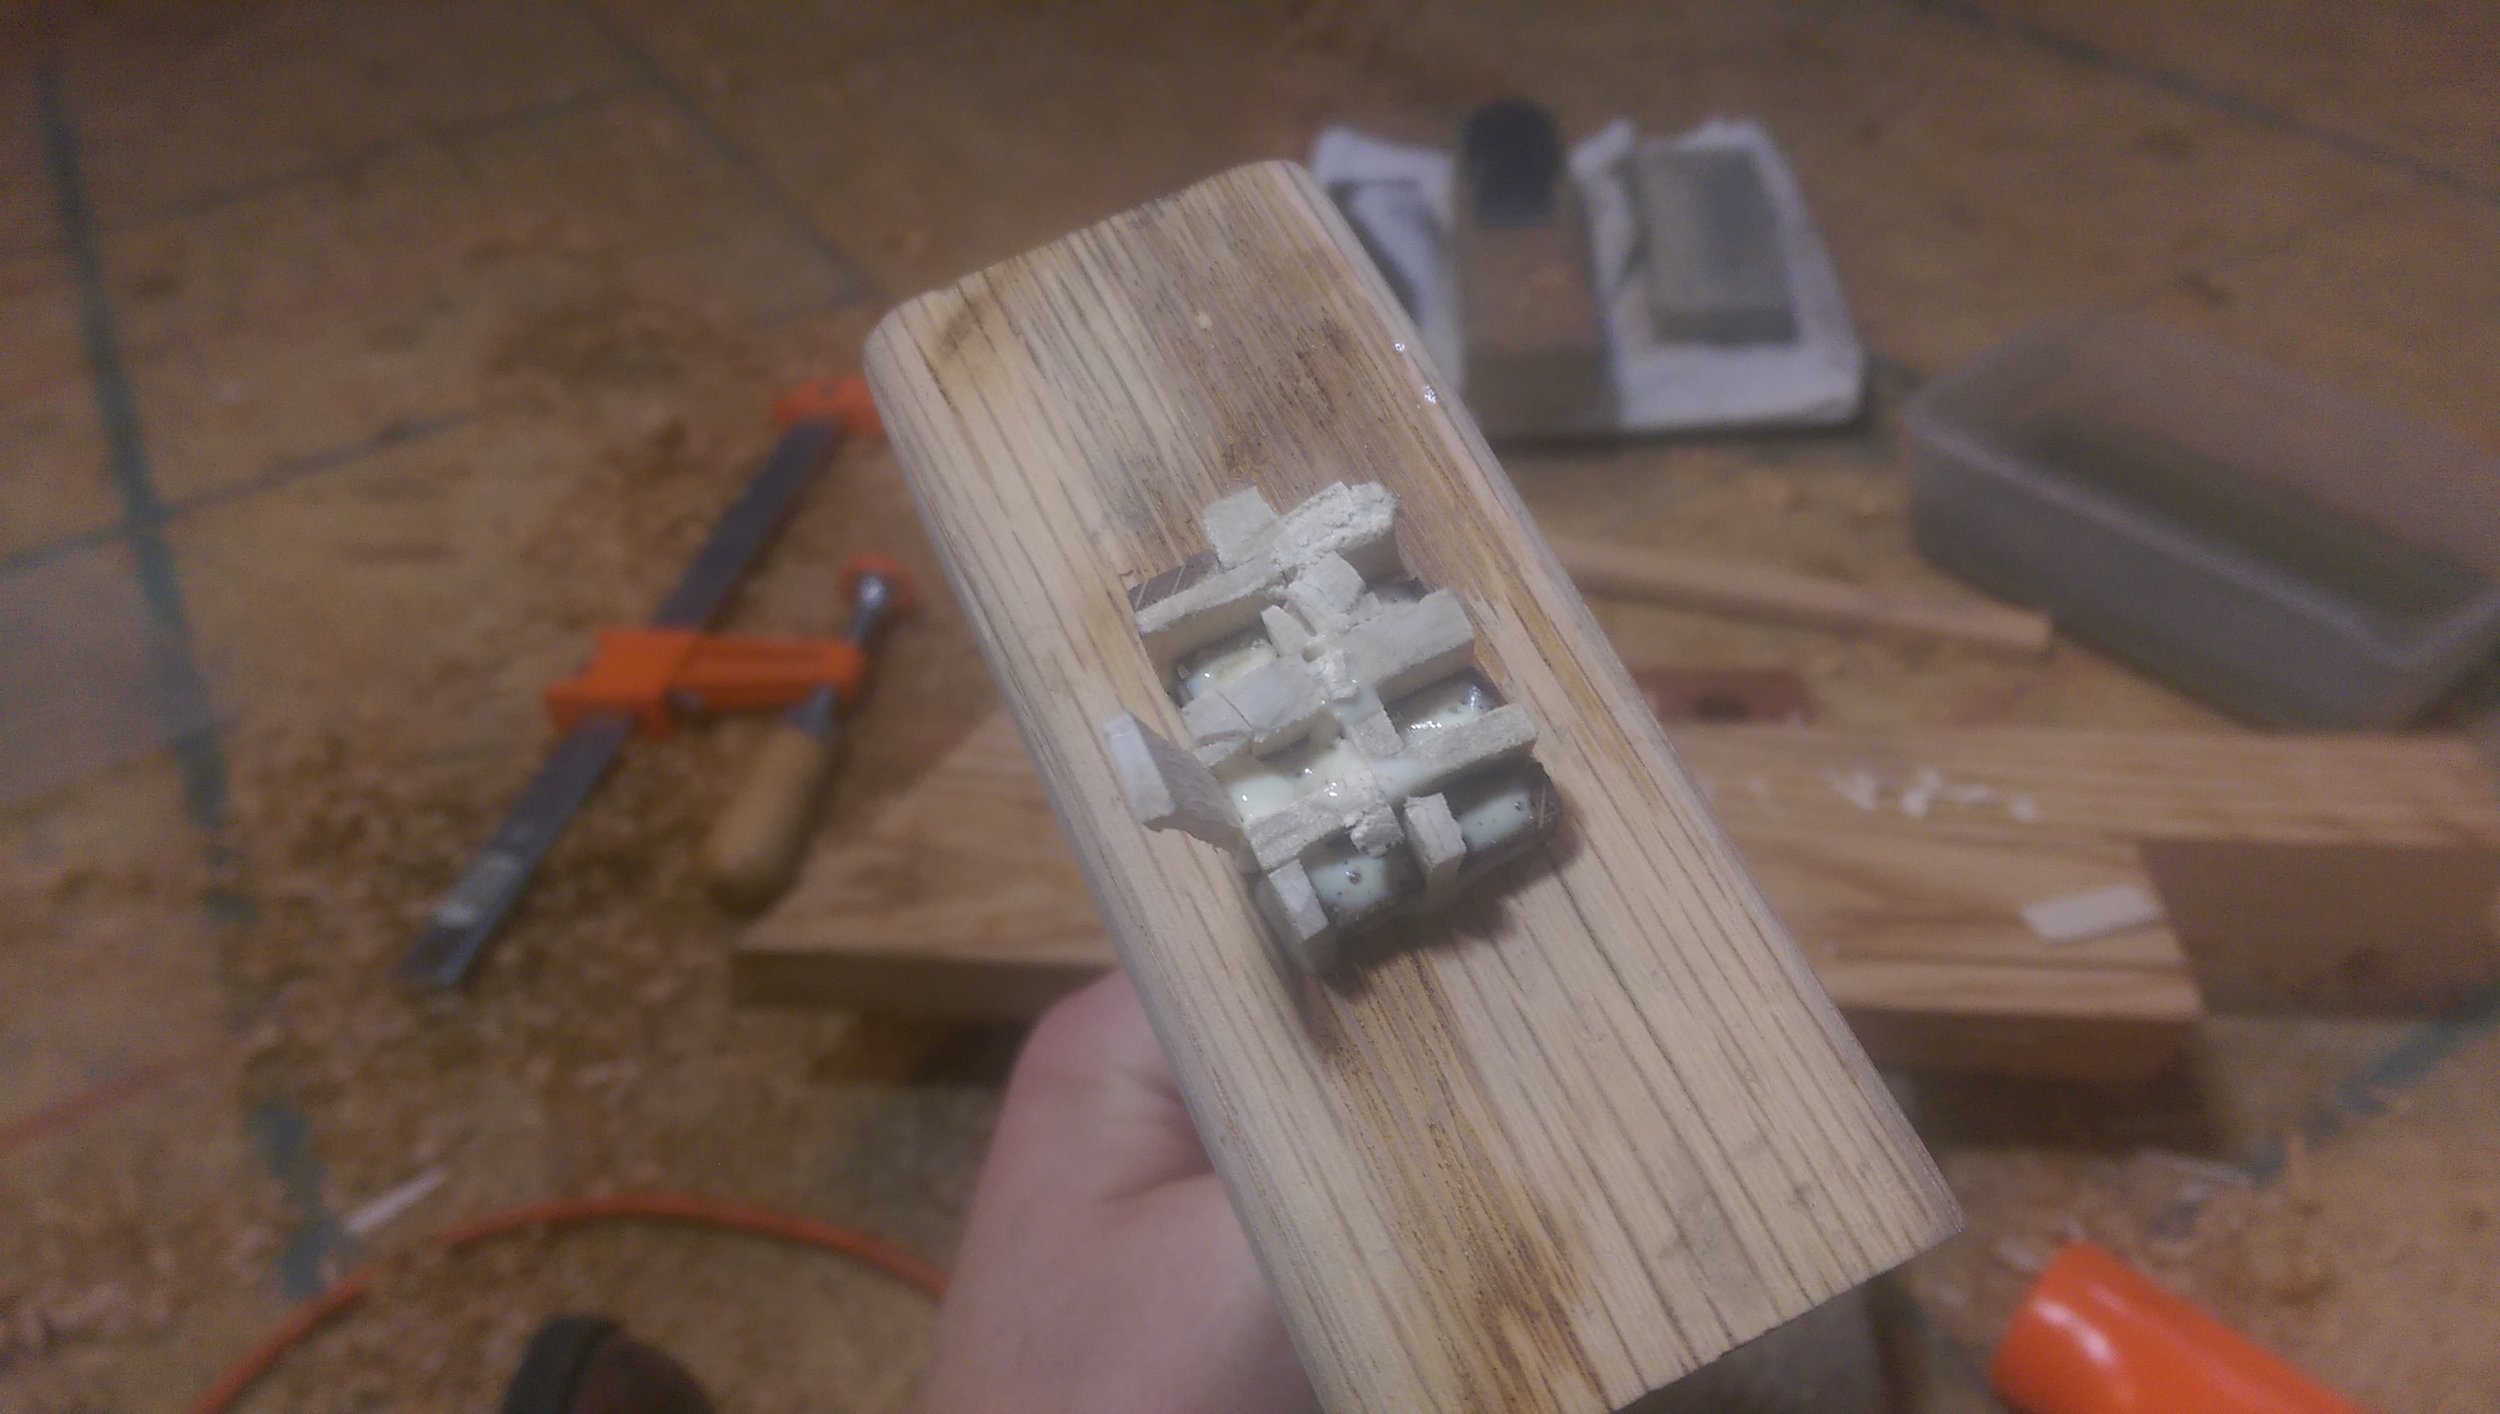
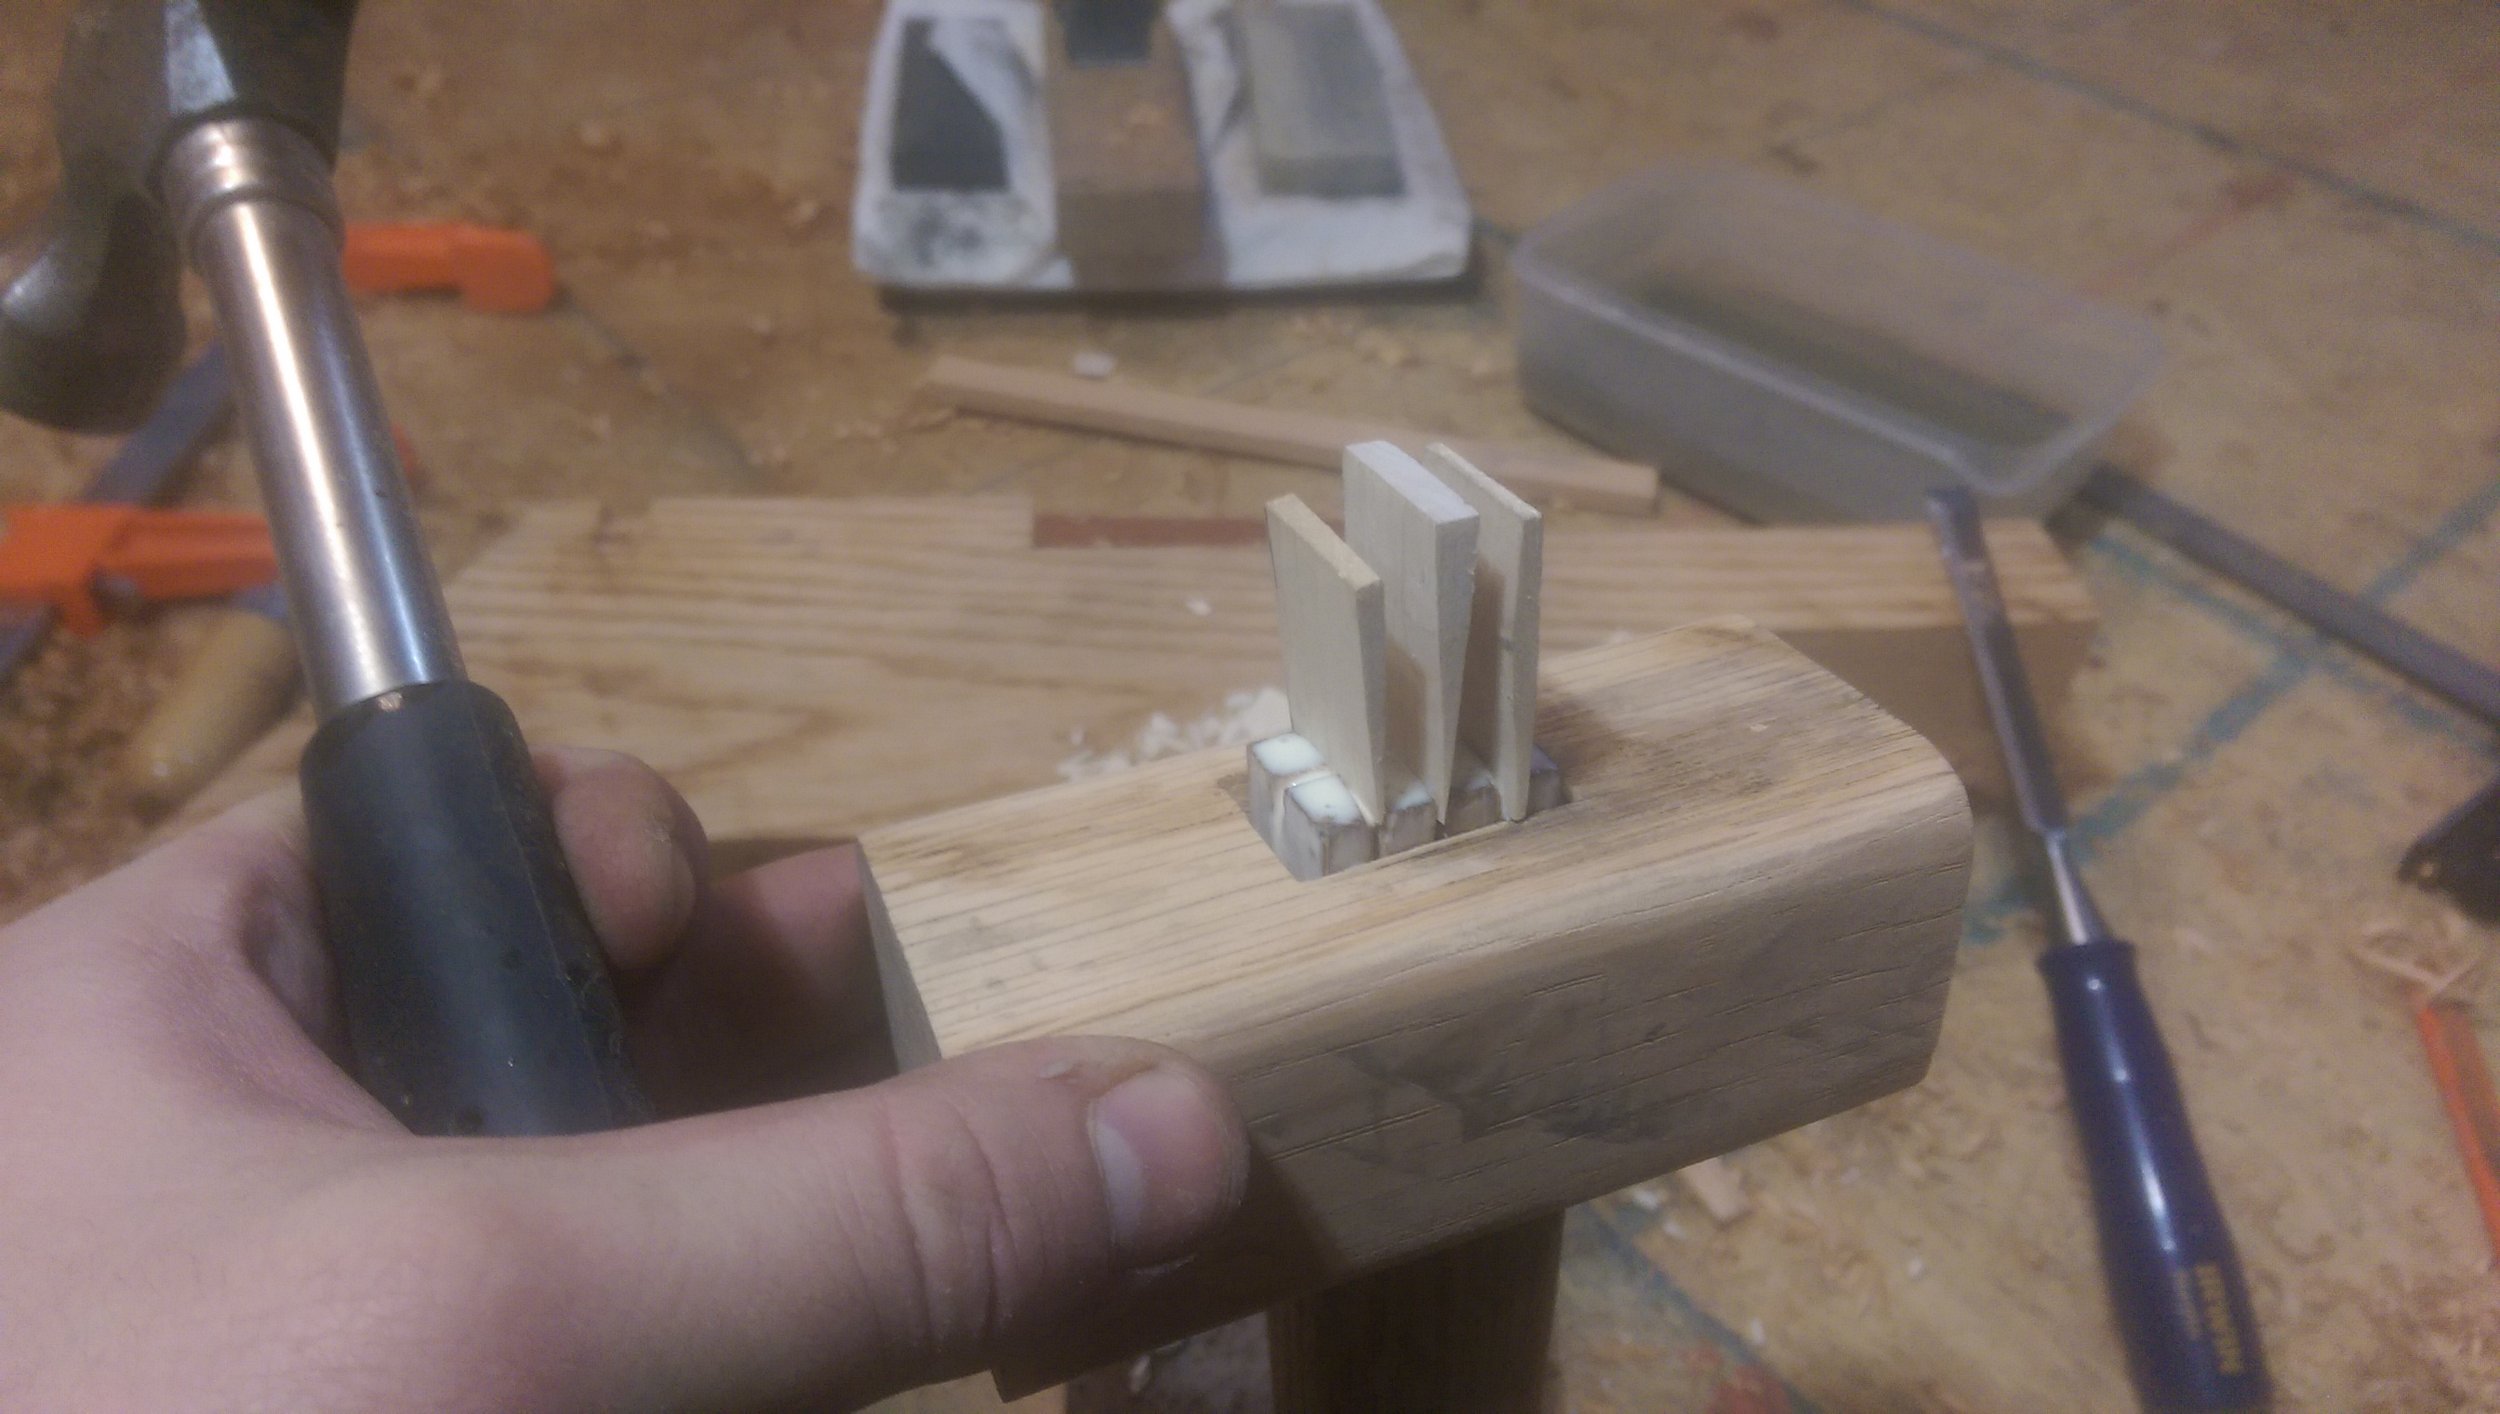
Once the parts had been shaped to my liking, I covered the top of the handle with wood glue and fit it to the head. Then, I hammered in some Maple wedges to the finger groves, starting with the three perpendicular to the head:
Then adding the rest, there were a few gaps to fill, and I think next time I’ll go for a closer sideways fit:
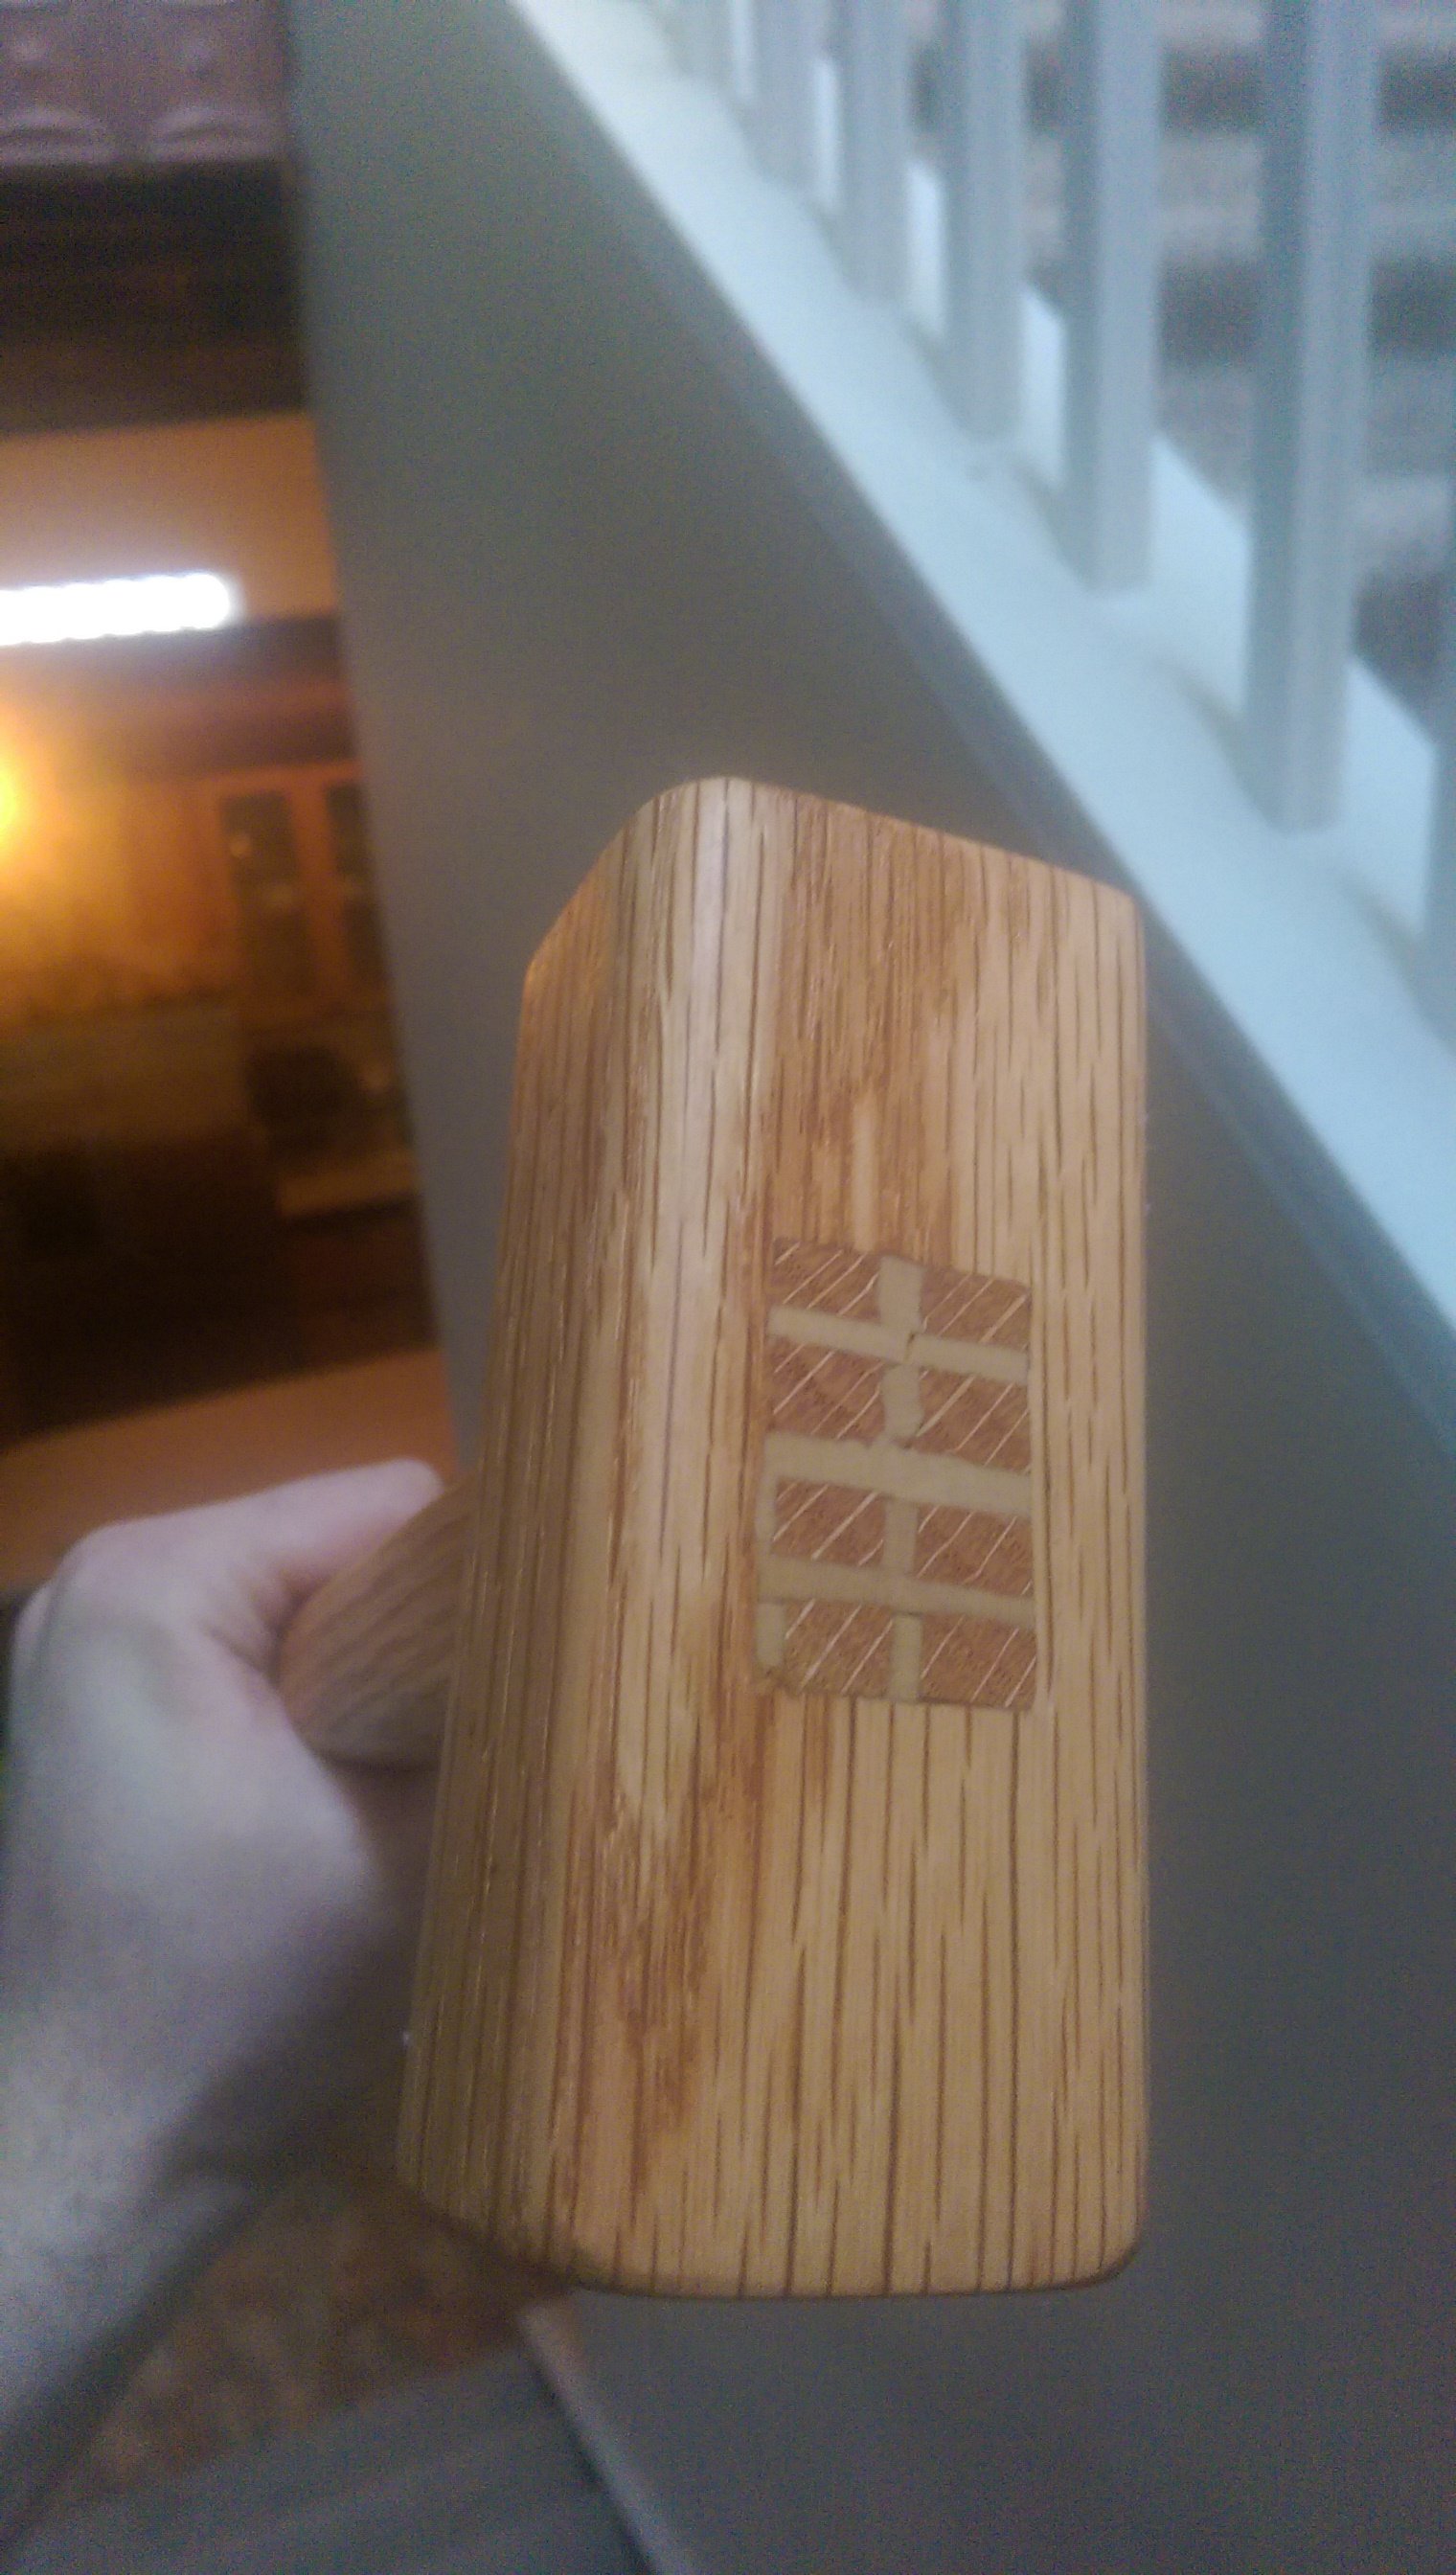
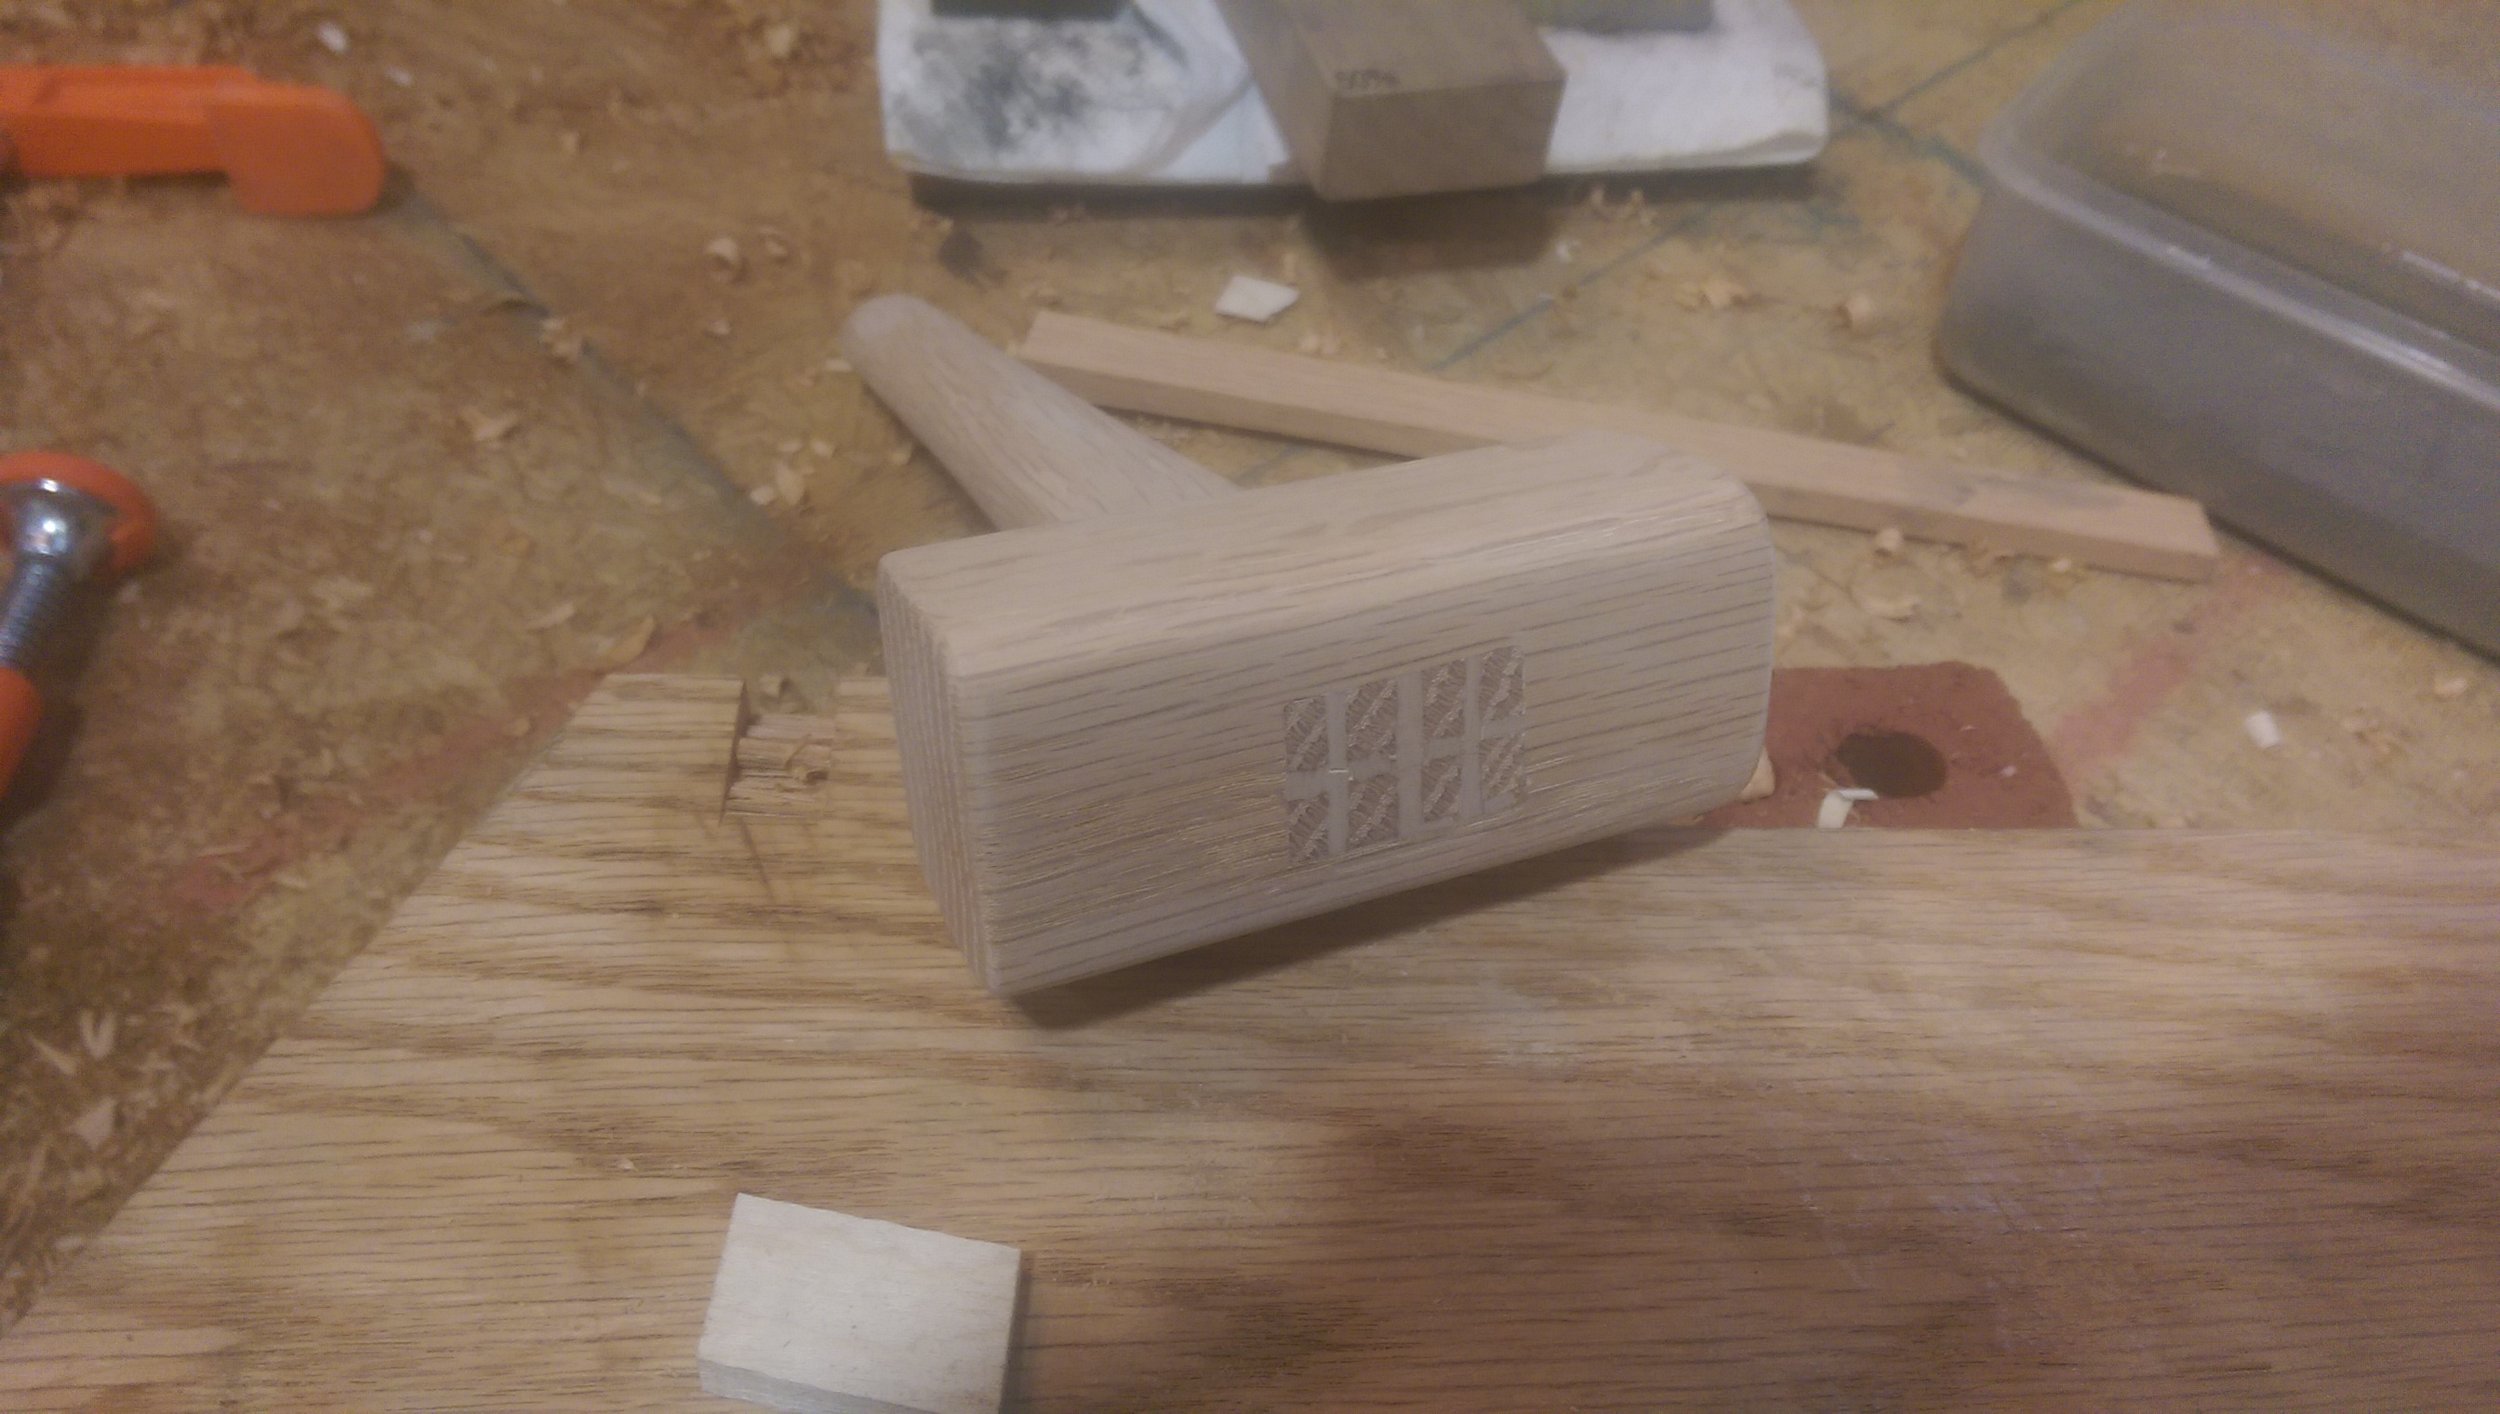
After the glue had dried, I cut off the extra wedge material and fingers, and gave everything a very thorough sanding. I really like the contrast between the darker Oak and the Maple wedges:
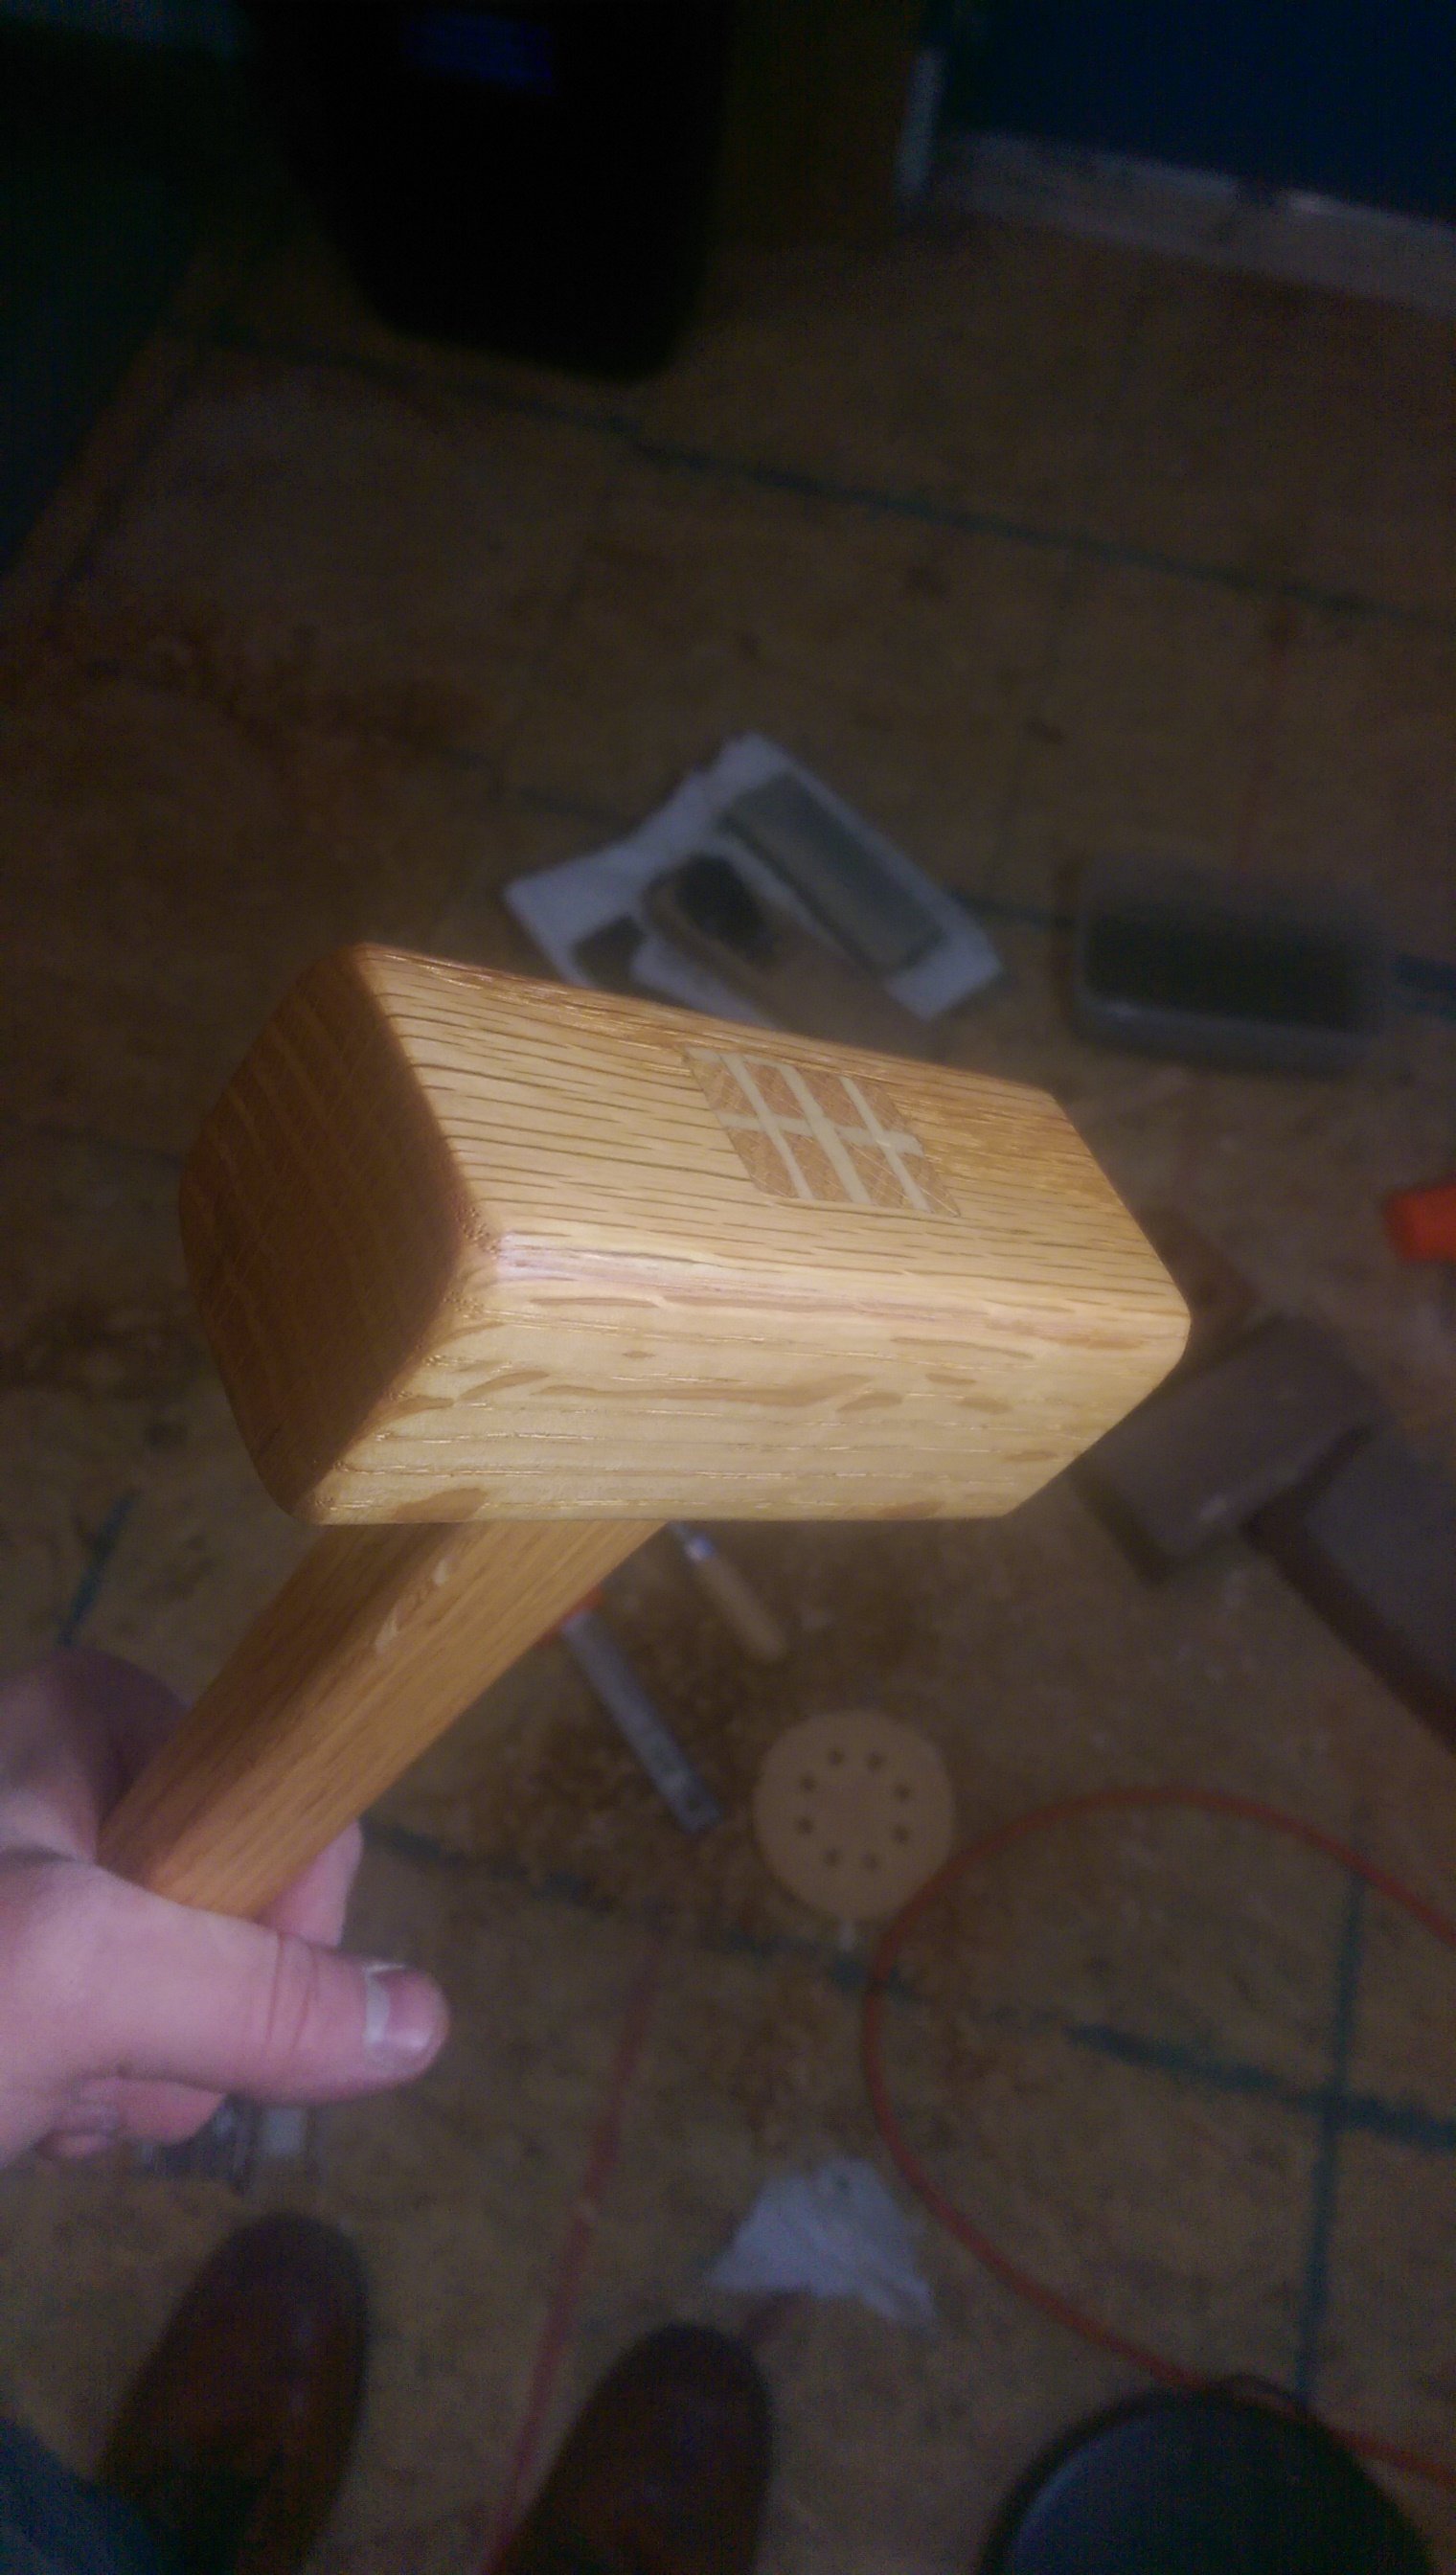
The final step was a nice coat of Linseed Oil, which really makes the grain sing:
It didn’t take a huge amount of time, and would have been much faster using more power tools, but I liked all of the handwork involved, and am pretty pleased with the result. It’s really satisfying to make something, but more-so when you make a tool, as in a sense, it enables even more making.


