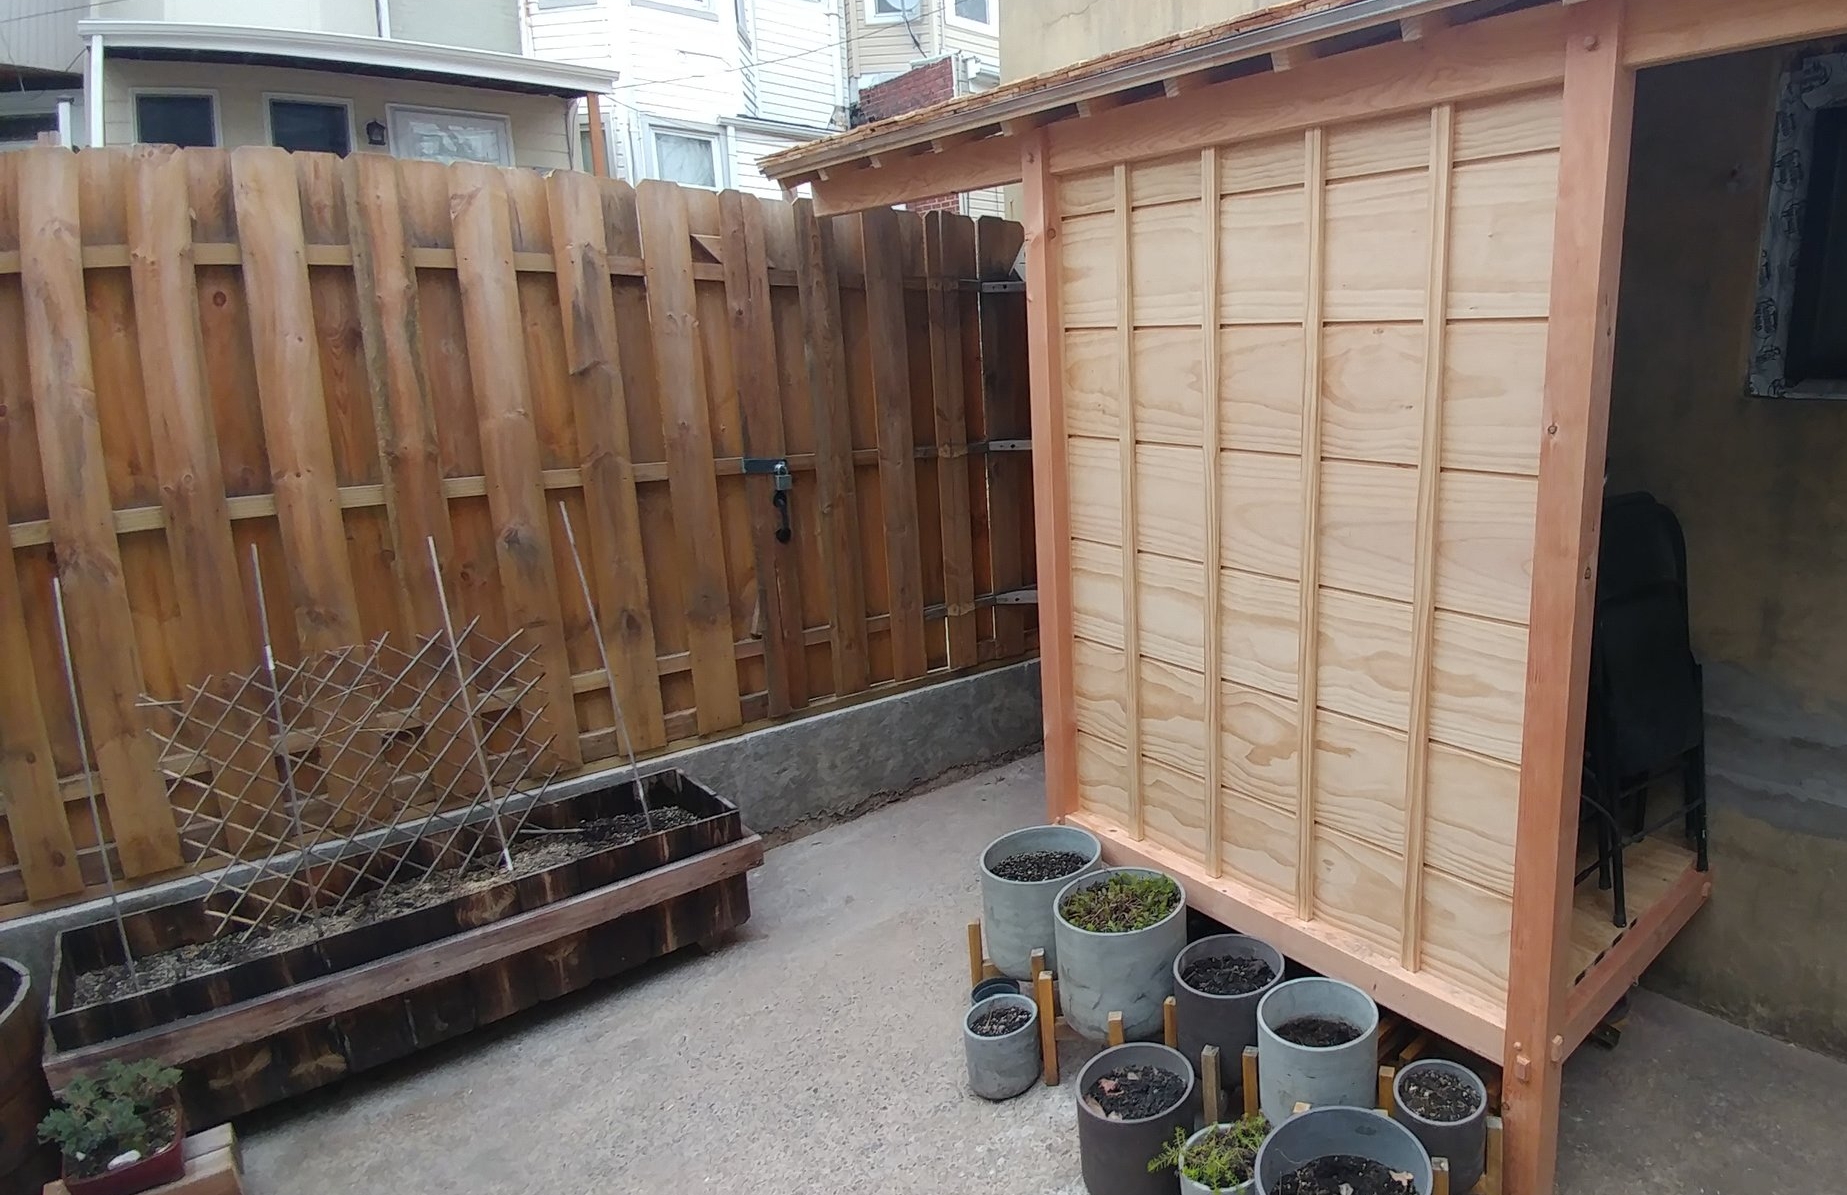
Timber Frame Utility Shed
The process in microcosm. A simple goal: put the dust collector and compressor outside so that the shop may be quiet. The goal begets design constraints. Depth, required height, the roof angle is set to be pleasing to my wife's eyes from the kitchen window. The available time and funds drives the design. We have a plan.
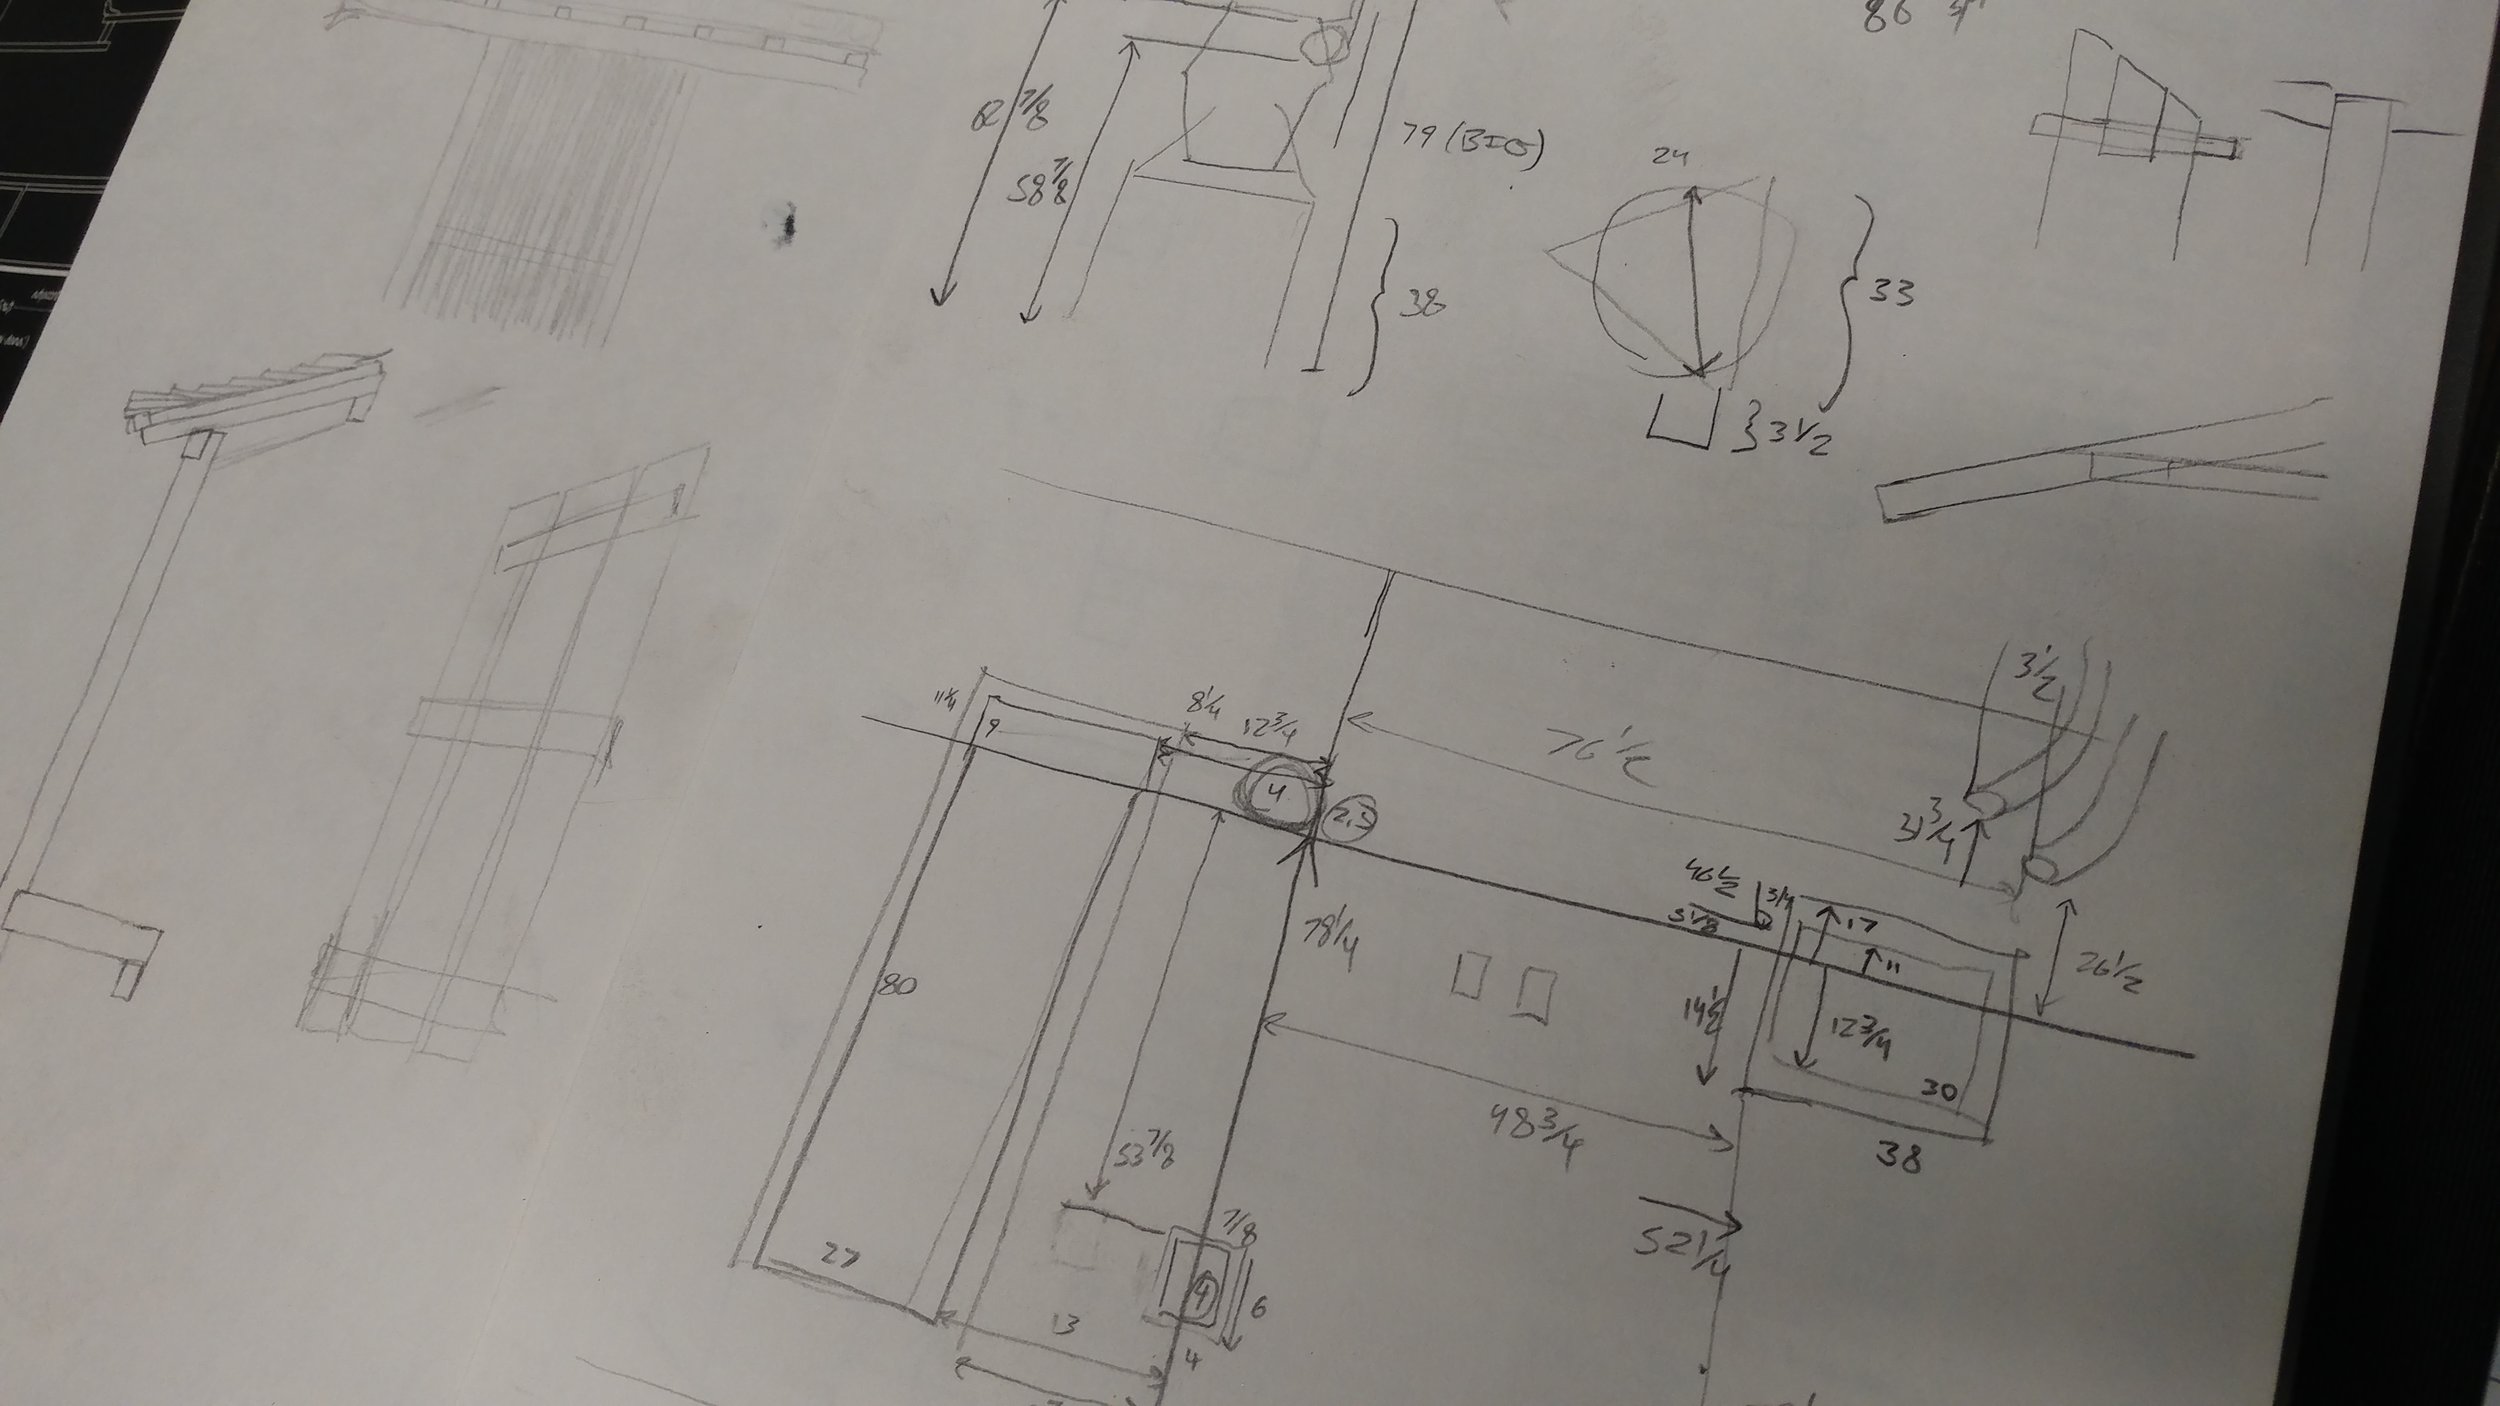
First, a sketch, and measurements, the constraints begin to drive out a pleasing image from the void.
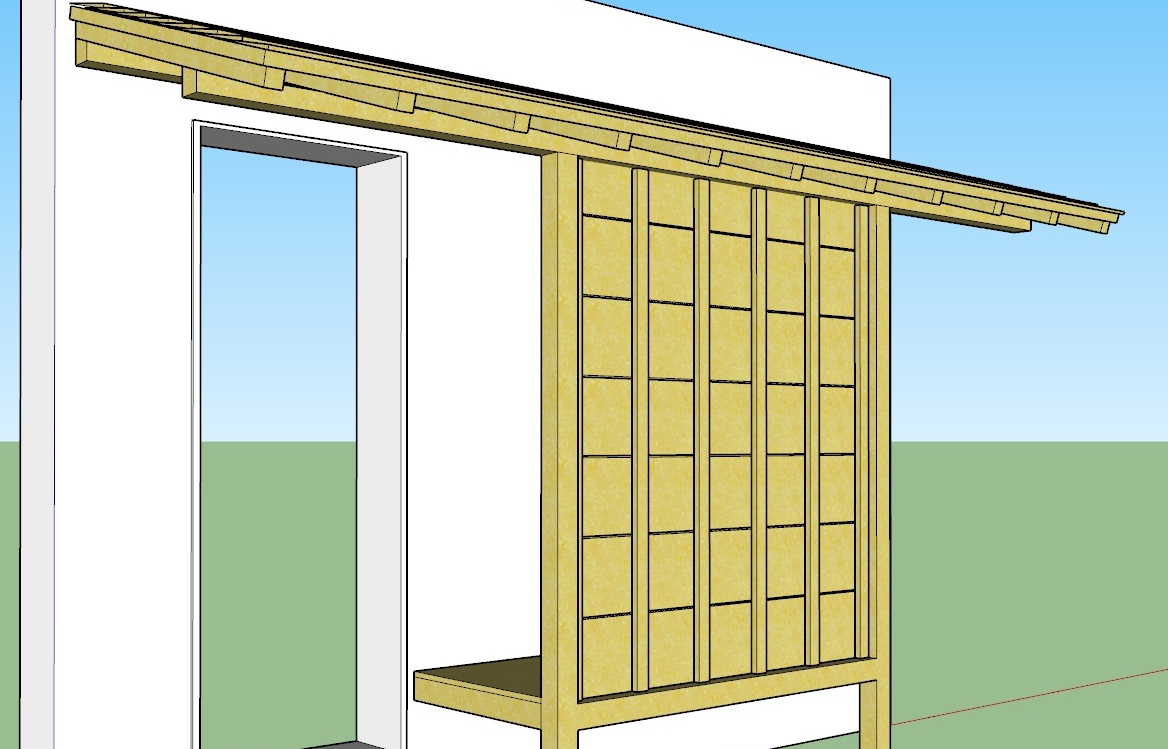
A quick concept render is made in SketchUp. General styles and proportions are set. The sketch is given depth.
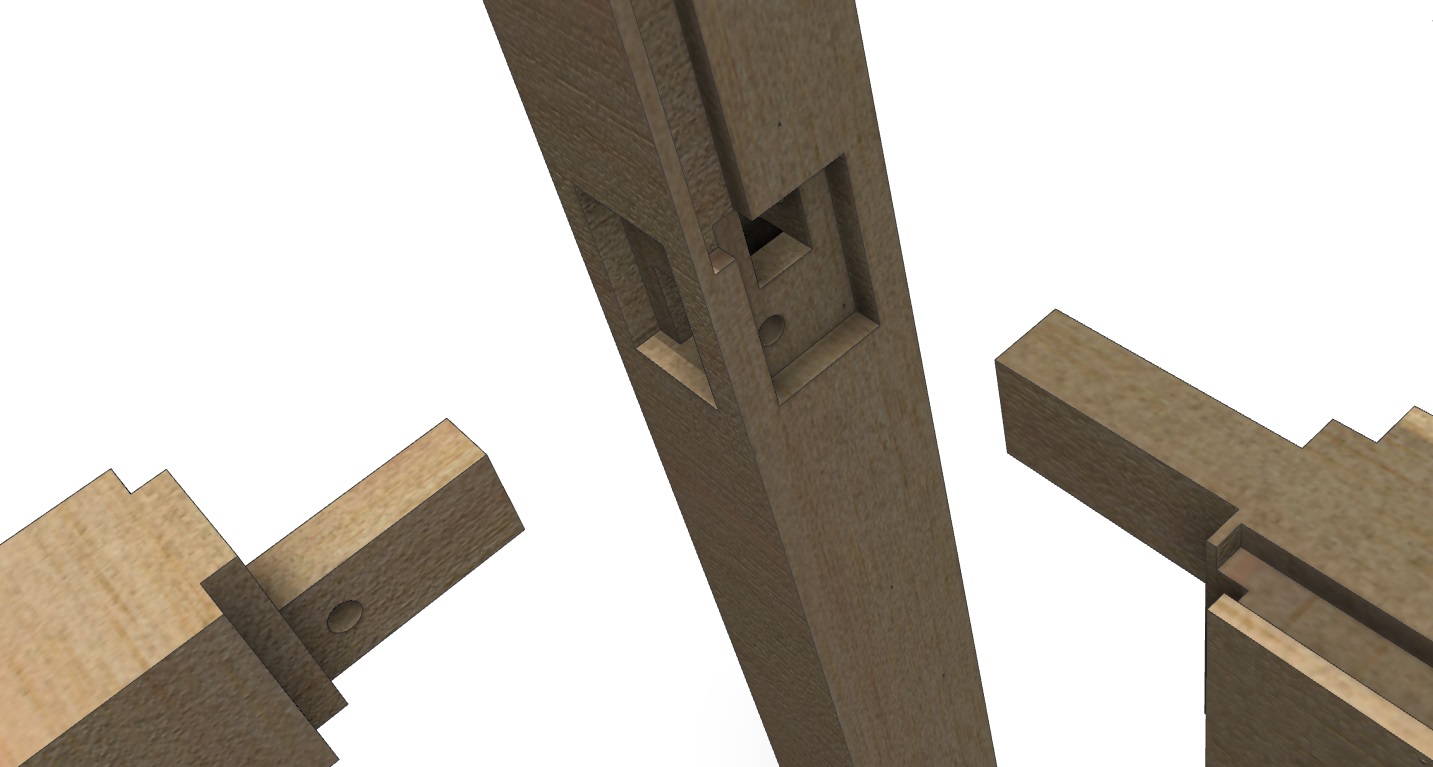
Detail and precision begins with CAD models of the joinery and general assembly. Models are parameterized, thus adjustments rebuild the whole model before a single cut is made.
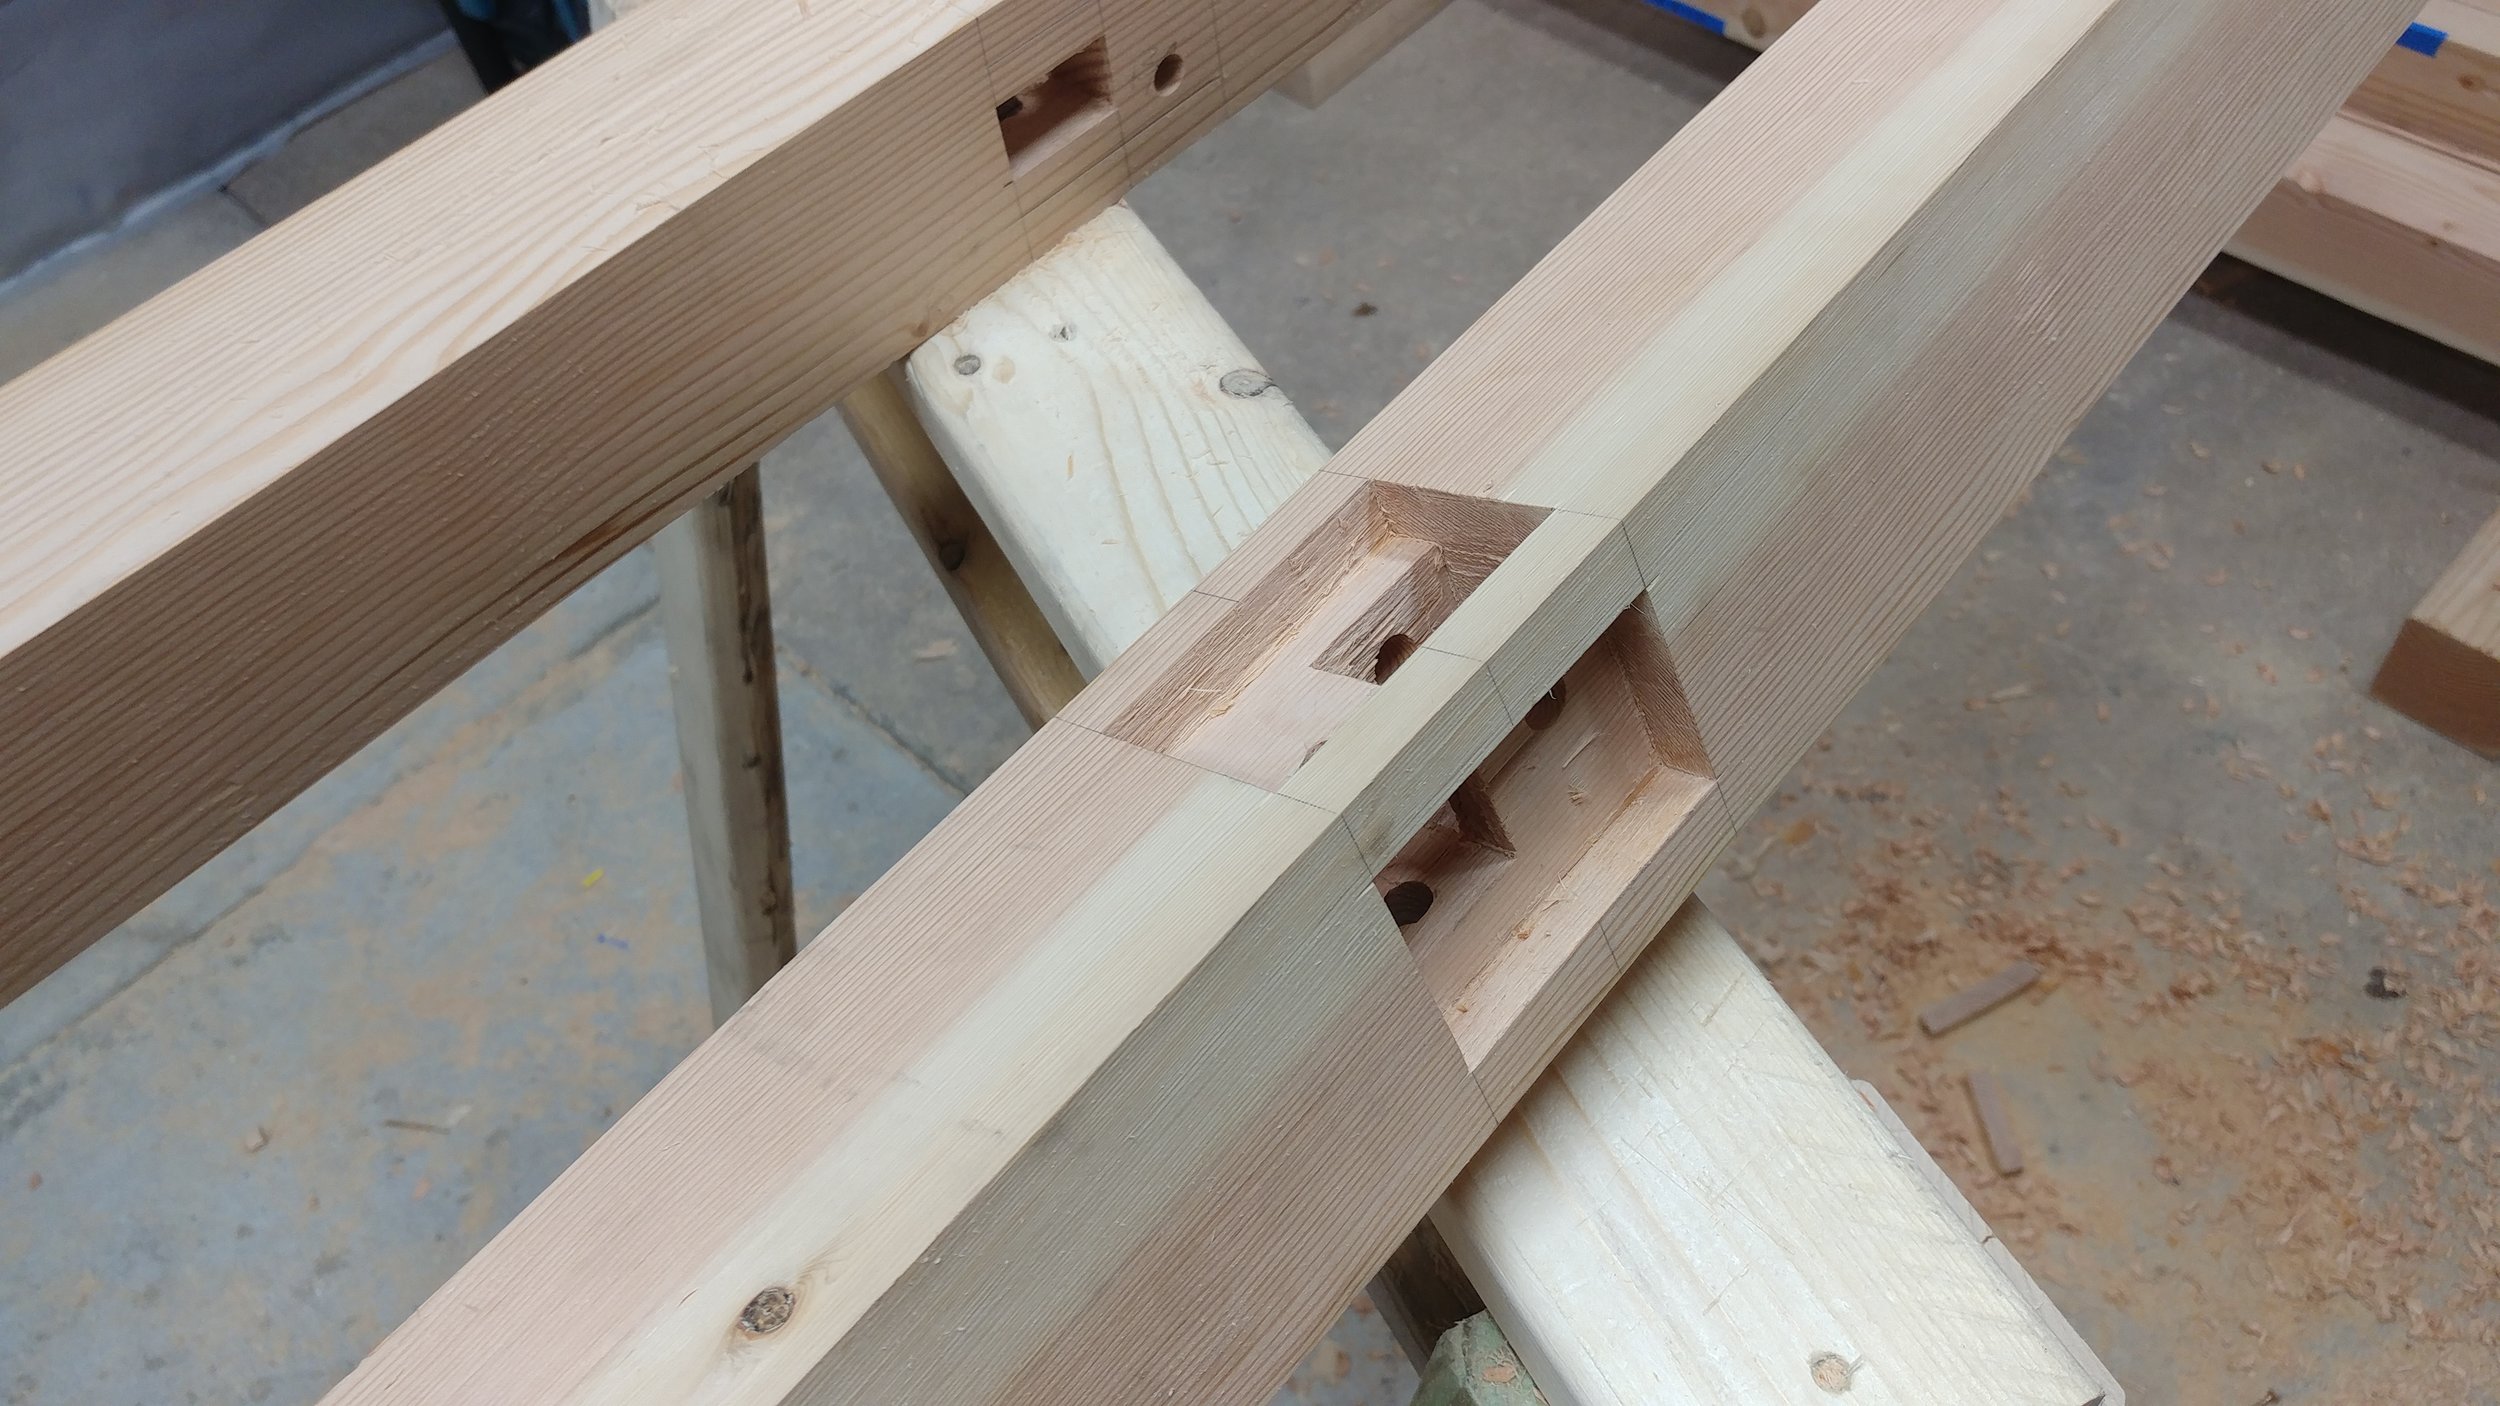
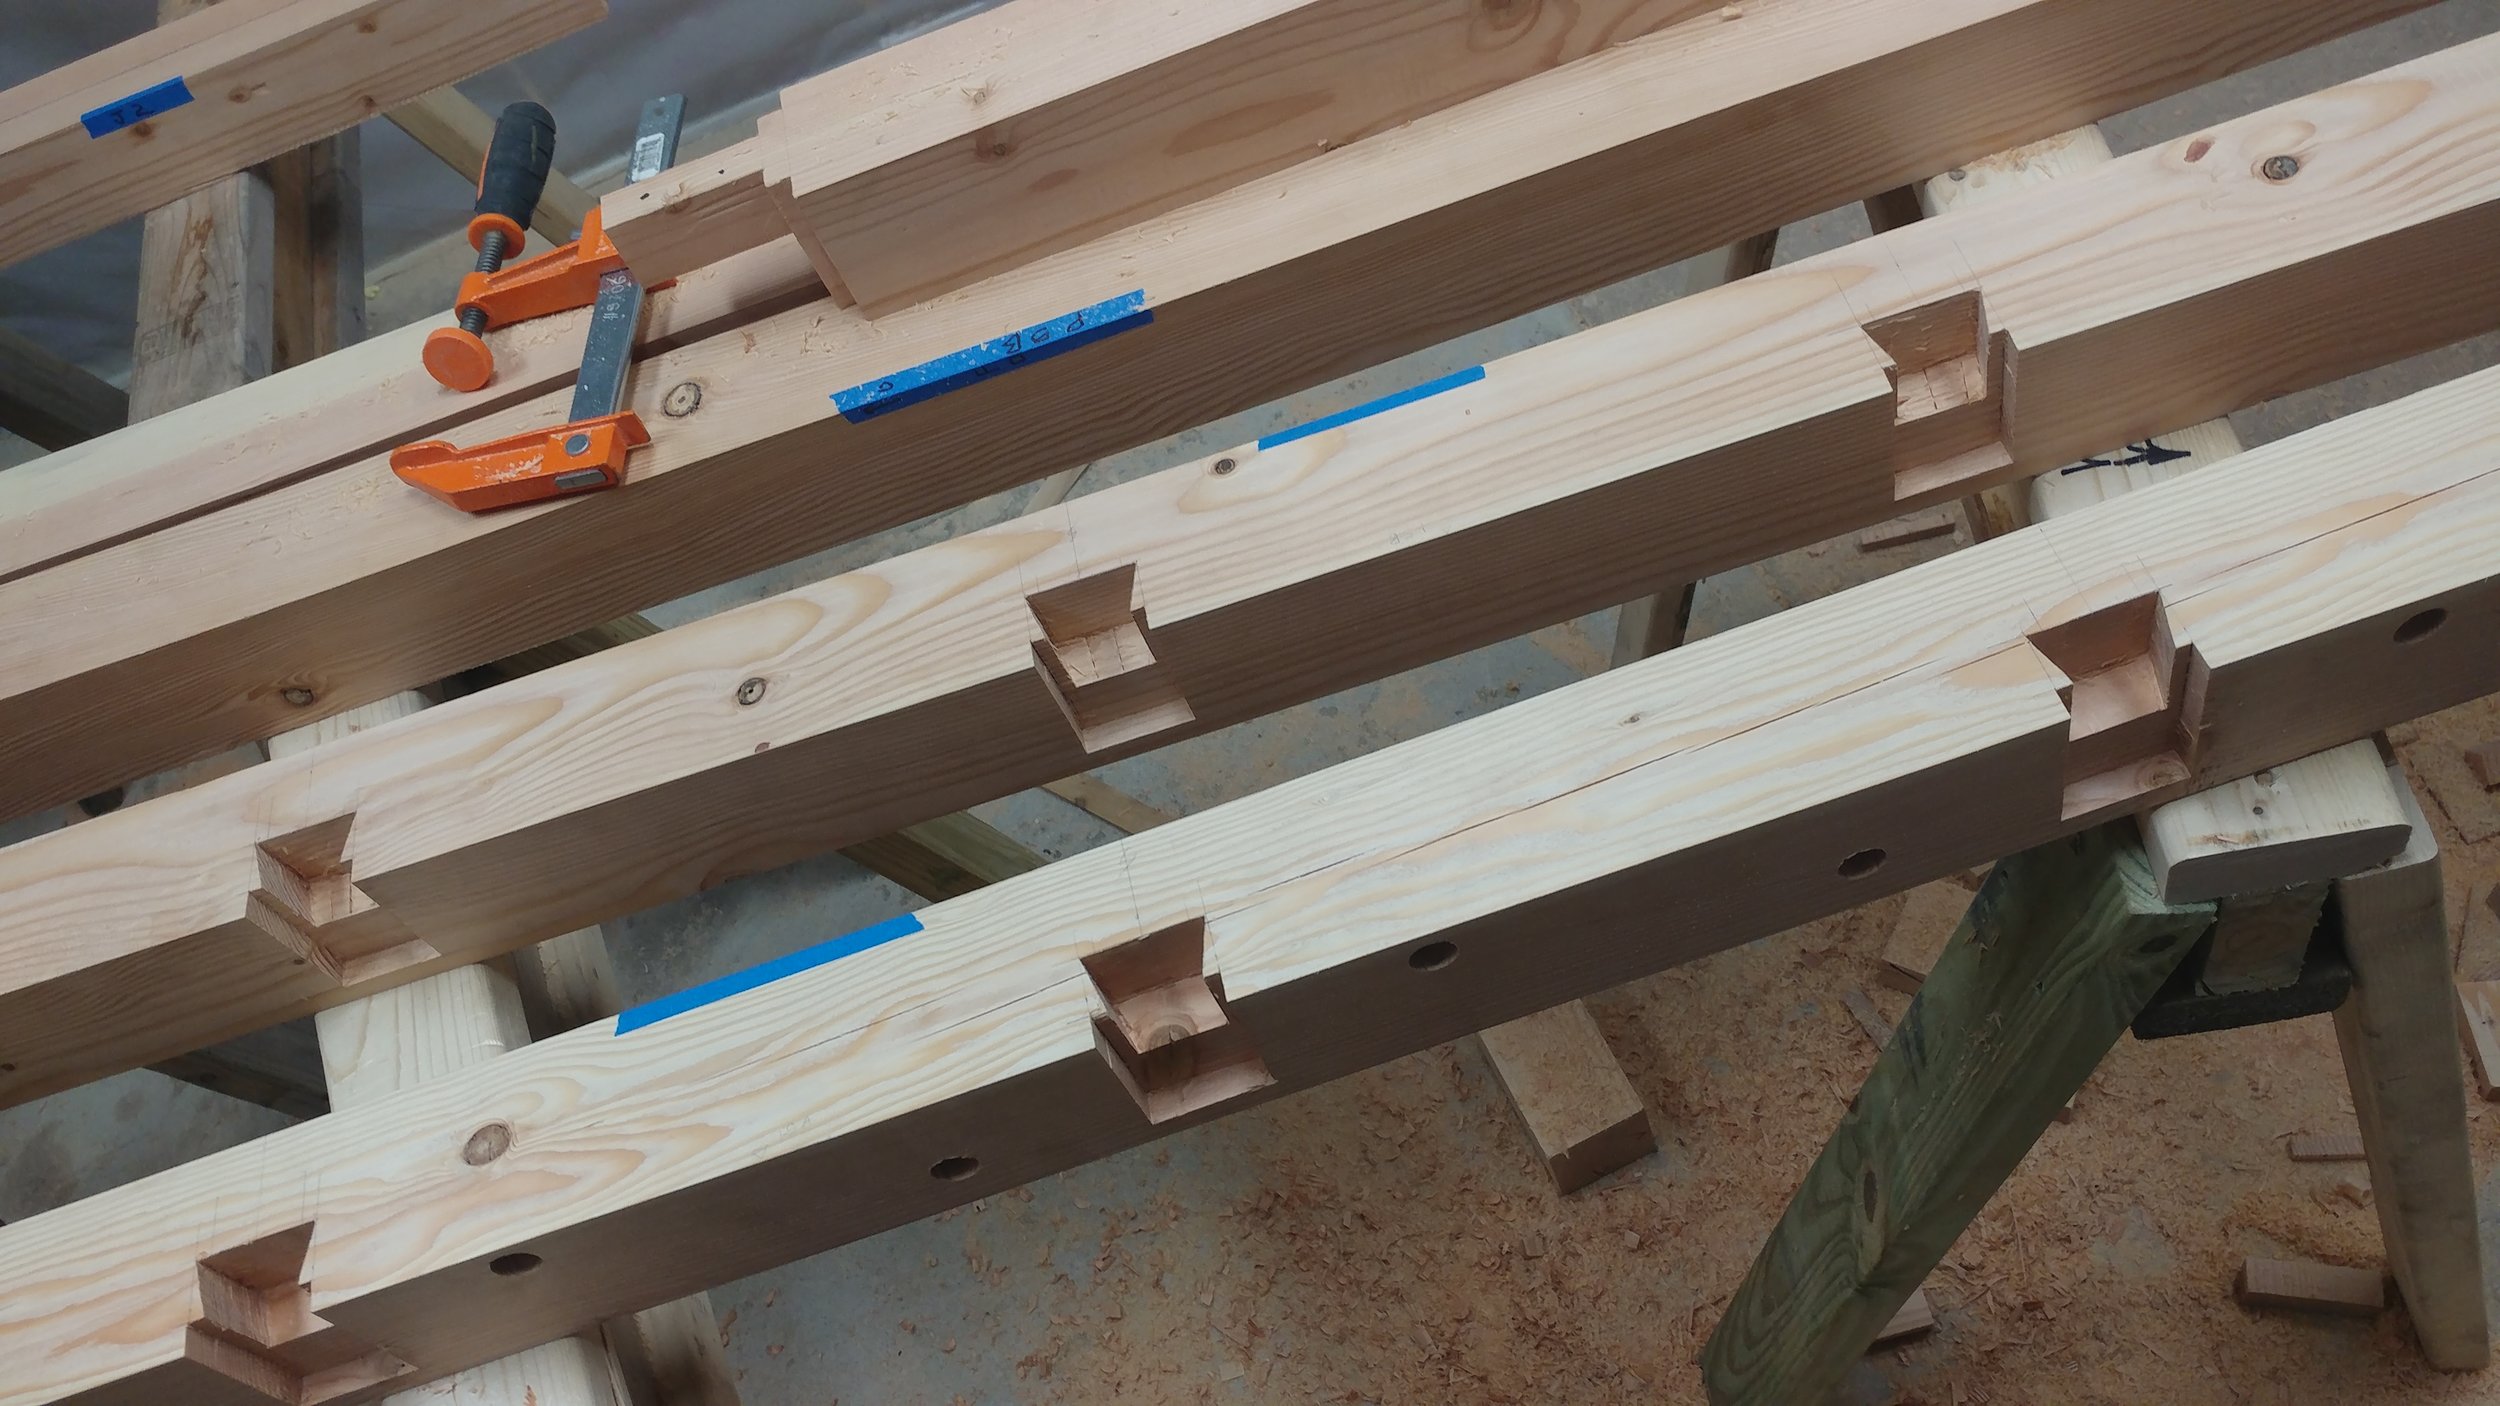
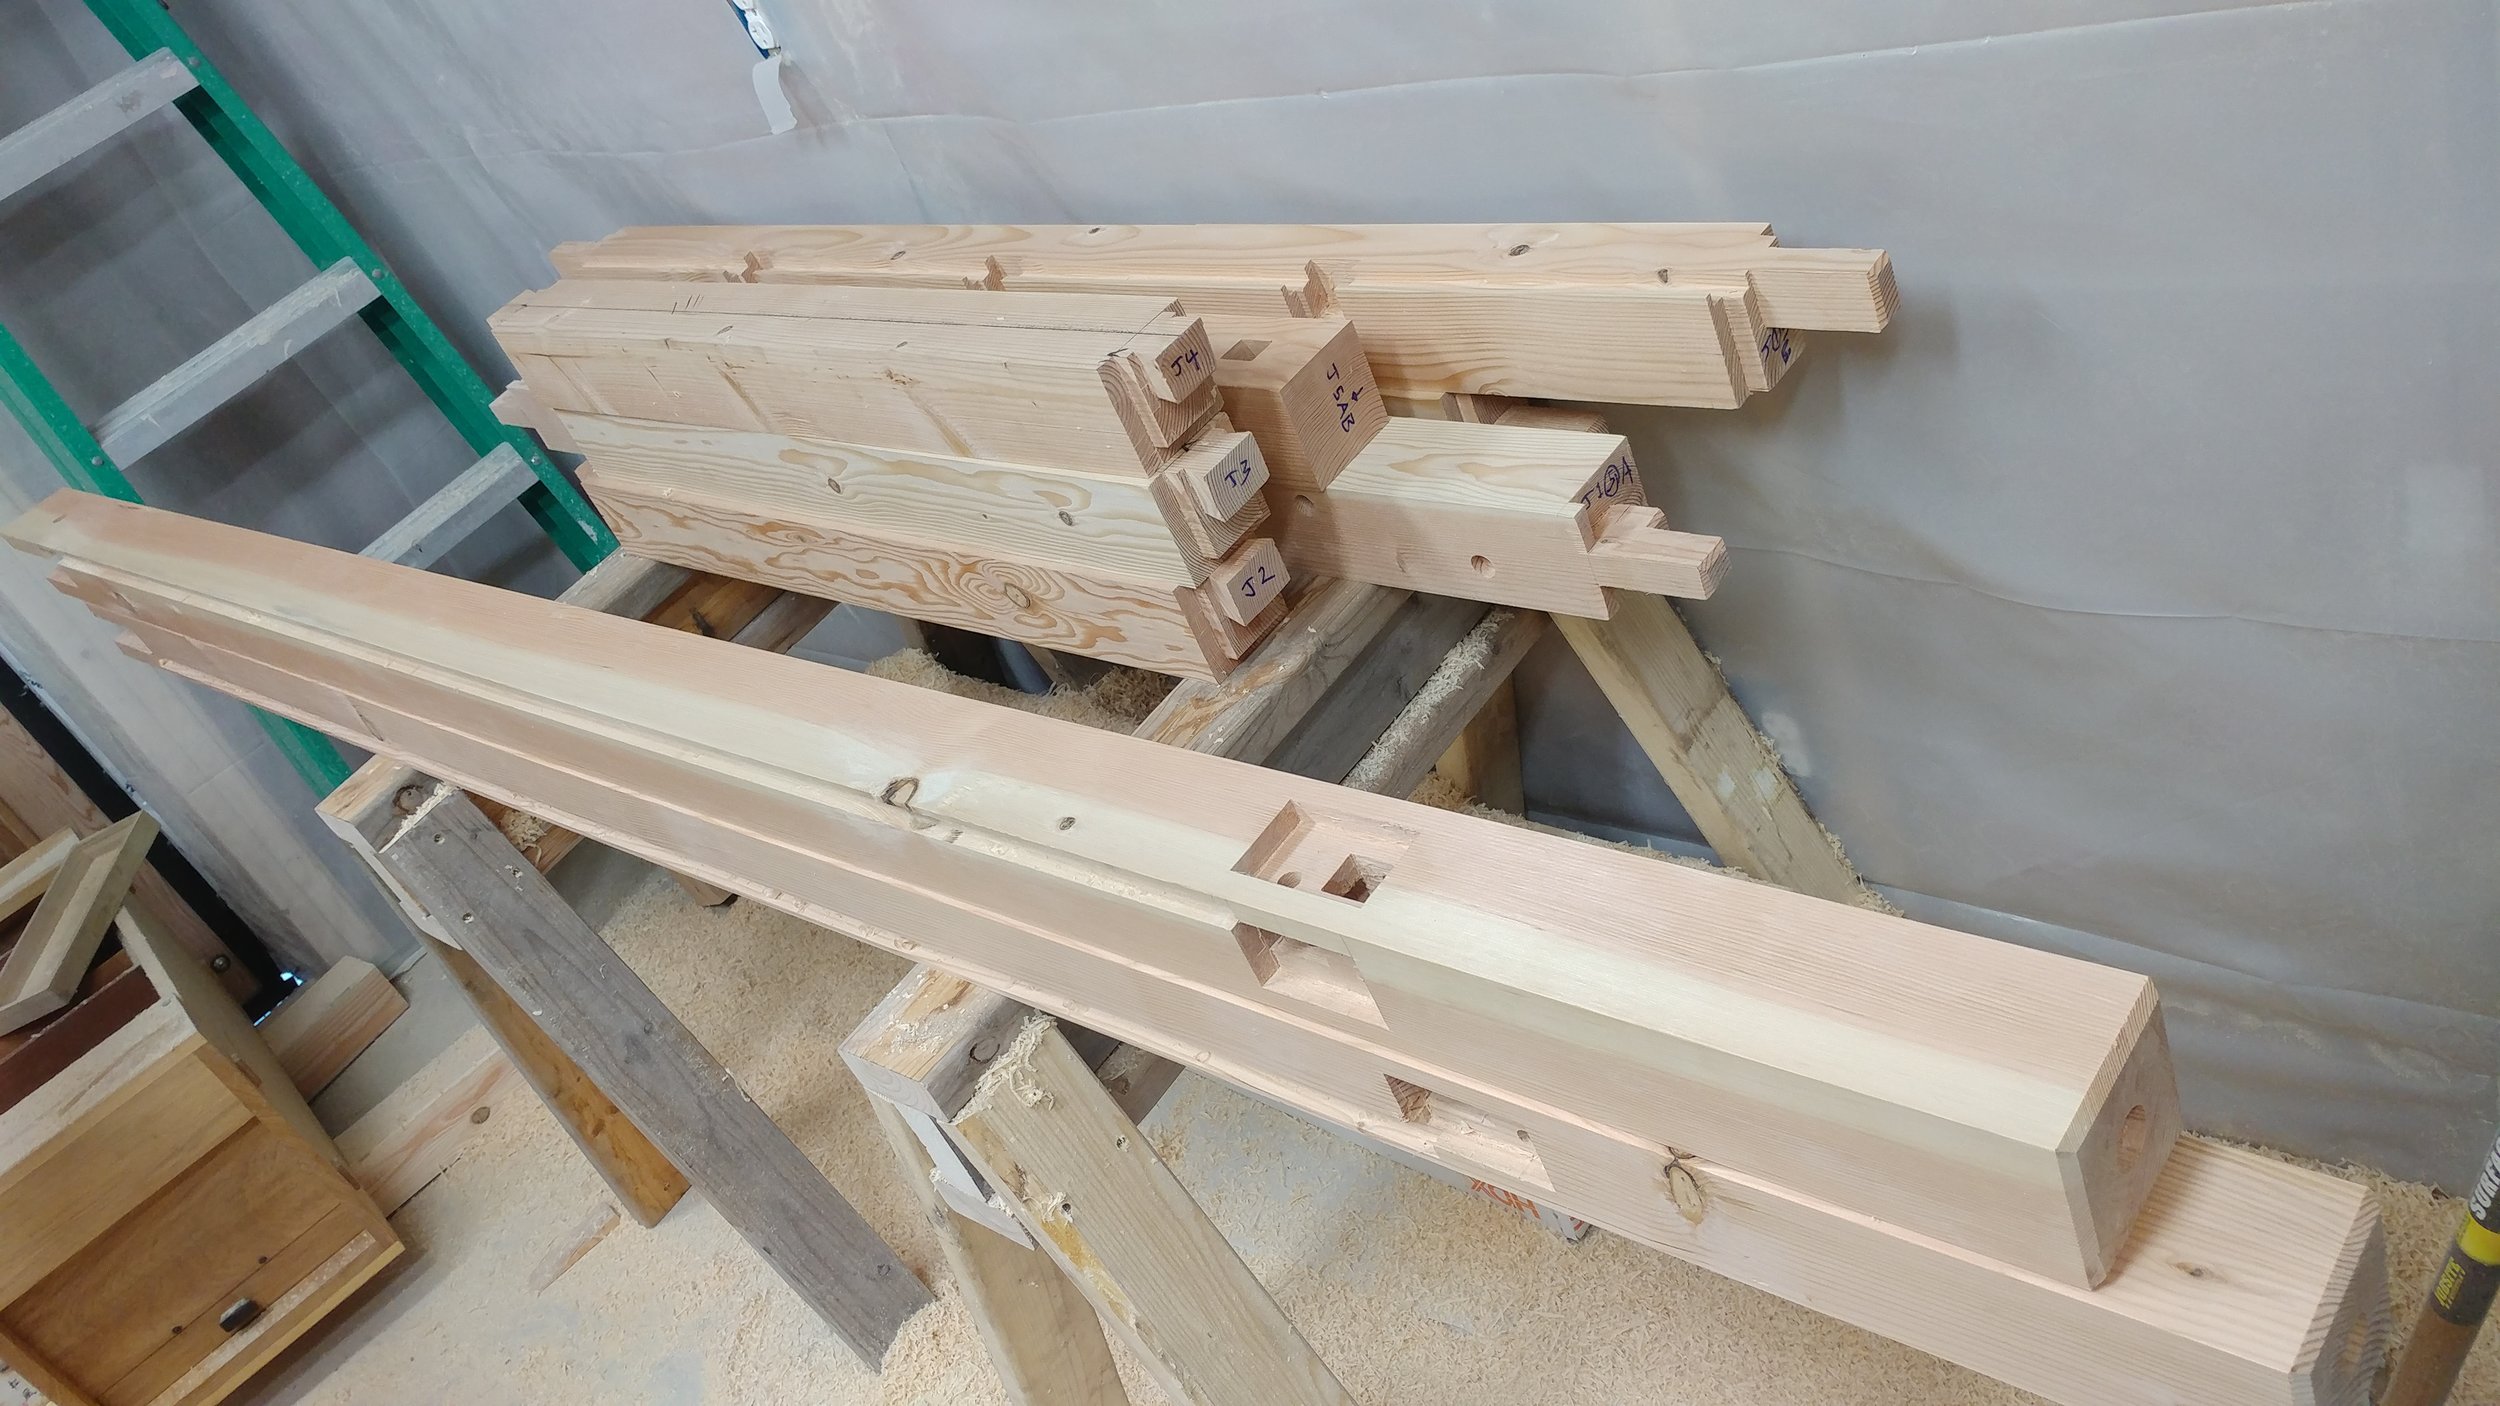
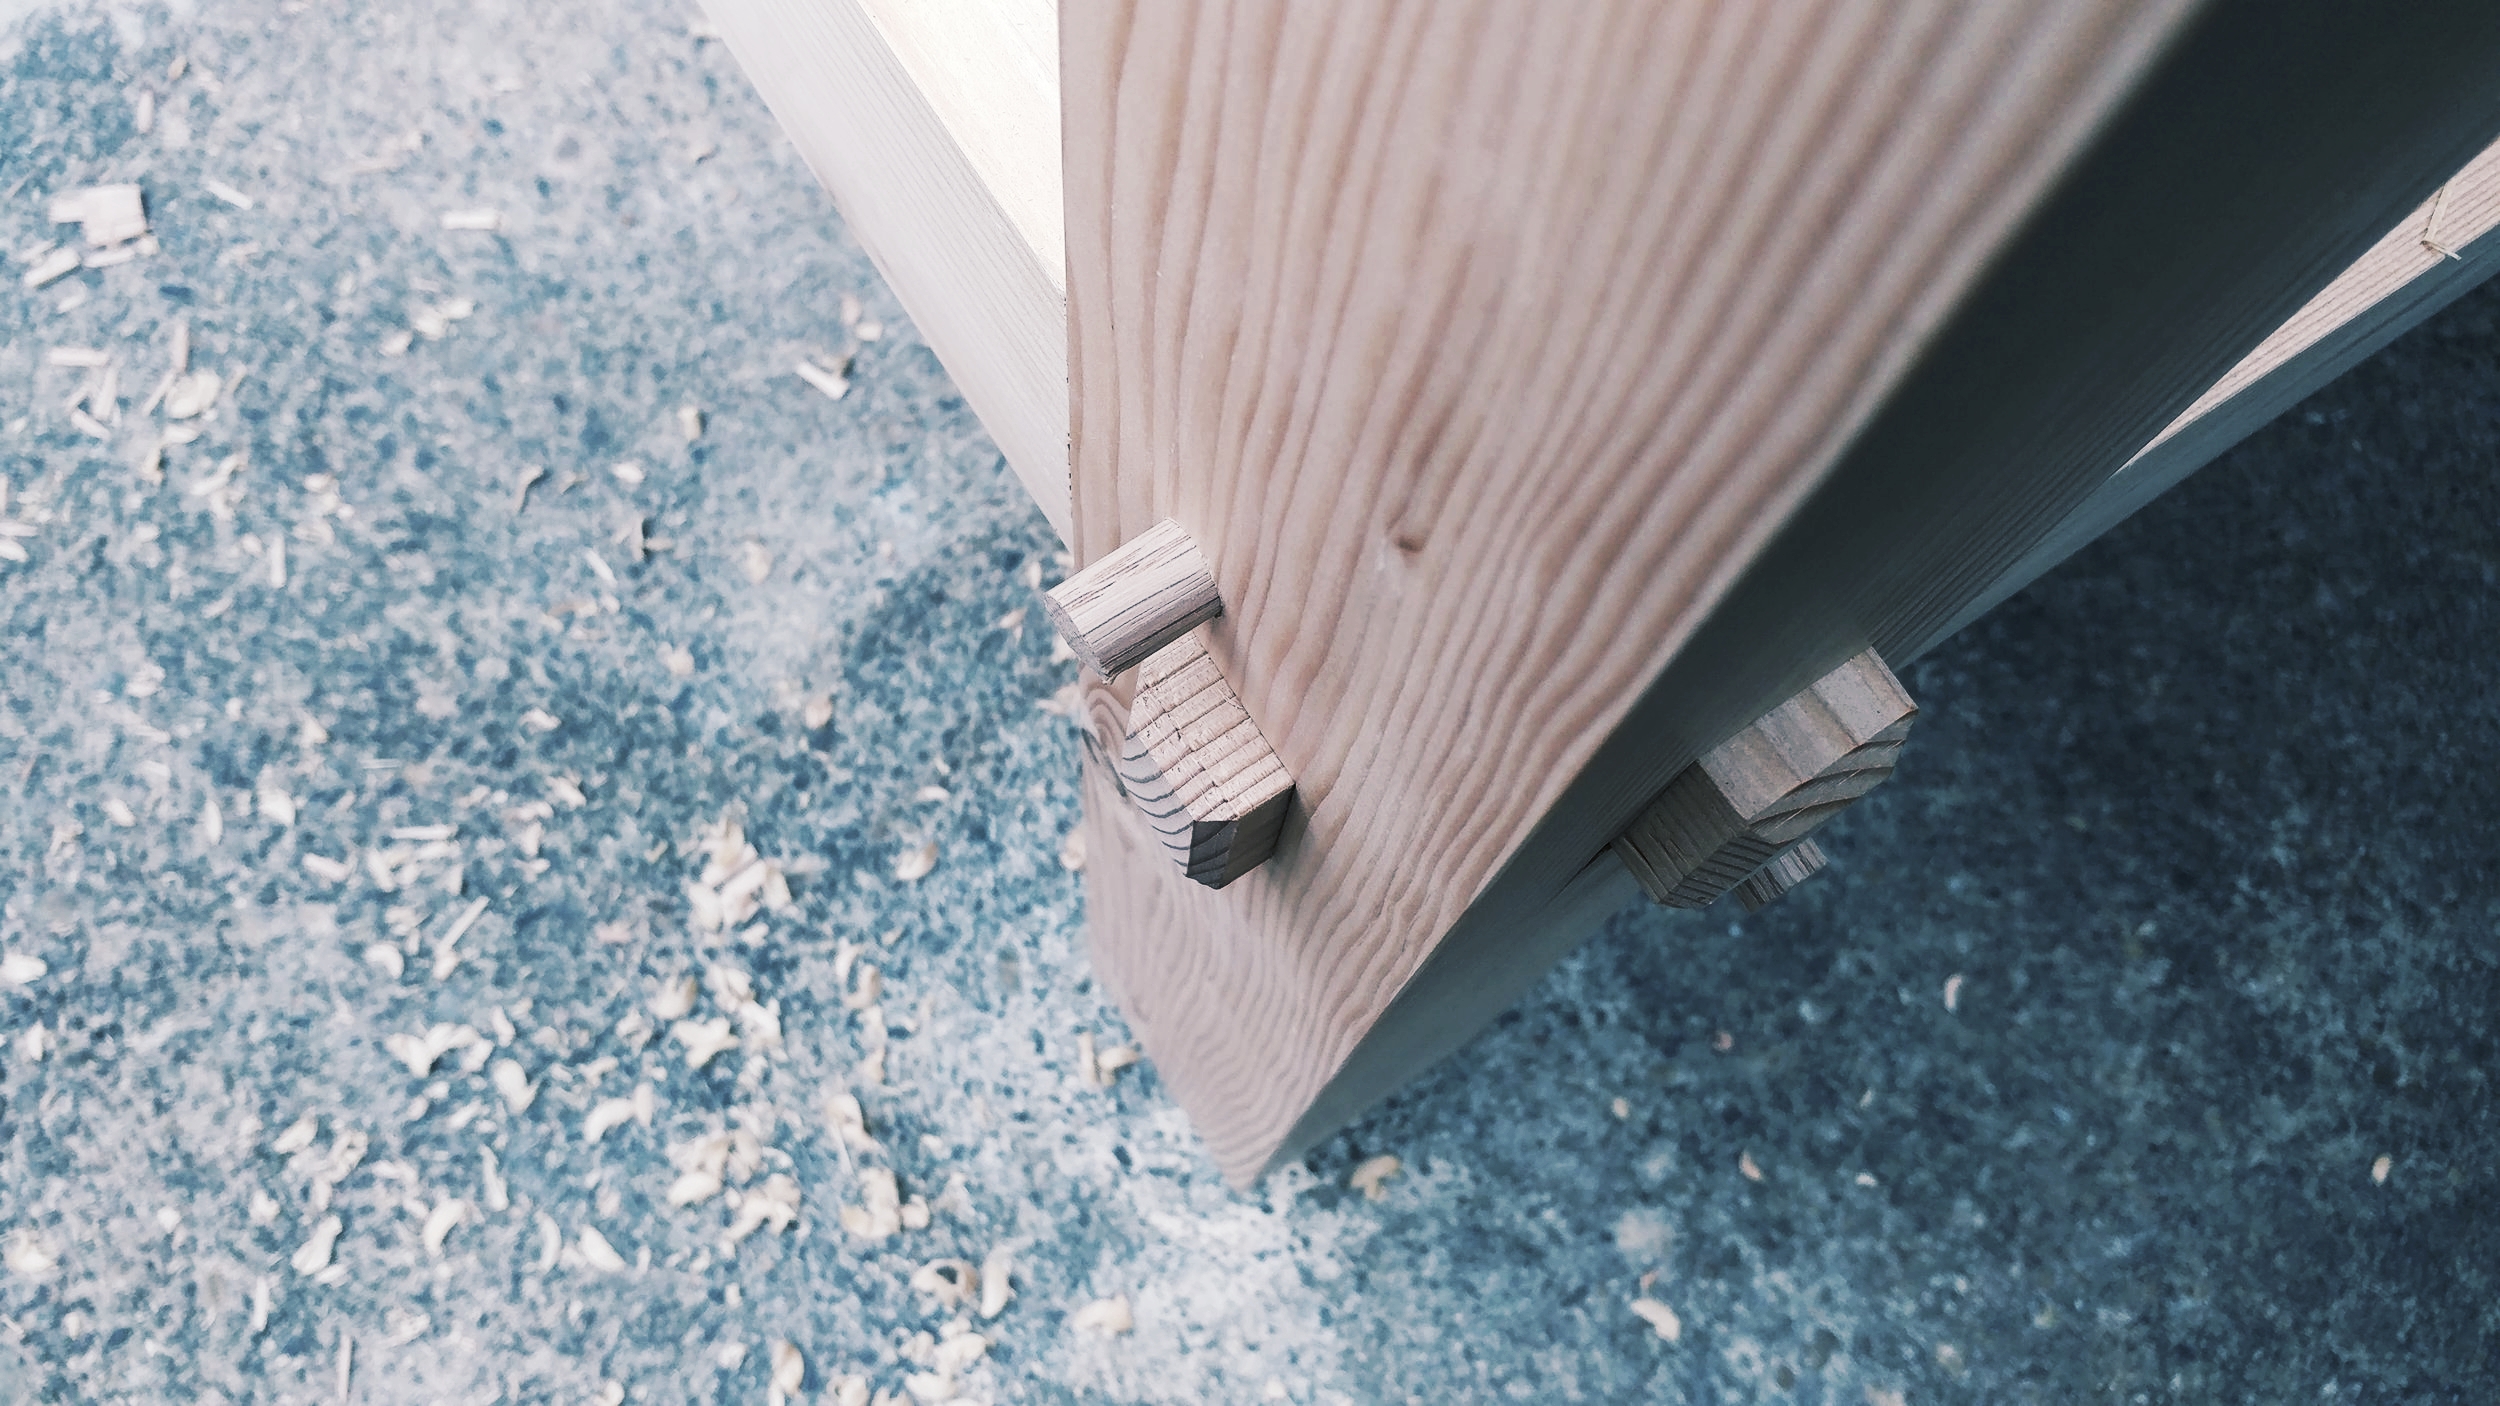
After the joinery is cut and fitted, detail work begins. The parts are given a plane finish. The grain is set alight and the original tree speaks again after some time lying dormant. Assembly begins!


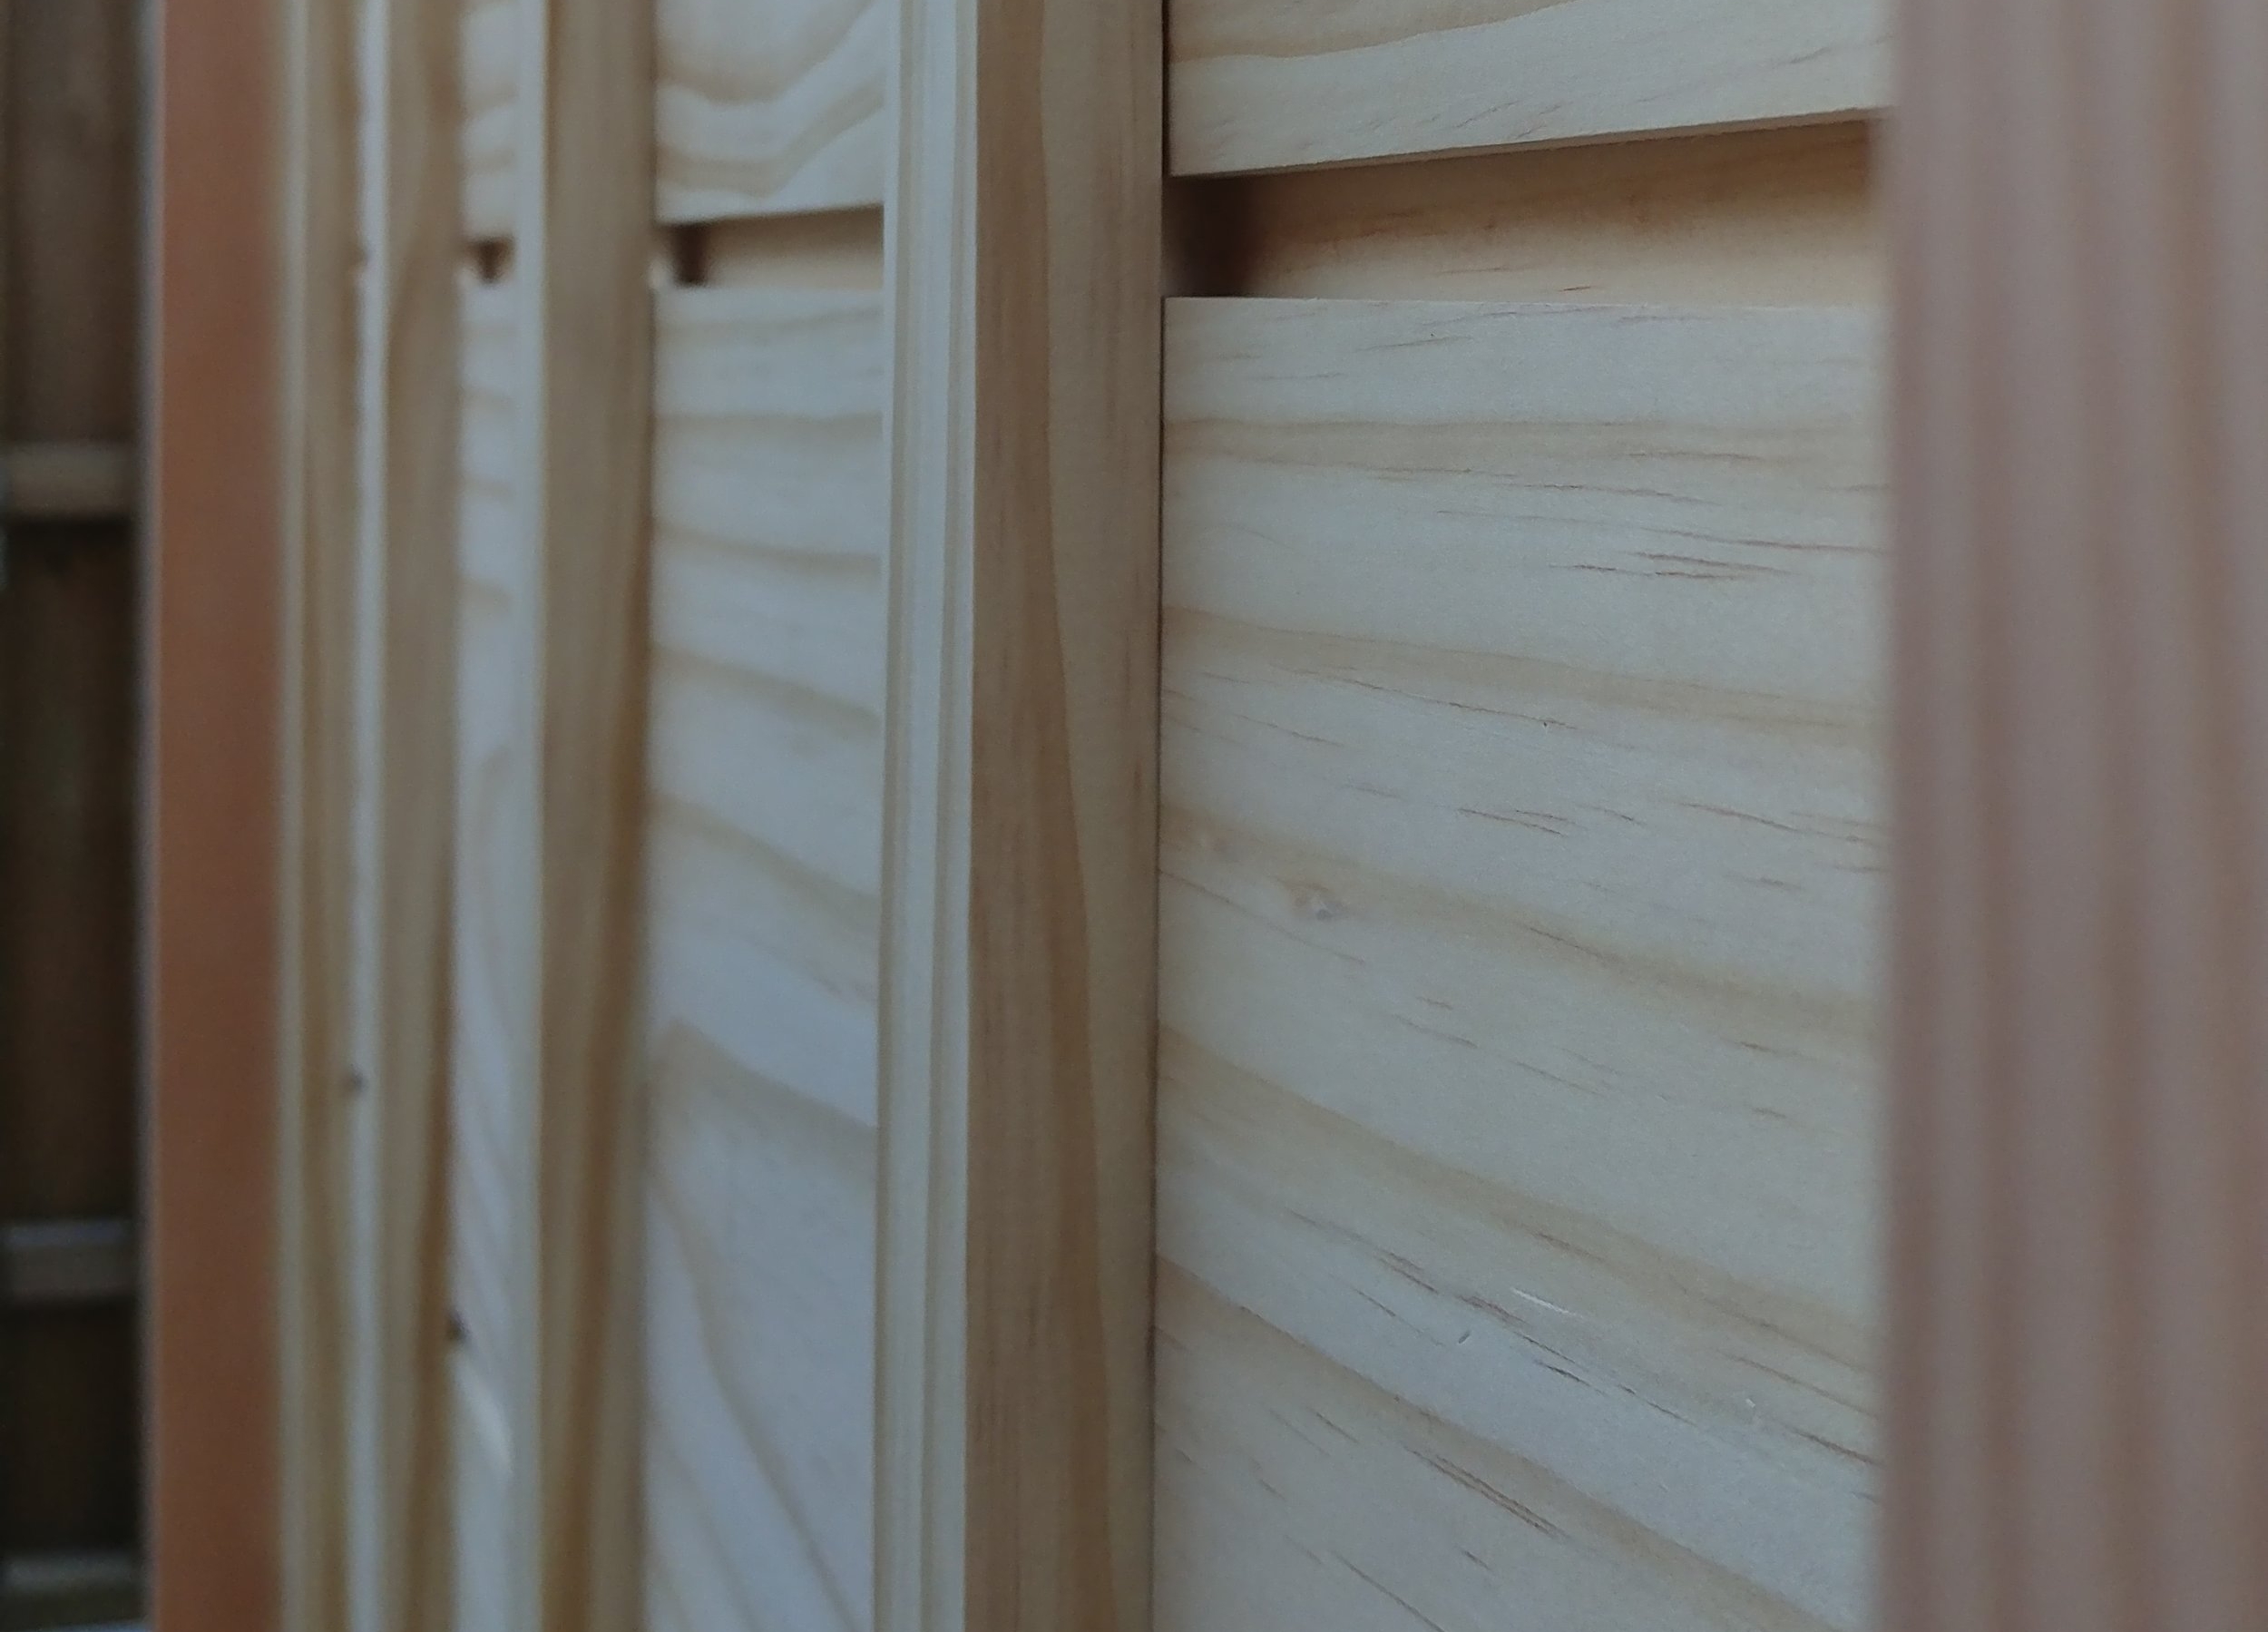
Close attention is paid to the grain and from where in the tree the board is sourced. All of the panels are oriented so the outside of the tree faces the elements, just as it remembers.
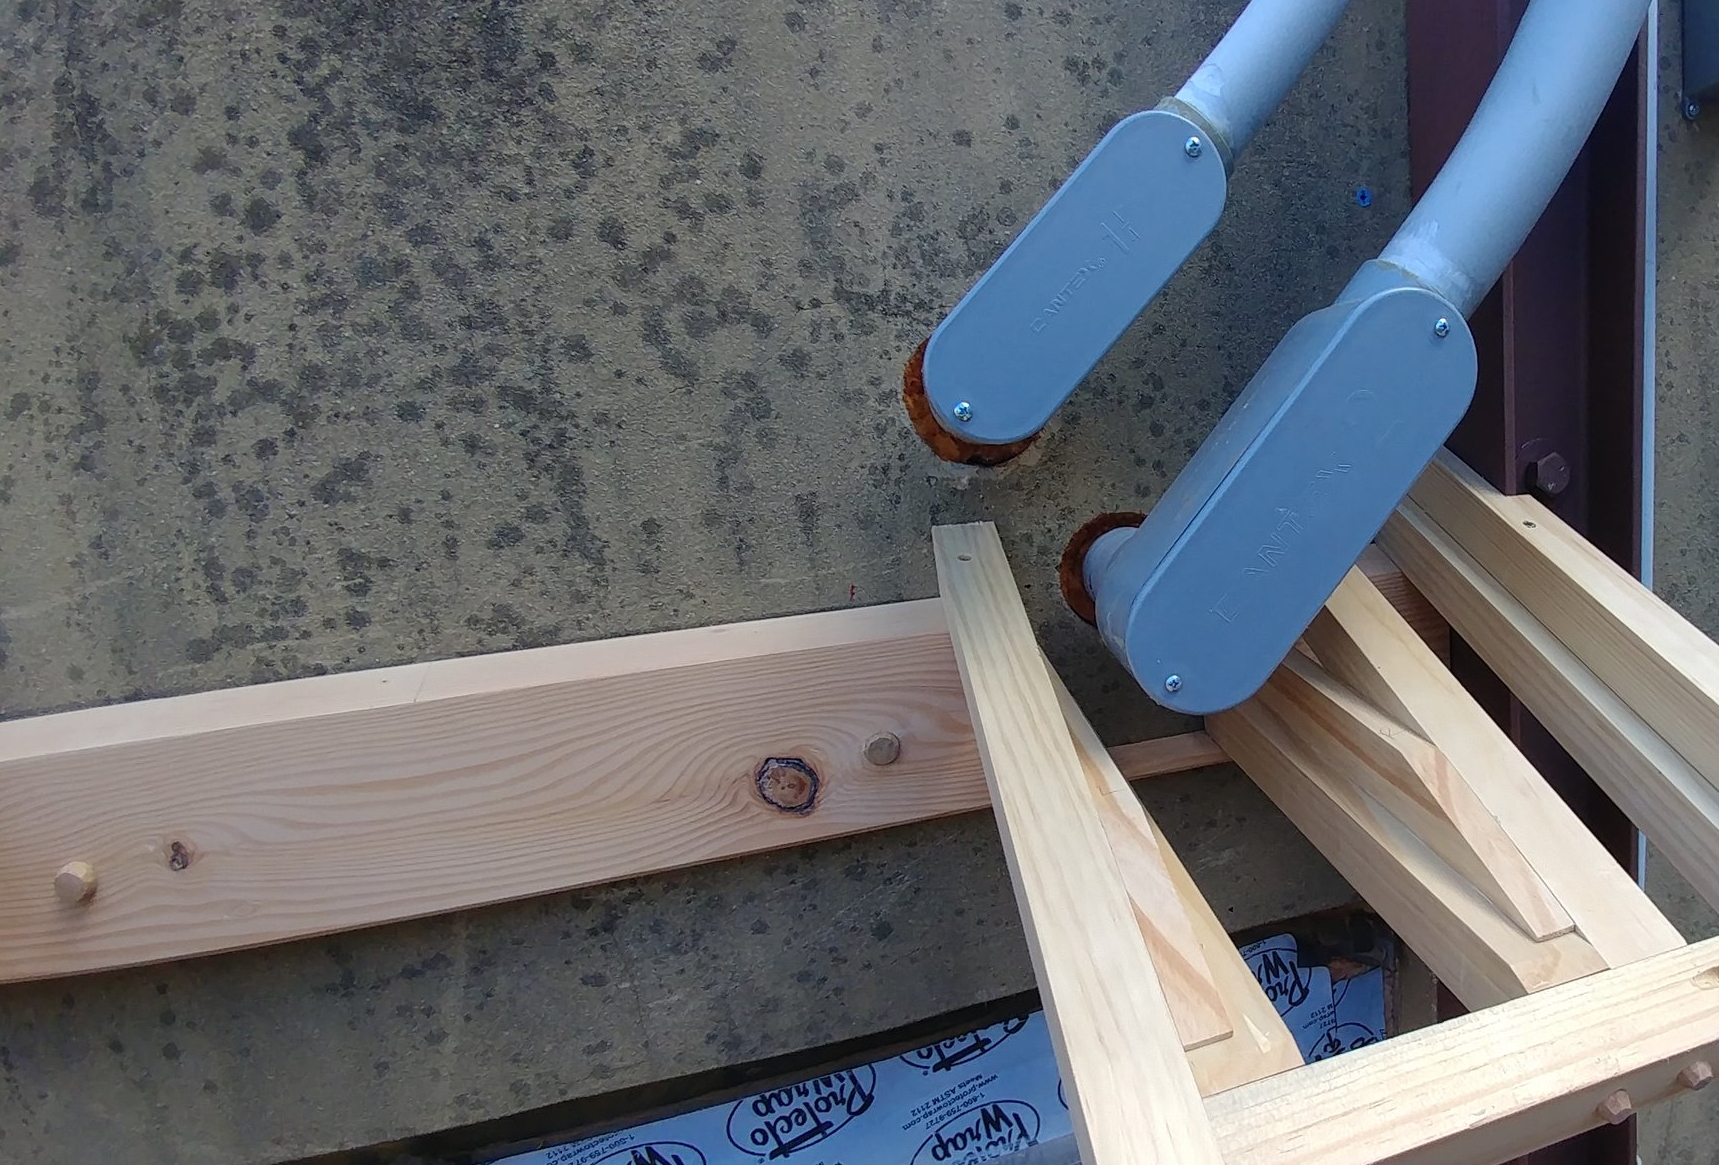
No thing in nature is perfect, neither is this roof. To achieve the desired clearances and angles, a mini roof was constructed around the electrical conduit.
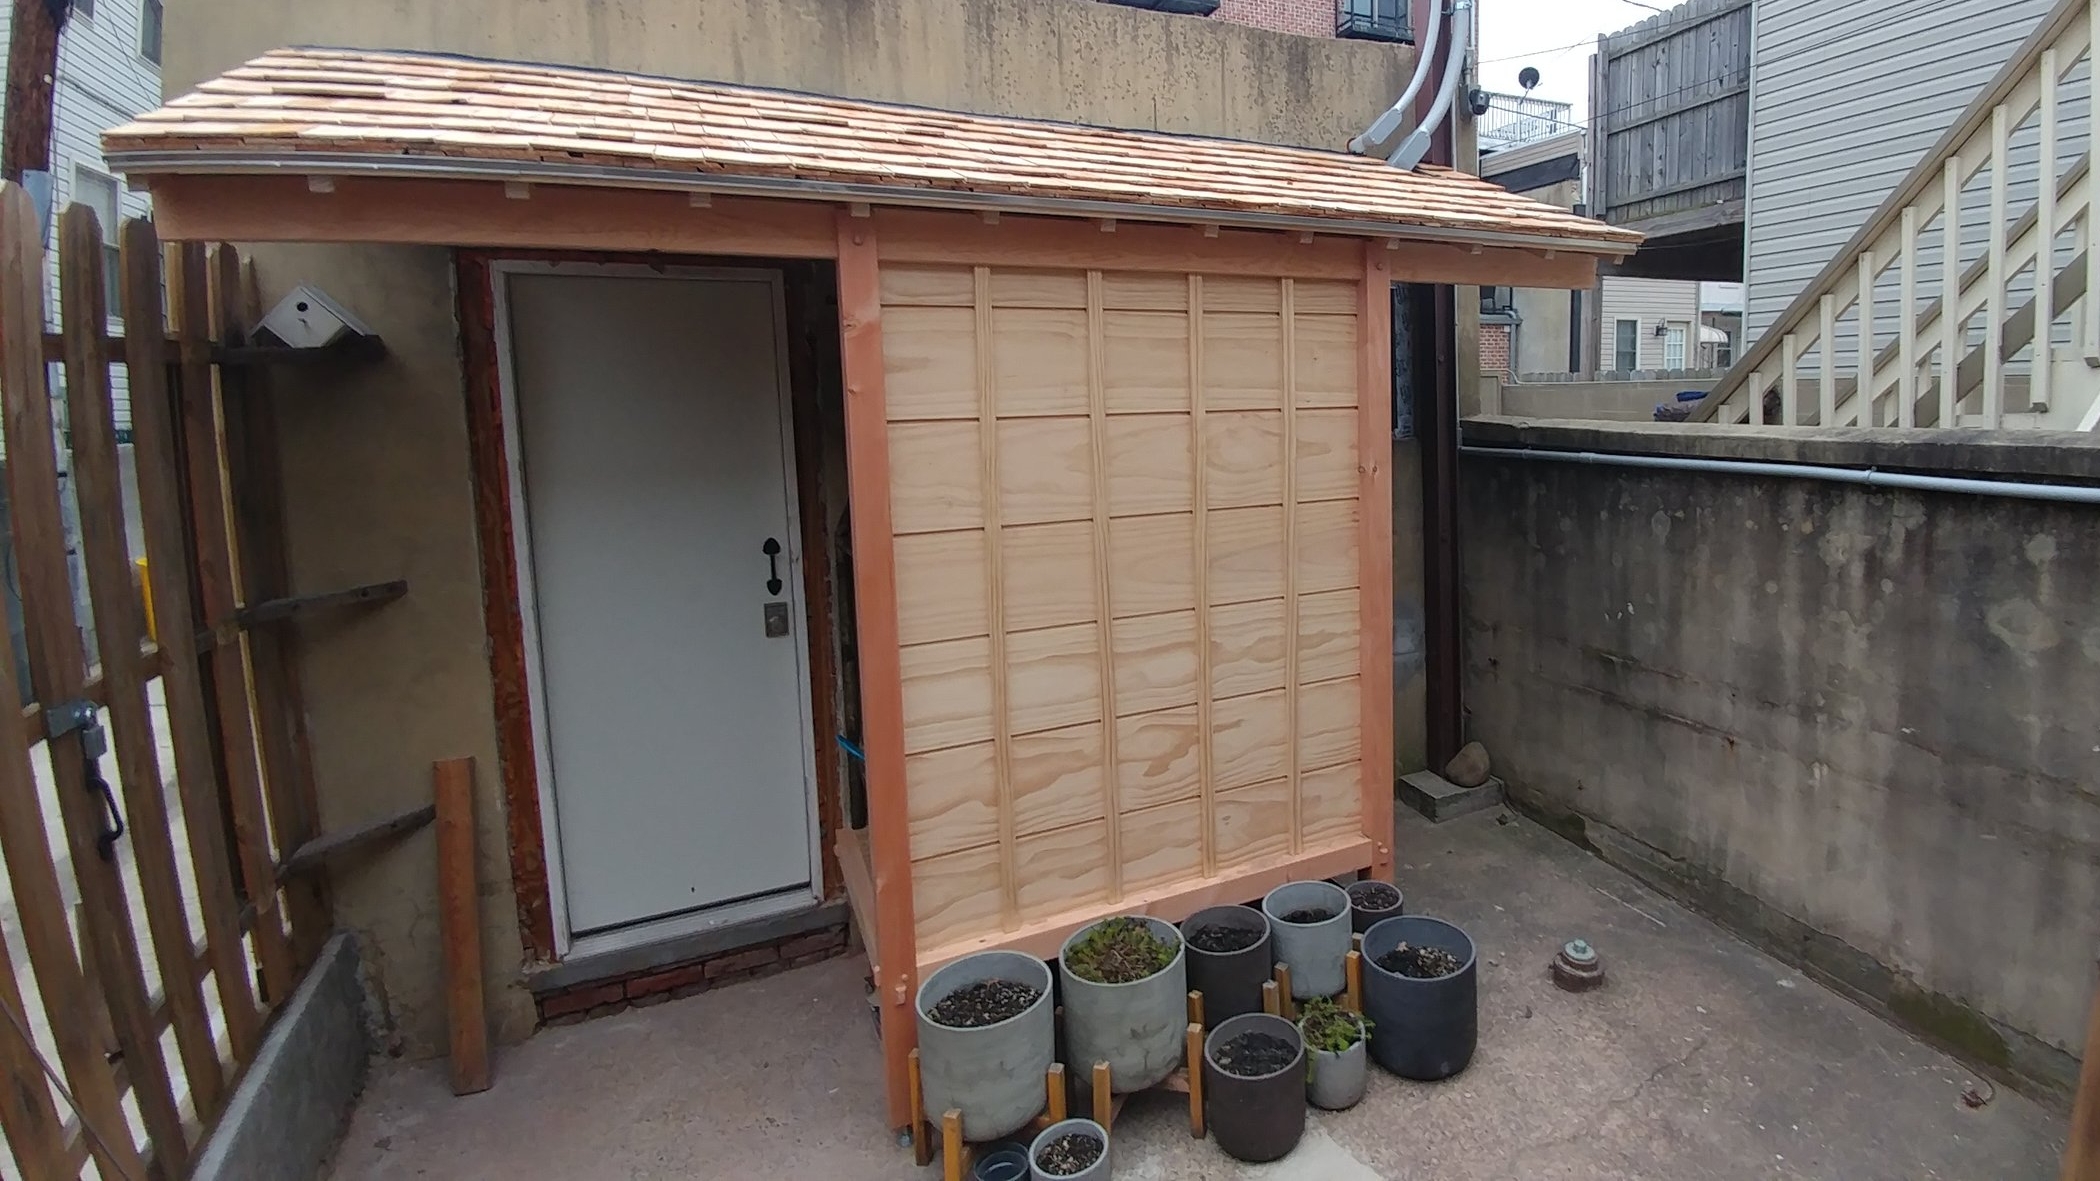
Rafters are attached, tongue and groove cedar lines the underside of the roof. Then sheathing, shingles and flashing is applied. Finished for the moment. The dust collector will soon be installed, as well as panels to close off the sides. The wood will weather silvery grey. The shed is just starting its life!
